. . . . . . . . . . . . . . . . . . . . . . . . . . . . . . . . . . . . . . . . . . . . . . . . . . . . . . . . . . . . . . . . . . . . . . . . . . . . . . . . . . . . . . . . . . . . . . . . . . . . . . . . . . . . . . . . . . . . . . . . . .

Friday, 11 July 2014

Indelible blog hop, part 2


indelible blog hop

It's time for the Indelible BLOG HOP part 2 or the second round up!
You can admire and read more about some amazing creations in  part 1 and introduction post HERE with the full list of participants!!!

We will start with amazing work of: 

Kathleen Kerr

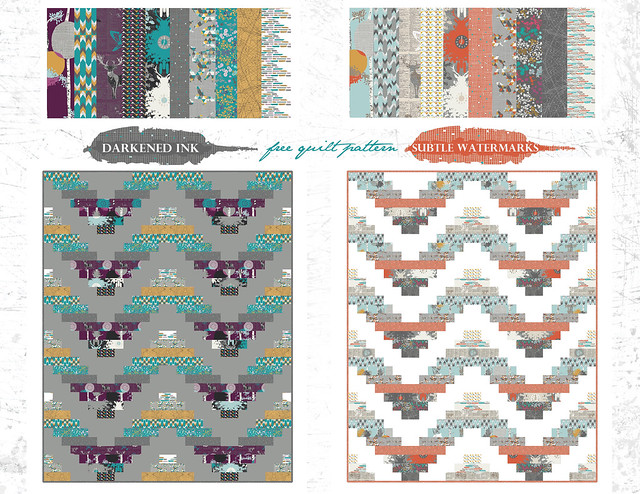
She created 2 quilts with Indelible, both using Darkened Ink colorway and I am still trying to decide which one I like most...the first one that you can see is called "Delectable" and if you follow the link to her blog you will find the free pattern-tutorial for this beautiful piece of art!


The second one is created using Jaybird Quilts pattern "Park Bench". The quilting is impeccable!!!


-------------------------

Than we have fantastic "Indelible foot print" quilt top by

 Amy Friend

Amy used Subtle watermarks colorway and she was inspired by a Moroccan floor tile design to create this hexagonal pattern.


And I will finish this round up with the Indelible Doiland dress that I created for my quiltmarket booth. The dress is modeled by Lauv, fashion designer and stylist in AGF and actually while I was creating the dress (the night before departure), I totally had her in my mind as model and sort of inspiration and I wasn't wrong!!!
And I am a bit sorry that the second picture (she looks like a beautiful mermaid to me) didn't finish as a look book cover, but she was in Brazil while the look book was in the works...but at least you can see it here! :)

Thanks Lauv - you totally rock that dress!!!❤️❤️❤️


xo, Katarina

Wednesday, 9 July 2014

Indelible look book, video and much more!


Today was an incredible day!!!I am still trying to be calm and breath normally-after Art Gallery fabrics posted the Indelible look book !


They did an amazing job with it and I created the video....

 
Indelible from Katarina Roccella on Vimeo

 
Indelible collection - stamped free quilt pattern

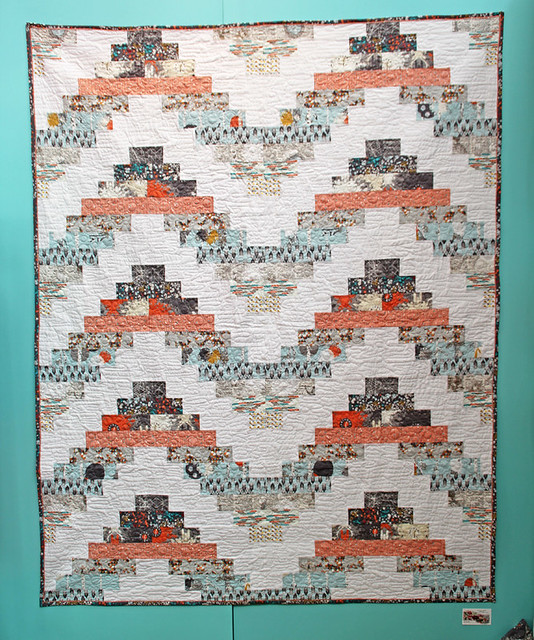
And finally, the Stamped quilt- free quilt pattern is ready for you to print it and make it!!!!

Quilt Market Pittsburgh 2014

I was also blown away with the first two stops regarding the blog hop !
First stop was:

Marija's Vujčić

post about creating the Stamped quilt that you can see above and she also created another amazing table runner: Indelible Migration and also posted the tutorial for creating it....gorgeous!!!


Next stop was on

Sara Lawson's

blog and her amazing quilt top using Tessellation quilt pattern, by Alison Glass.


So beautiful!!!
Hope you feel inspired, as much as I do :)
xo, Katarina


Tuesday, 8 July 2014

Indelible BLOG HOP


indelible blog hop 

Dear friends, it's time for the Indelible "blog hop" party!!
Please join some incredible people from different parts of the world (how amazing, right?) while they are showing their Indelible projects!!!

Indelible - Strike offs Indelible - Strike offs

We don't have any precise schedule or dates for this, but let's just say that it will be held during the month of July!

I am so happy and honoured to present you:

Marija Vujčić of Fabric of my life

Kathleen Kerr of Kathleen quilts

Nancy Purvis of Owen's Olivia

Katy Jones of I'm a ginger monkey

Jane Davidson of Quilt Jane

Megan Bohr of Canoe Ridge creations

Sara Lawson of Sew sweetness

Rachael Gander of Imagine Gnats

Amy Friend of During Quiet Time

Amanda Keeys of Little labyrinth

Frances Newcombe of Sewing belly buttons boutique

Maureen Cracknell of Maureen Cracknell Handmade

Dana Bolyard of Old Red Barn Co.

Svetlana Sotak of s.o.t.a.k. handmade

Jeni Baker of In color order

Julianna Gąsiorowska of Jednoiglec

Allegory Lanham of A thousand needles

Lynne Goldsworthy of Lily's quilts

Mandy Nobel of Made with love by Mandy

There is no any particular order for theirs posts and projects, so be sure to follow along and get inspired!!!
I will try to keep you informed, too :)

Oh, and please don't forget to share your projects using Indelible fabrics, in my flickr Indelible group
And if you are making projects using my tutorials or patterns, please add them to my flickr pattern group
xoxo,
Katarina

Wednesday, 2 July 2014

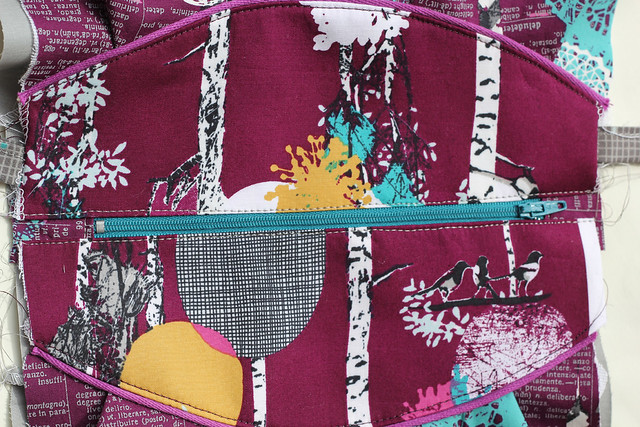
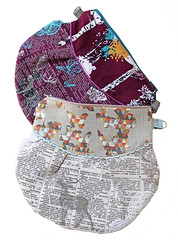
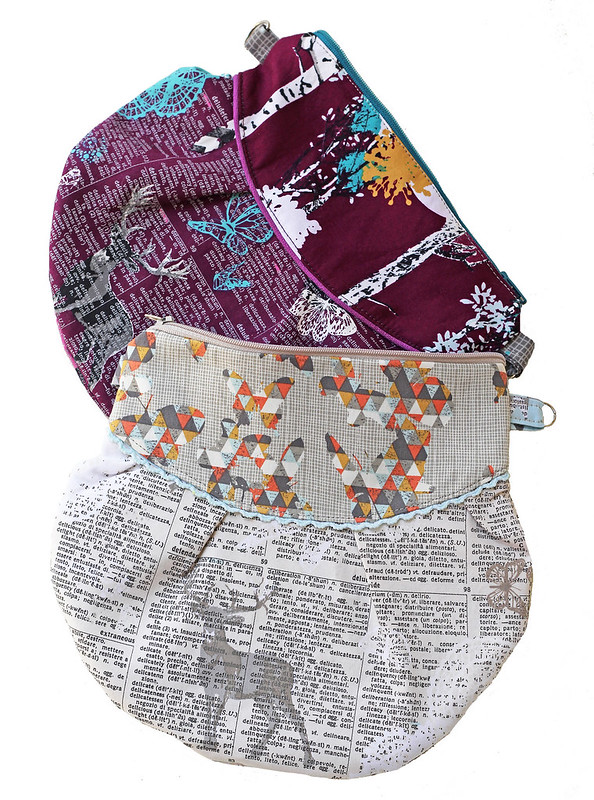
Indelible pleated zipper clutch bag tutorial - pattern


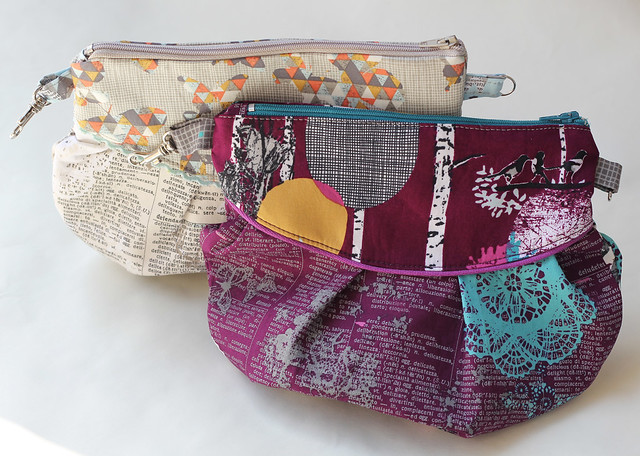
Indelible clutch zipper bag tutorial
It's time for my first free Indelible tutorial.  
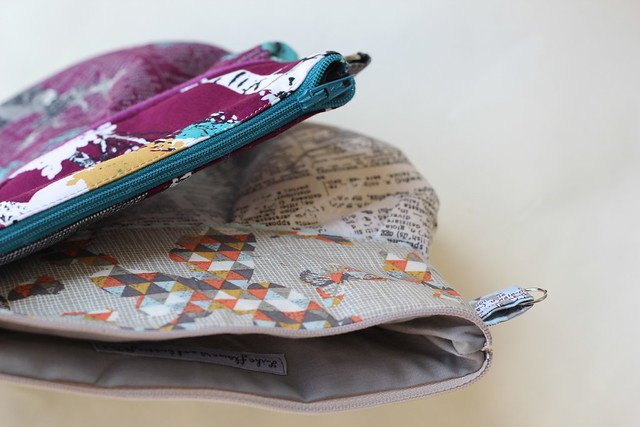
Clutch zipper bags are so easy to make and once you learn how, you will be addicted!!!  You can decide if you want to add the handles or not, but they may be useful;)
Indelible clutch zipper bag tutorial

This tutorial is scrap friendly, so you can combine 2 different fabrics for the main sides, just like I did.

Needed supplies:

1. fabric: 1 fat quarter of the fabric for the main sides ( or 2 different fabrics) + 1 fat quarter for the lining +  1/8 fabric for the handle (optional)
I used my Indelible fabrics: IDL-2223 Doiland Gloss Silver + IDL-2227 Flutter Folds Spark for the lighter one and IDL-1229 Stamped Grove Nightfall + IDL-1223 Doiland Gloss Plum
2. medium weight fusible interfacing (to obtain the more durable bag)
3. 8" long (20 cm) zipper
4. 1/2 yard of the decorative trim or ribbon
5. sewing machine, thread (for the best results - use Aurifil), scissors, pins, iron, zipper foot (optional, but preferable)
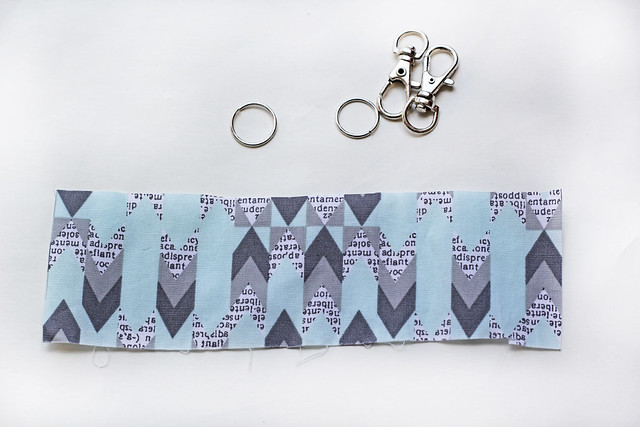
6. 2 metal rings and 2 Swivel clasp snap clips


So, let's get started!

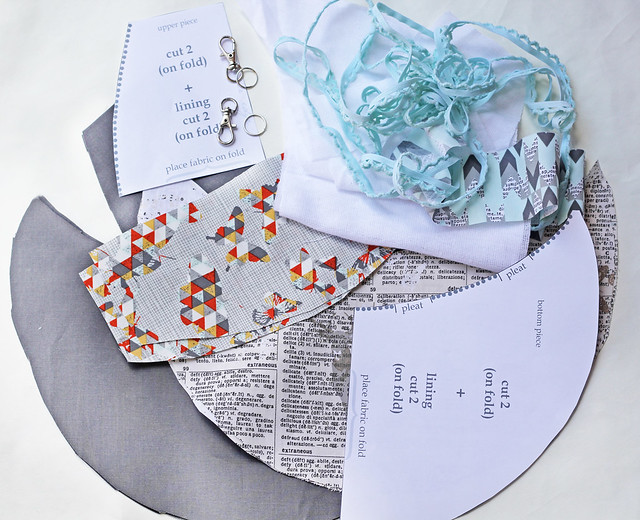
Print the template . If you want to make the bag in this dimension, like mine, be sure to print it at 100% scale, but you can also print this sheet much bigger and make a bigger bag (in that case just be sure to choose the zipper in appropriate size)
Indelible clutch zipper bag tutorial

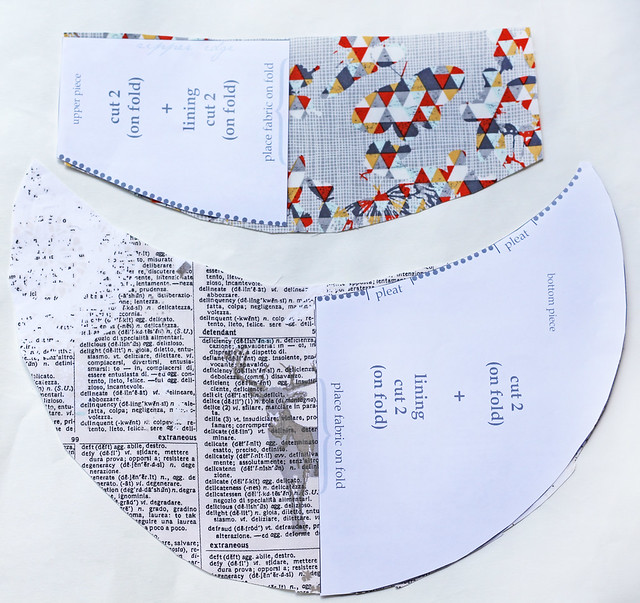
The template sheet includes the upper - smaller piece and bigger - bottom piece.
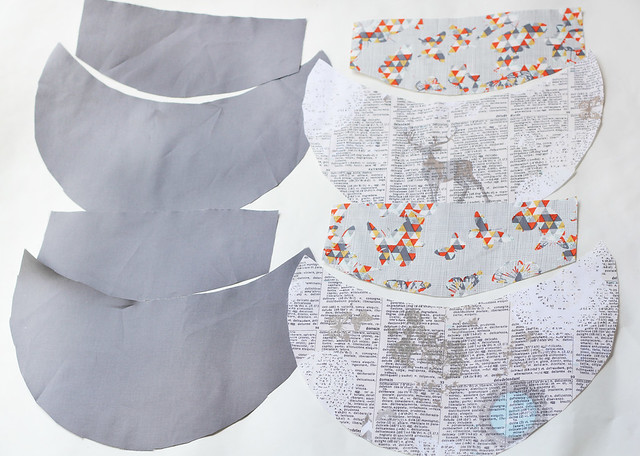
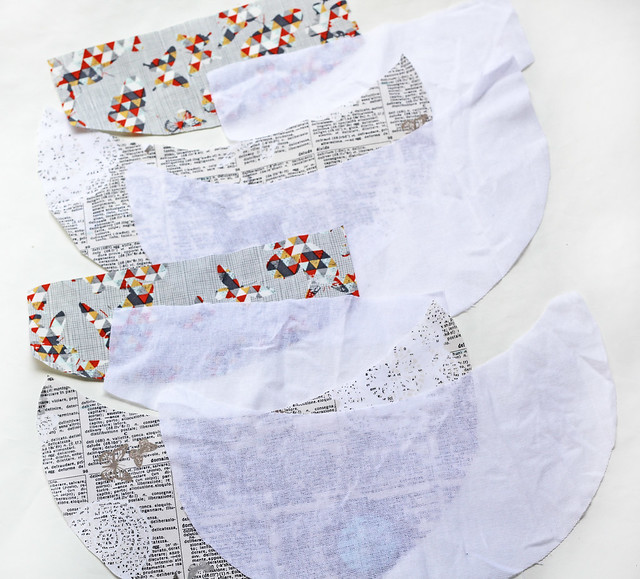
So, using this template, you need to cut on fold (to obtain the entire, doubled pieces):
2 pieces of the upper main fabric, 2 pieces of the bottom main fabric,
2 lining bottom pieces, 2 lining upper pieces,
2 interfacing bottom pieces, 2 interfacing upper pieces
Indelible clutch zipper bag tutorial

Indelible clutch zipper bag tutorial

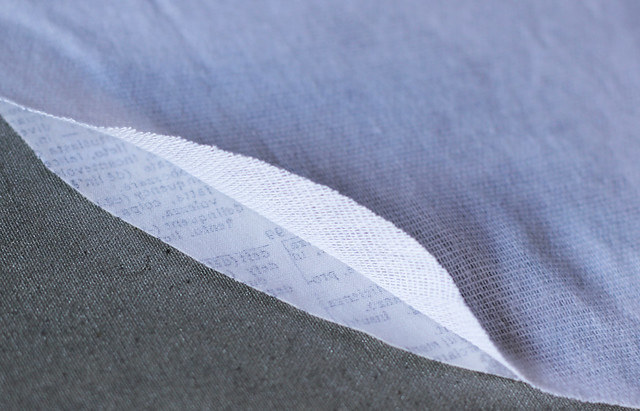
Iron the fusible interfacing on the back (wrong) sides of the main fabrics.
Indelible clutch zipper bag tutorial

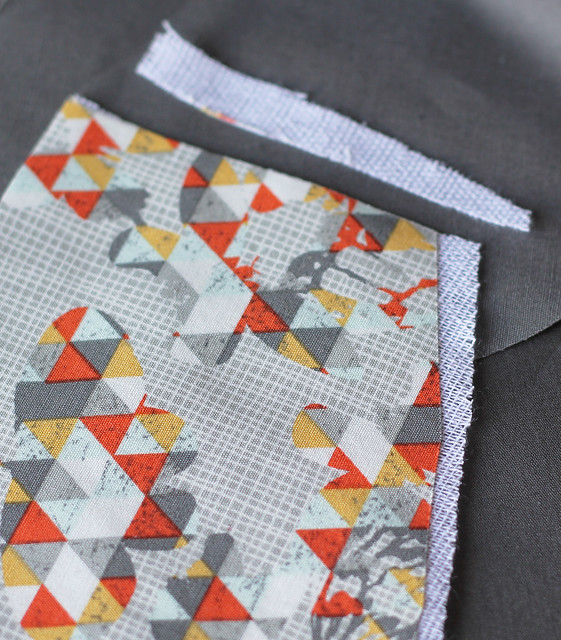
Trim the eventual interfacing excess.
Indelible clutch zipper bag tutorial

So, this is what you will have:

Indelible clutch zipper bag tutorial

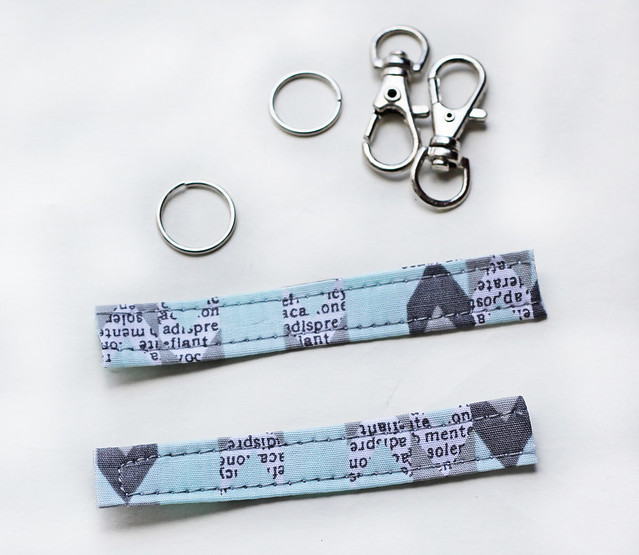
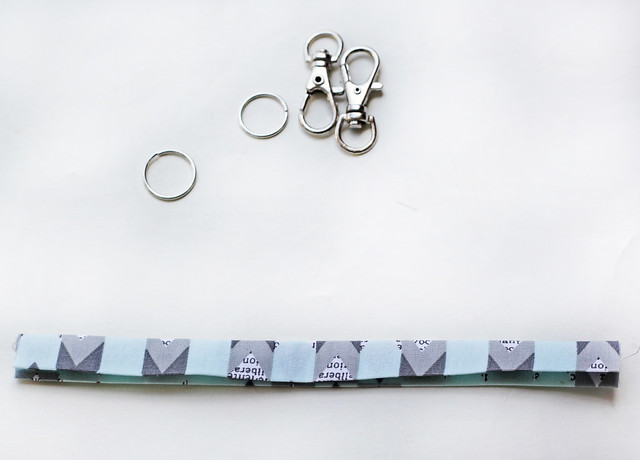
Let's prepare the loops with ring and swivel clasp first. Cut an approximate 6 x 2" strip of some fabric leftover.
Indelible clutch zipper bag tutorial

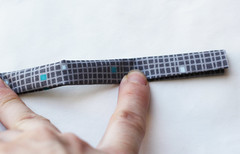
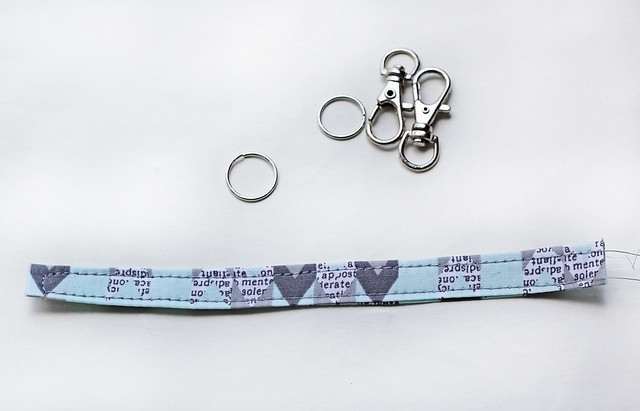
Fold it in half lengthwise and iron it, then open and press both sides toward the center crease, press center crease close again and topstitch.
Indelible clutch zipper bag tutorial

Indelible clutch zipper bag tutorial

Cut it in two.

Indelible clutch zipper bag tutorial

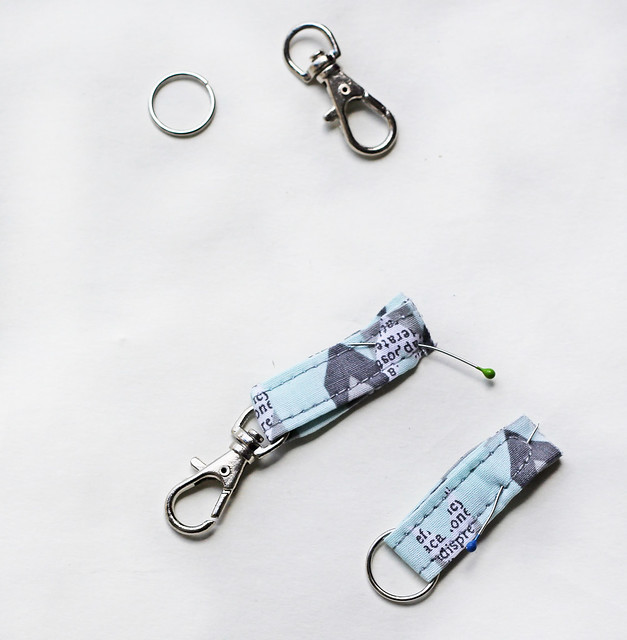
Pull the swivel through one end and the ring through the other. Loops are ready to be pinned to one of the upper fabric pieces. The second ring and swivel will have to be placed on the strap's ends.
Indelible clutch zipper bag tutorial

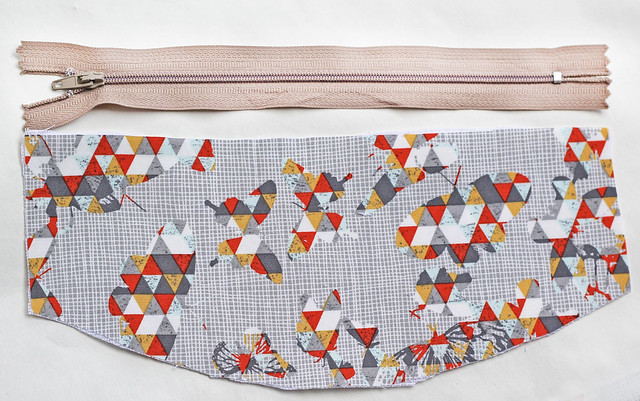
Let's prepare the zipper now by covering it's ends with some fabric leftovers.
Indelible clutch zipper bag tutorial

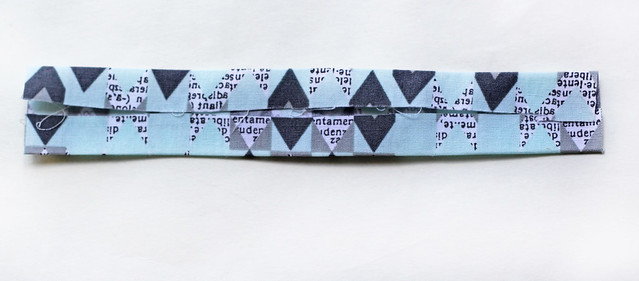
Cut an approximate 6 x 3" strip of any fabric leftover. Fold it in half lengthwise and iron it, then open and press both sides toward the center crease and press center crease.
Indelible clutch zipper bag tutorial

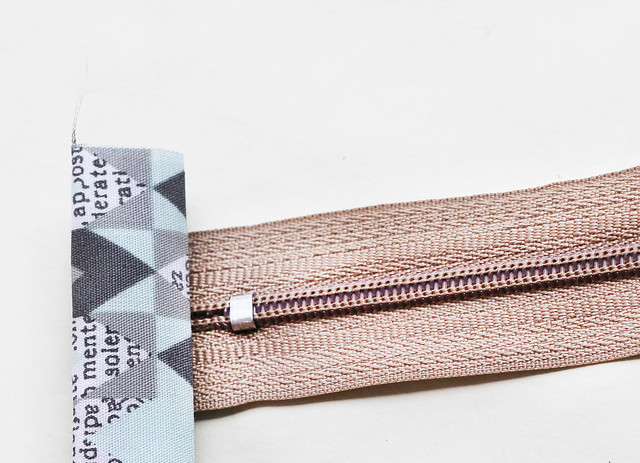
This way, you are making some kind of the tabs or covers for the zipper ends. Cut the strip in two, so that you can cover both zipper ends.
Indelible clutch zipper bag tutorial

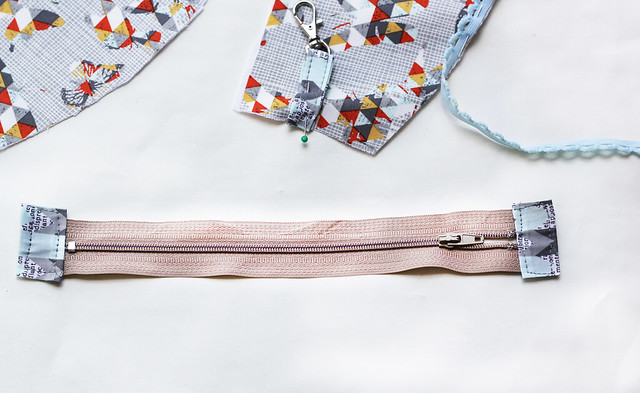
Place the zipper's ends into a sandwich of this fabric tabs. If you want, you can even cover the small metal piece at the end, than just make a bit larger the fabric tab-strip.
Indelible clutch zipper bag tutorial

Topstitch it.

Indelible clutch zipper bag tutorial

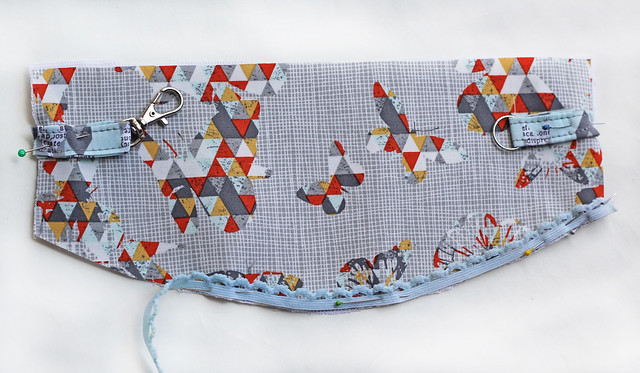
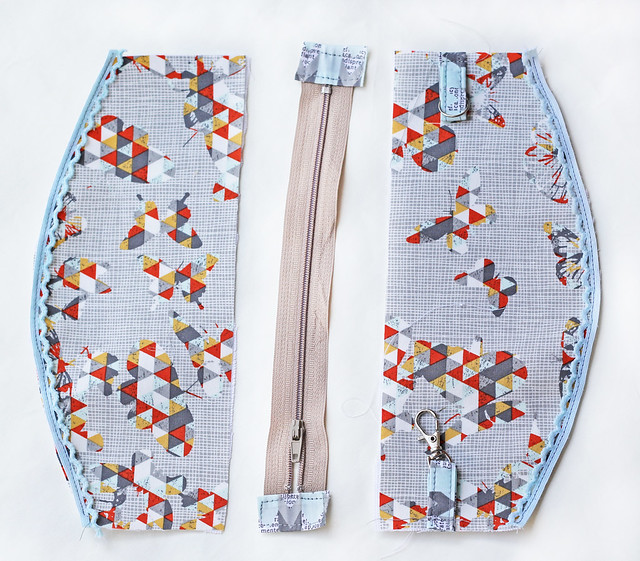
Pin the fabric loops with metal ring and swivel on both sides of one of the upper main pieces, approx. 1" from the upper, zipper edge.
Pin nice decorative trim onto the bottom edges of both upper main pieces and sew it.
Indelible clutch zipper bag tutorial

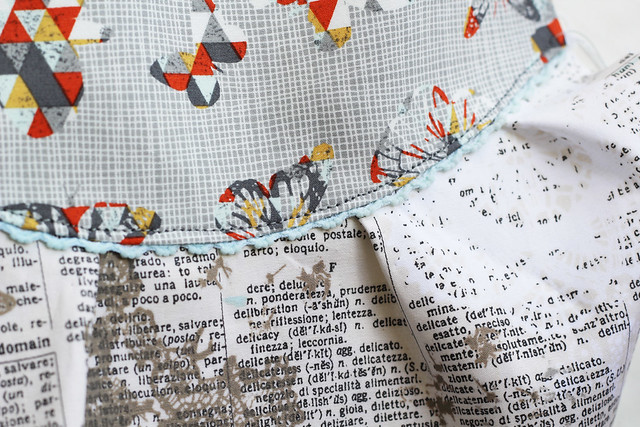
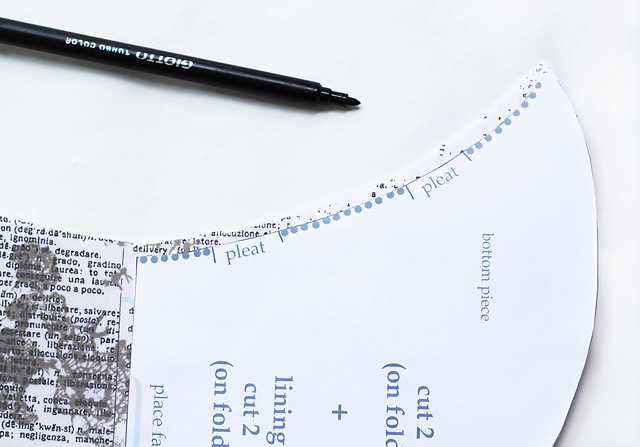
Now lets prepare the bottom pieces, creating the pleats on them.
Indelible clutch zipper bag tutorial

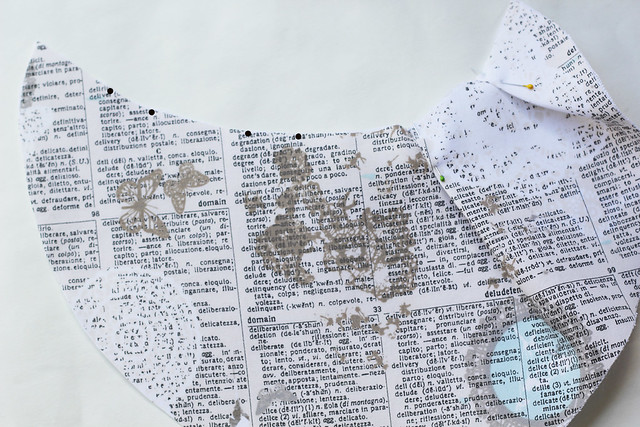
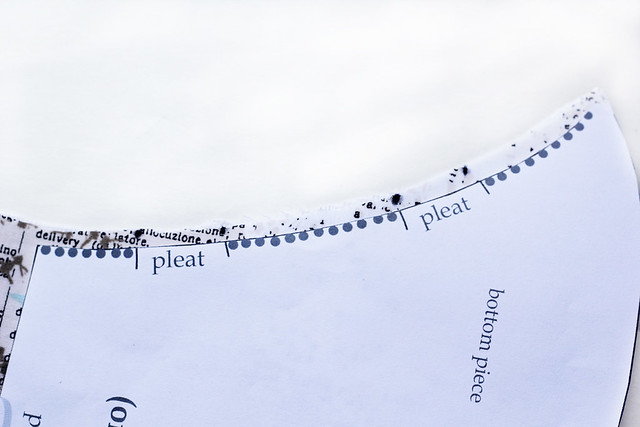
With any kind of the pencil or marker ( it will not be visible), mark the pleats on the right sides of the fabric, both main and lining pieces.
Indelible clutch zipper bag tutorial

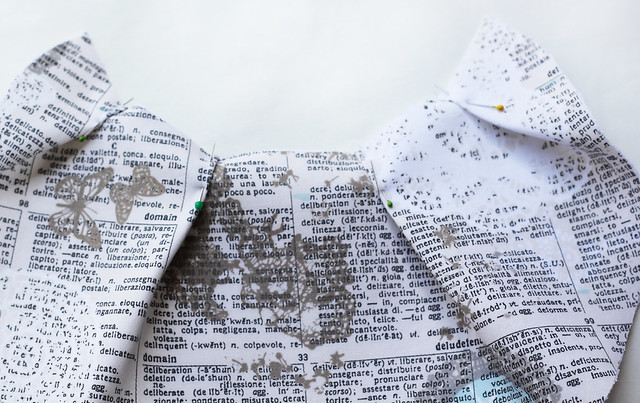
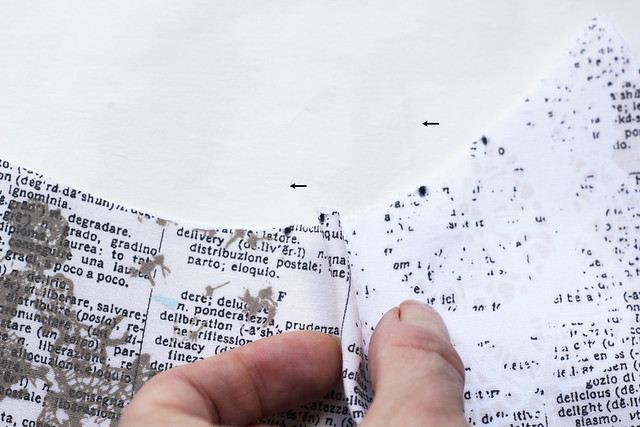
Fold the fabric into a concertina to make the pleats: fold them going toward the center.
Indelible clutch zipper bag tutorial

Indelible clutch zipper bag tutorial

Indelible clutch zipper bag tutorial

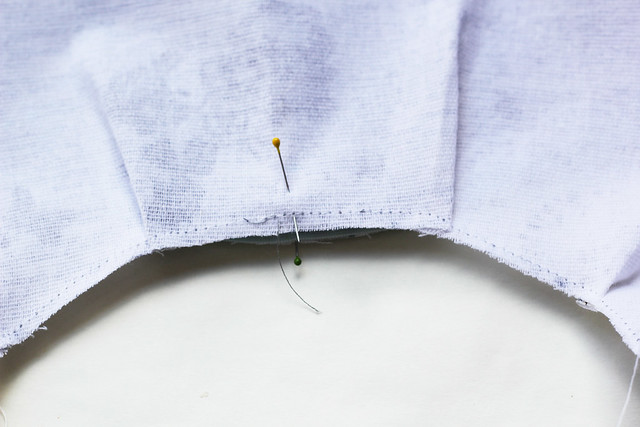
Place pins into the pleats.

Indelible clutch zipper bag tutorial

Stitch over that edge.

Indelible clutch zipper bag tutorial

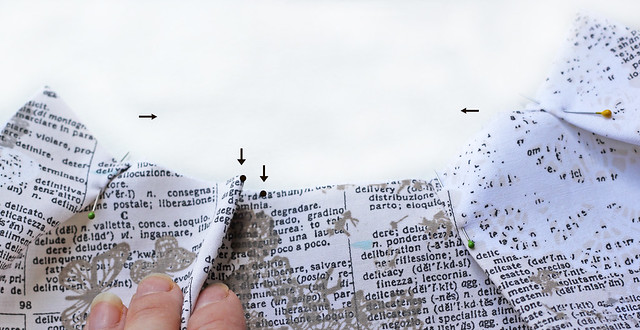
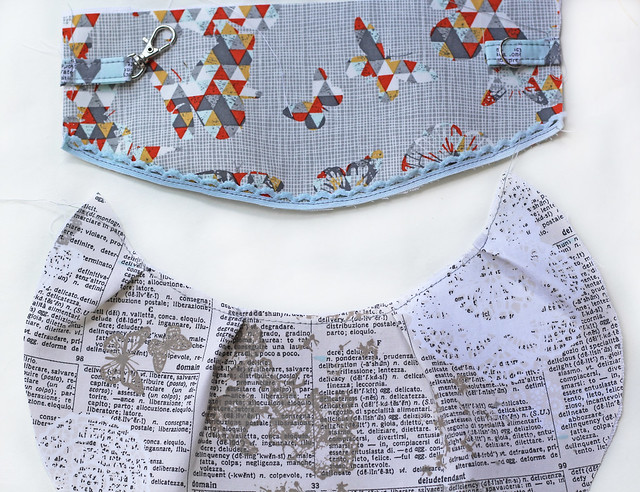
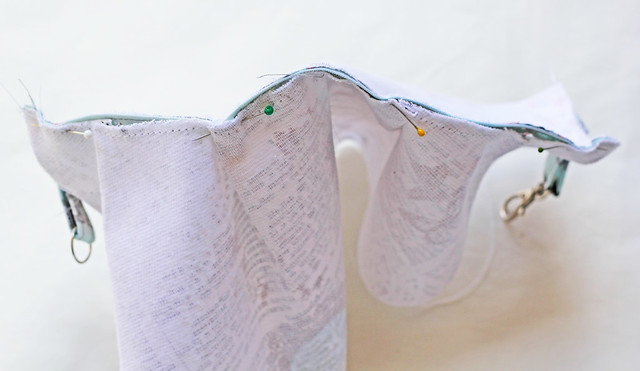
Now we need to join this two pieces together. Find the centers by folding both pieces and marking the centers with pins.

Indelible clutch zipper bag tutorial

Right sides together, match the centers and pin them together.
Indelible clutch zipper bag tutorial

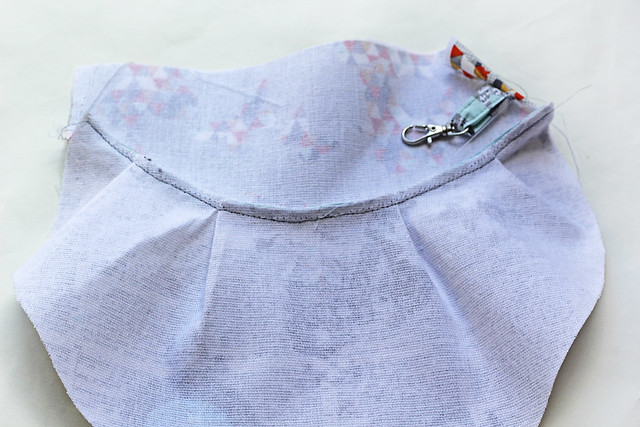
Continue pinning along the edges and sew these two parts together.
Indelible clutch zipper bag tutorial

Indelible clutch zipper bag tutorial

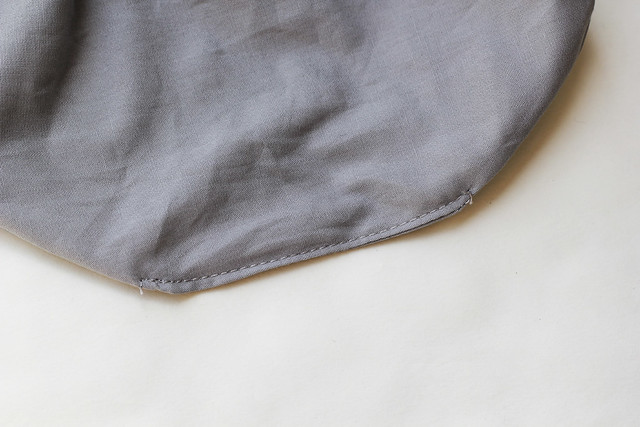
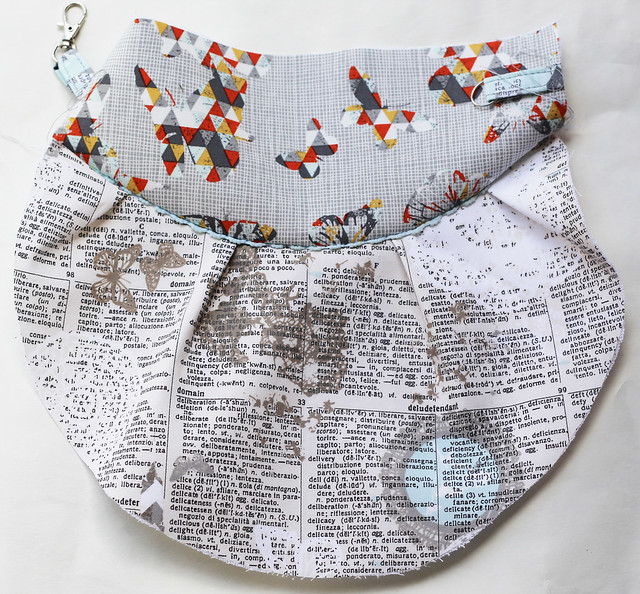
Turn to the right side and top stitch that edges.
Indelible clutch zipper bag tutorial

Indelible clutch zipper bag tutorial

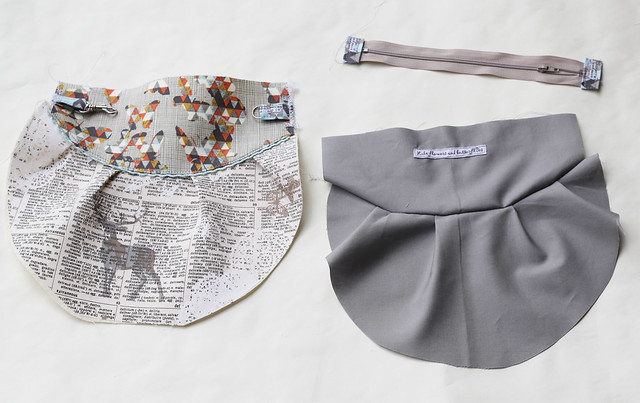
Repeat this on the other side and on the lining pieces.
Indelible clutch zipper bag tutorial

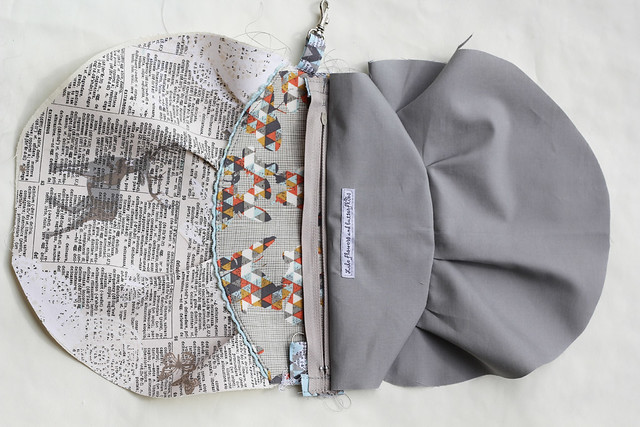
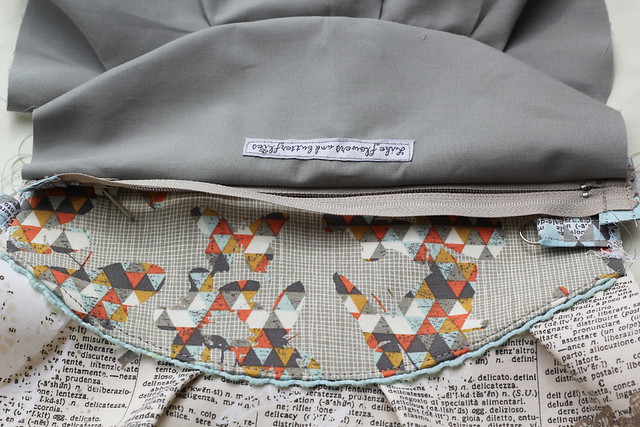
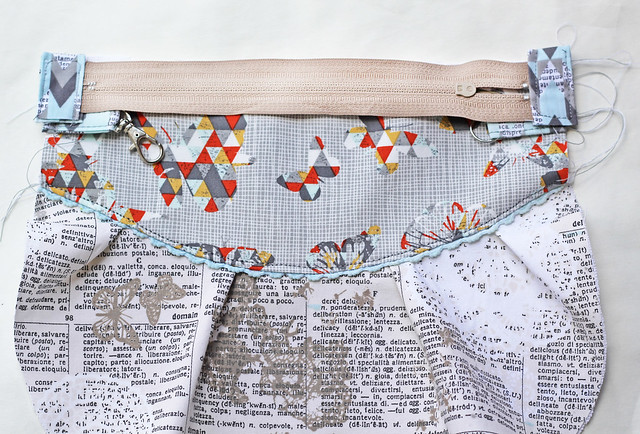
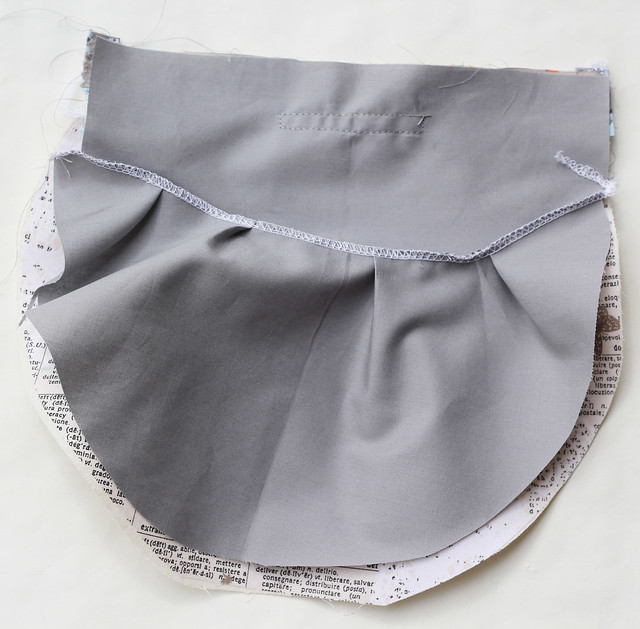
Now let's sew the zipper in a sandwich between the main piece and lining (right sides together), facing the right side of the zipper with the right side of the main fabric.
Indelible clutch zipper bag tutorial

Indelible clutch zipper bag tutorial

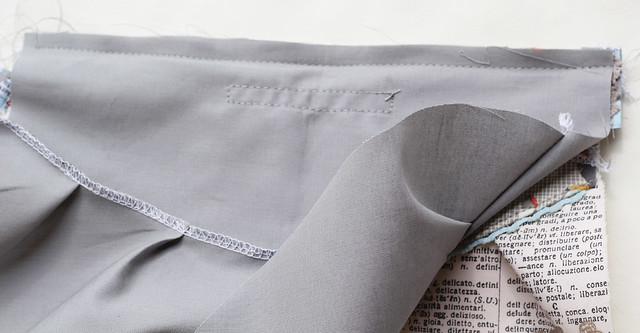
Using your zipper foot (if you don’t have a zipper foot, don’t worry as this can be done with a regular presser foot as long as you go slowly and move the slider to avoid jamming), sew them together using the 1/4" (6 mm) seam allowance. 
Indelible clutch zipper bag tutorial


Indelible clutch zipper bag tutorial

Indelible clutch zipper bag tutorial

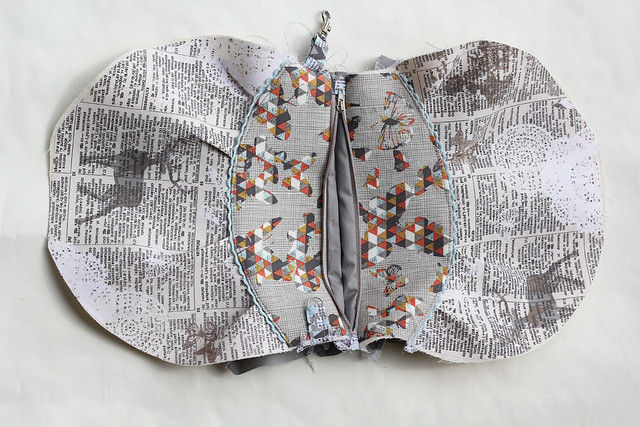
Repeat the same on the other side of the zipper.
Indelible clutch zipper bag tutorial

Indelible clutch zipper bag tutorial

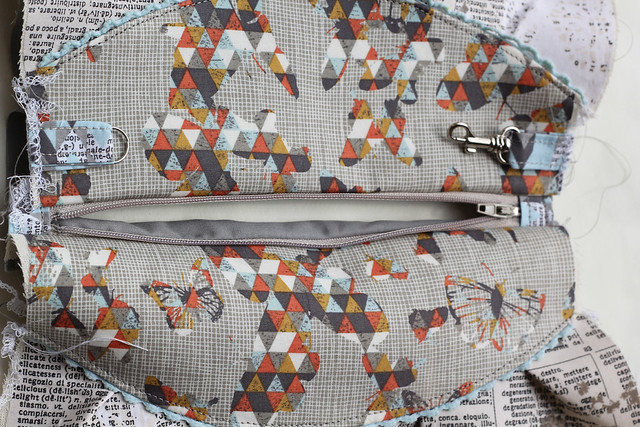
I suggest either pressing (on low heat setting) the both sides at this point or top-stitching.
Indelible clutch zipper bag tutorial

Indelible clutch zipper bag tutorial

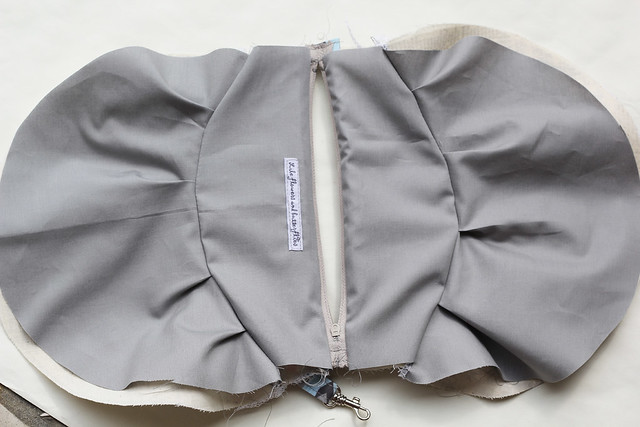
Place right sides of the main fabric together and lining right sides together. Make sure to unzip the zipper so that is in the middle of the pouch (as you will need to turn the pouch through that gap).
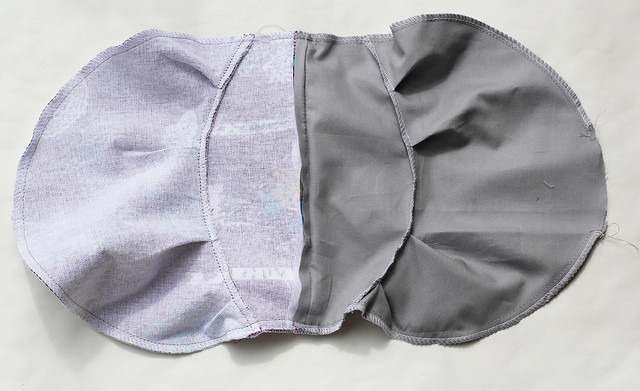
Indelible clutch zipper bag tutorial

Starting from the lining part, sew all around (be careful when sewing over the zipper) using the 1/4 seam allowance (6 cm). Stop sewing approx. 3-4" (7-10 cm) from the starting point, as you need this gap for turning the bag inside out.
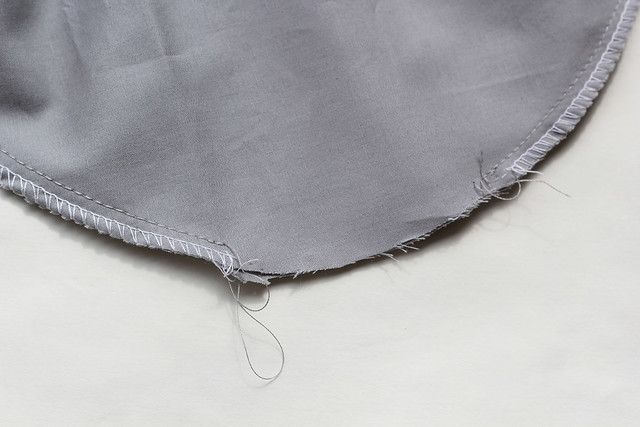
Indelible clutch zipper bag tutorial

Through that gap, turn the bag inside out.
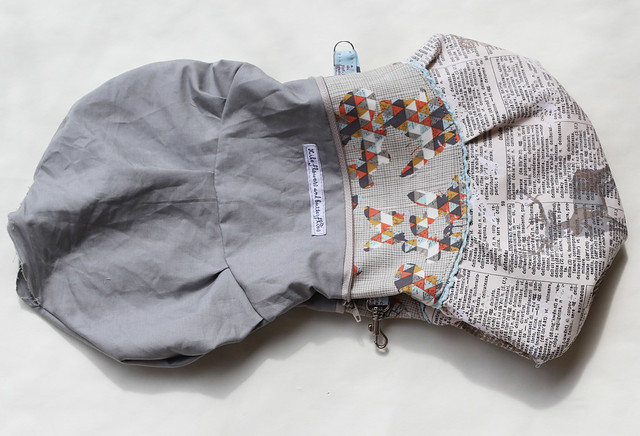
Indelible clutch zipper bag tutorial

Check if you have sewn all nicely, especially the zipper area.
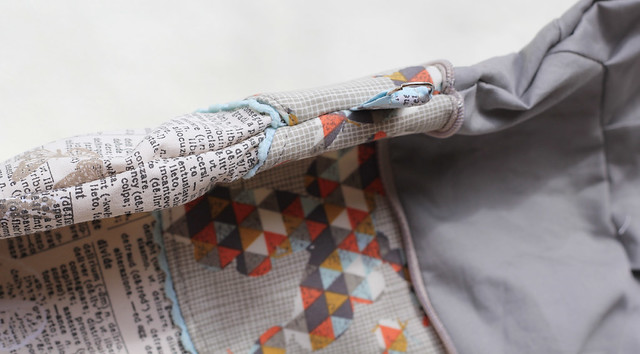
Indelible clutch zipper bag tutorial

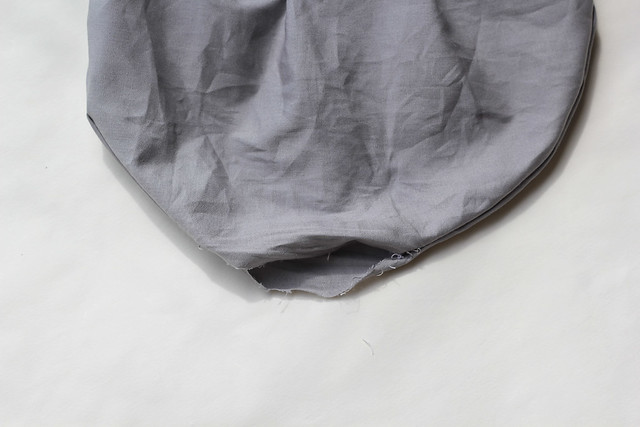
Press the bag and close(sew) the gap.
Indelible clutch zipper bag tutorial

Indelible clutch zipper bag tutorial

Push the corners out (the zipper's ends) and put the lining inside.
Now you are all done with the bag and just need to sew the handles. Cut an approximate 30"(make it shorter or longer, upon your needs) x 3" strip of fabric. Fold it in half lengthwise and iron it, then open and press both sides toward the center crease and press center crease.
bag straps bag straps

bag straps bag straps

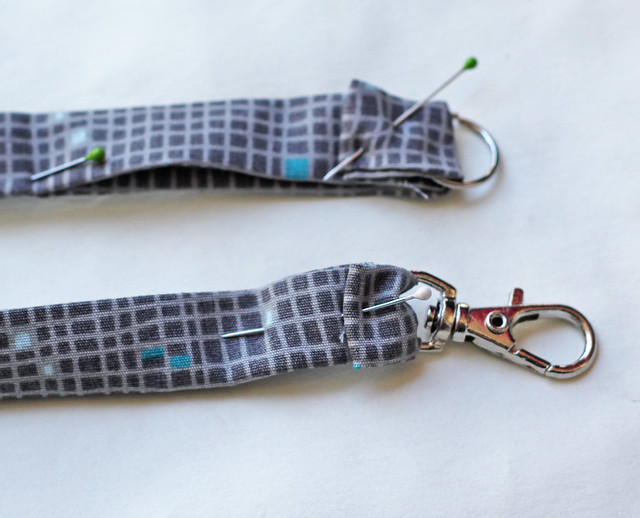
Insert the metal ring on one side and Swivel on the other side. Pin and sew all way around.
Indelible clutch zipper bag tutorial

Indelible clutch zipper bag tutorial

Hope that this was useful and that you will make tons of these (and add them to my flickr groups):

x projects using this or any of my tutorials or patterns, please add them to my flickr pattern group and
x projects using Indelible fabrics, please add them to my flickr Indelible group

xo, Katarina