. . . . . . . . . . . . . . . . . . . . . . . . . . . . . . . . . . . . . . . . . . . . . . . . . . . . . . . . . . . . . . . . . . . . . . . . . . . . . . . . . . . . . . . . . . . . . . . . . . . . . . . . . . . . . . . . . . . . . . . . . .
Showing posts with label bag. Show all posts

Friday, 31 October 2025

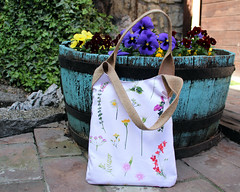
Barcelona tote bag tutorial


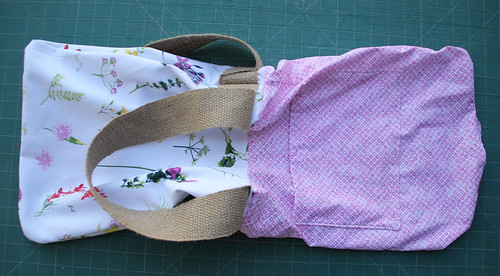
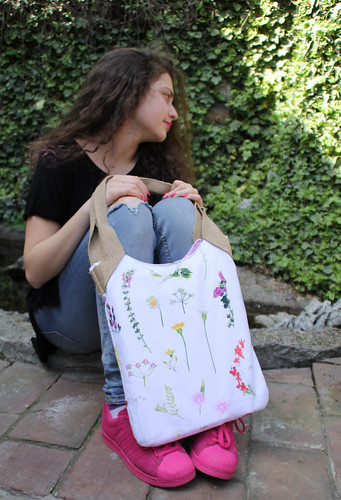
Tote bags are such fun, quick projects that combine practicality with creativity. This time, with my Barcelona fabrics, I wanted to make a larger version (14" x 20"- 35 × 50 cm finished size) that’s perfect for everyday use, whether for errands, storing sewing supplies, or carrying books and fabrics.  

I found a beautiful tutorial and pattern for the “DIY Tote Bag With Pockets” by Qrei Handmade, and I was using the same principles and construction, but adapted it to a slightly bigger size. It features two practical side pockets, a spacious interior, and a sturdy, structured look that still feels soft and handmade. I couldn’t resist adding front pockets — the space between the handles was just asking for them!


The video is great to watch and very detailed, so I will just add the measurements that I've adopted for my bag.

Here's a list of materials & Cutting

PieceCut fromSize (cm)Notes
Outer bag front & backMain fabric13" × 17" (2 pieces)
Lining front & backLining fabric13" × 17" (2 pieces)

Front Pocket panelsMain or contrast10" × 16" (2 pieces)
Side pocketsContrasting fabric 7" × 16" (folded on the longer side-2 pieces)
Interfacing / stabilizer
same as outer piecesFor added structure
(Optional) small pocket insideFabrice.g. 13" × 14"  (1 piece folded in half and divided in two compartments)For internal storage

Zipper                                                      16" long (1 piece)

Recessed ziper panels    Fabric                2" x 14" (2 piece main + 2 pieces lining)                     

Handles                        Jute webbing       40" (2 pieces)    

Gusset                          Main or contrast   4" x 40" (1 piece main + 1 piece lining)    

Hook tabs                     Main or contrast   4" x 6" (1 piece to be cut in two)

Seam allowances: plan for 1 cm seam allowance all around (or whatever your machine standard is — adapt consistently).


If you’ve been wanting to sew a functional yet beautiful tote bag, this is a great project to try — easy to follow, beginner-friendly, and full of possibilities for mixing your favorite prints and textures. 


Tuesday, 8 July 2025

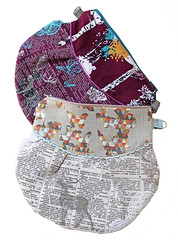
Wooden kiss lock frame pouch bag

When I spotted this beautiful 6" wooden kiss lock frame at a local craft shop, I couldn't resist picking it up. It came with a set of small screws—perfect for securely fastening the layers of fabric sandwiched together.

There’s something so satisfying about that click of a wooden kiss lock frame closing around your handmade creation. These retro-inspired pouches are perfect for carrying small essentials—or gifting with flair.

Feel free to download the paper template I used for this bag.


🧵 Materials You’ll Need:

  • Outer fabric: 2 pieces (10" x 14") – quilting cotton or linen works beautifully

  • Lining fabric: 2 pieces (10" x 14")

  • Fusible fleece, foam or batting: 2 pieces (approx. 9.5" x 13.5")

  • 6" wooden kiss lock frame 

  • Coordinating thread

  • Fabric glue (optional, but helpful for positioning)

  • Your usual sewing tools: scissors/rotary cutter, pins or clips, iron, sewing machine

✂️ TIP: If you're using directional fabric, make sure your pattern faces up from the bottom of the pouch!


Step 1: Cut your outer and lining fabrics using this template

As my main fabric wasn't directional, I cut it as a one piece, rather than 2, shortening the central part (bottom seam allowance line).

Step 2: Fuse the Fleece

Iron the fusible fleece (or foam) to the wrong side of your outer fabric pieces or simply quilt the batting to the main fabric for more textured look, like I did.

This gives your pouch structure and a soft feel.

Step 3: Sew the Outer & Lining Pieces

Outer Fabric: Place right sides together and sew around the sides and bottom using a 1/2 " seam allowance.

Lining Fabric: Repeat the same process but leave a 2–3" turning gap at the bottom.

Step 4: Join Outer and Lining

  1. Turn the outer pouch right side out. Keep the lining inside out.

  2. Nest the outer pouch inside the lining—right sides should be facing.

  3. Align and clip top edges and sew around the entire top curve.

  4. Pull the outer pouch through the gap you left in the lining.

  5. Stitch the gap closed with a small ladder stitch or machine-stitch close to the edge.

  6. Push the lining into the pouch and give everything a good press.


Step 5:  Attach the Wooden Frame
  1. Slide the top edge of your pouch into the frame evenly.

  2. You can use a small amount of fabric glue to hold it in place.

  3. Use the screws to fix everything together for extra security.

  4. Repeat on the other side.


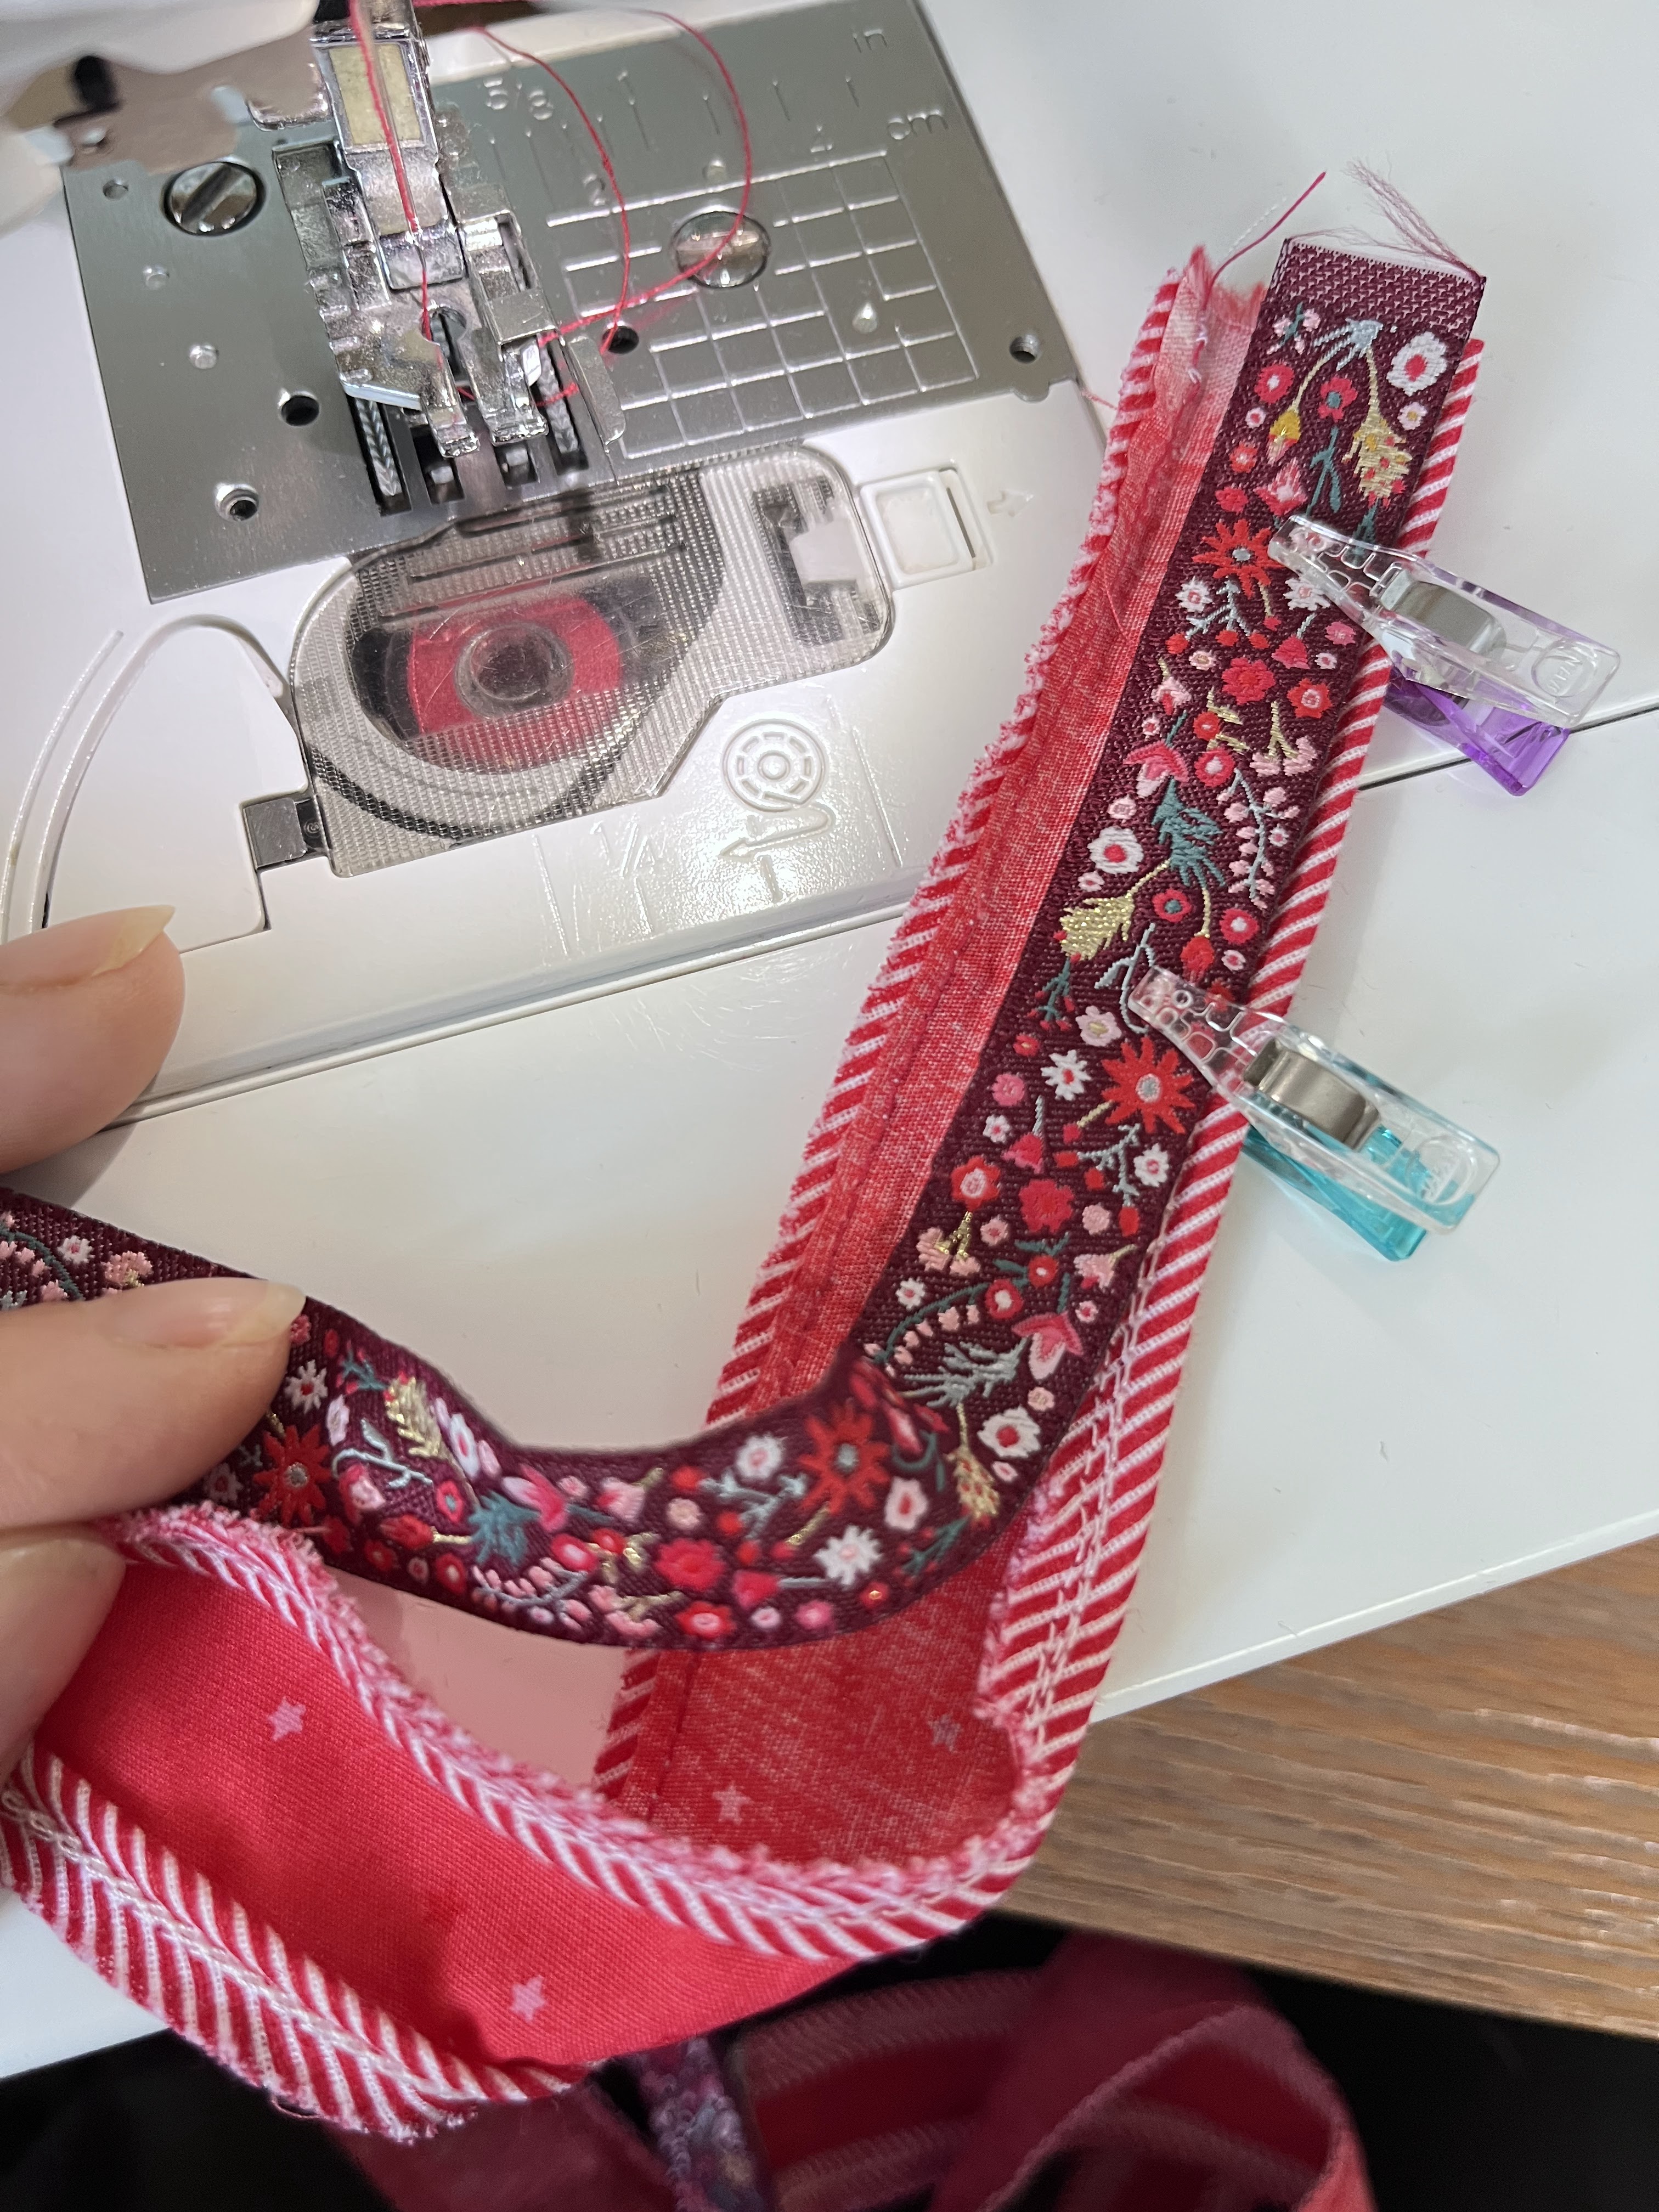
I also stitched up a matching fabric and my Adventale Renaissance ribbon handle, embellished with piping for an extra touch of flair.


I hope that this was helpful! I certainly loved creating mine!!!


xx,
Katarina

Tuesday, 3 June 2025

Adventale ribbons collection with Renaissance ribbons


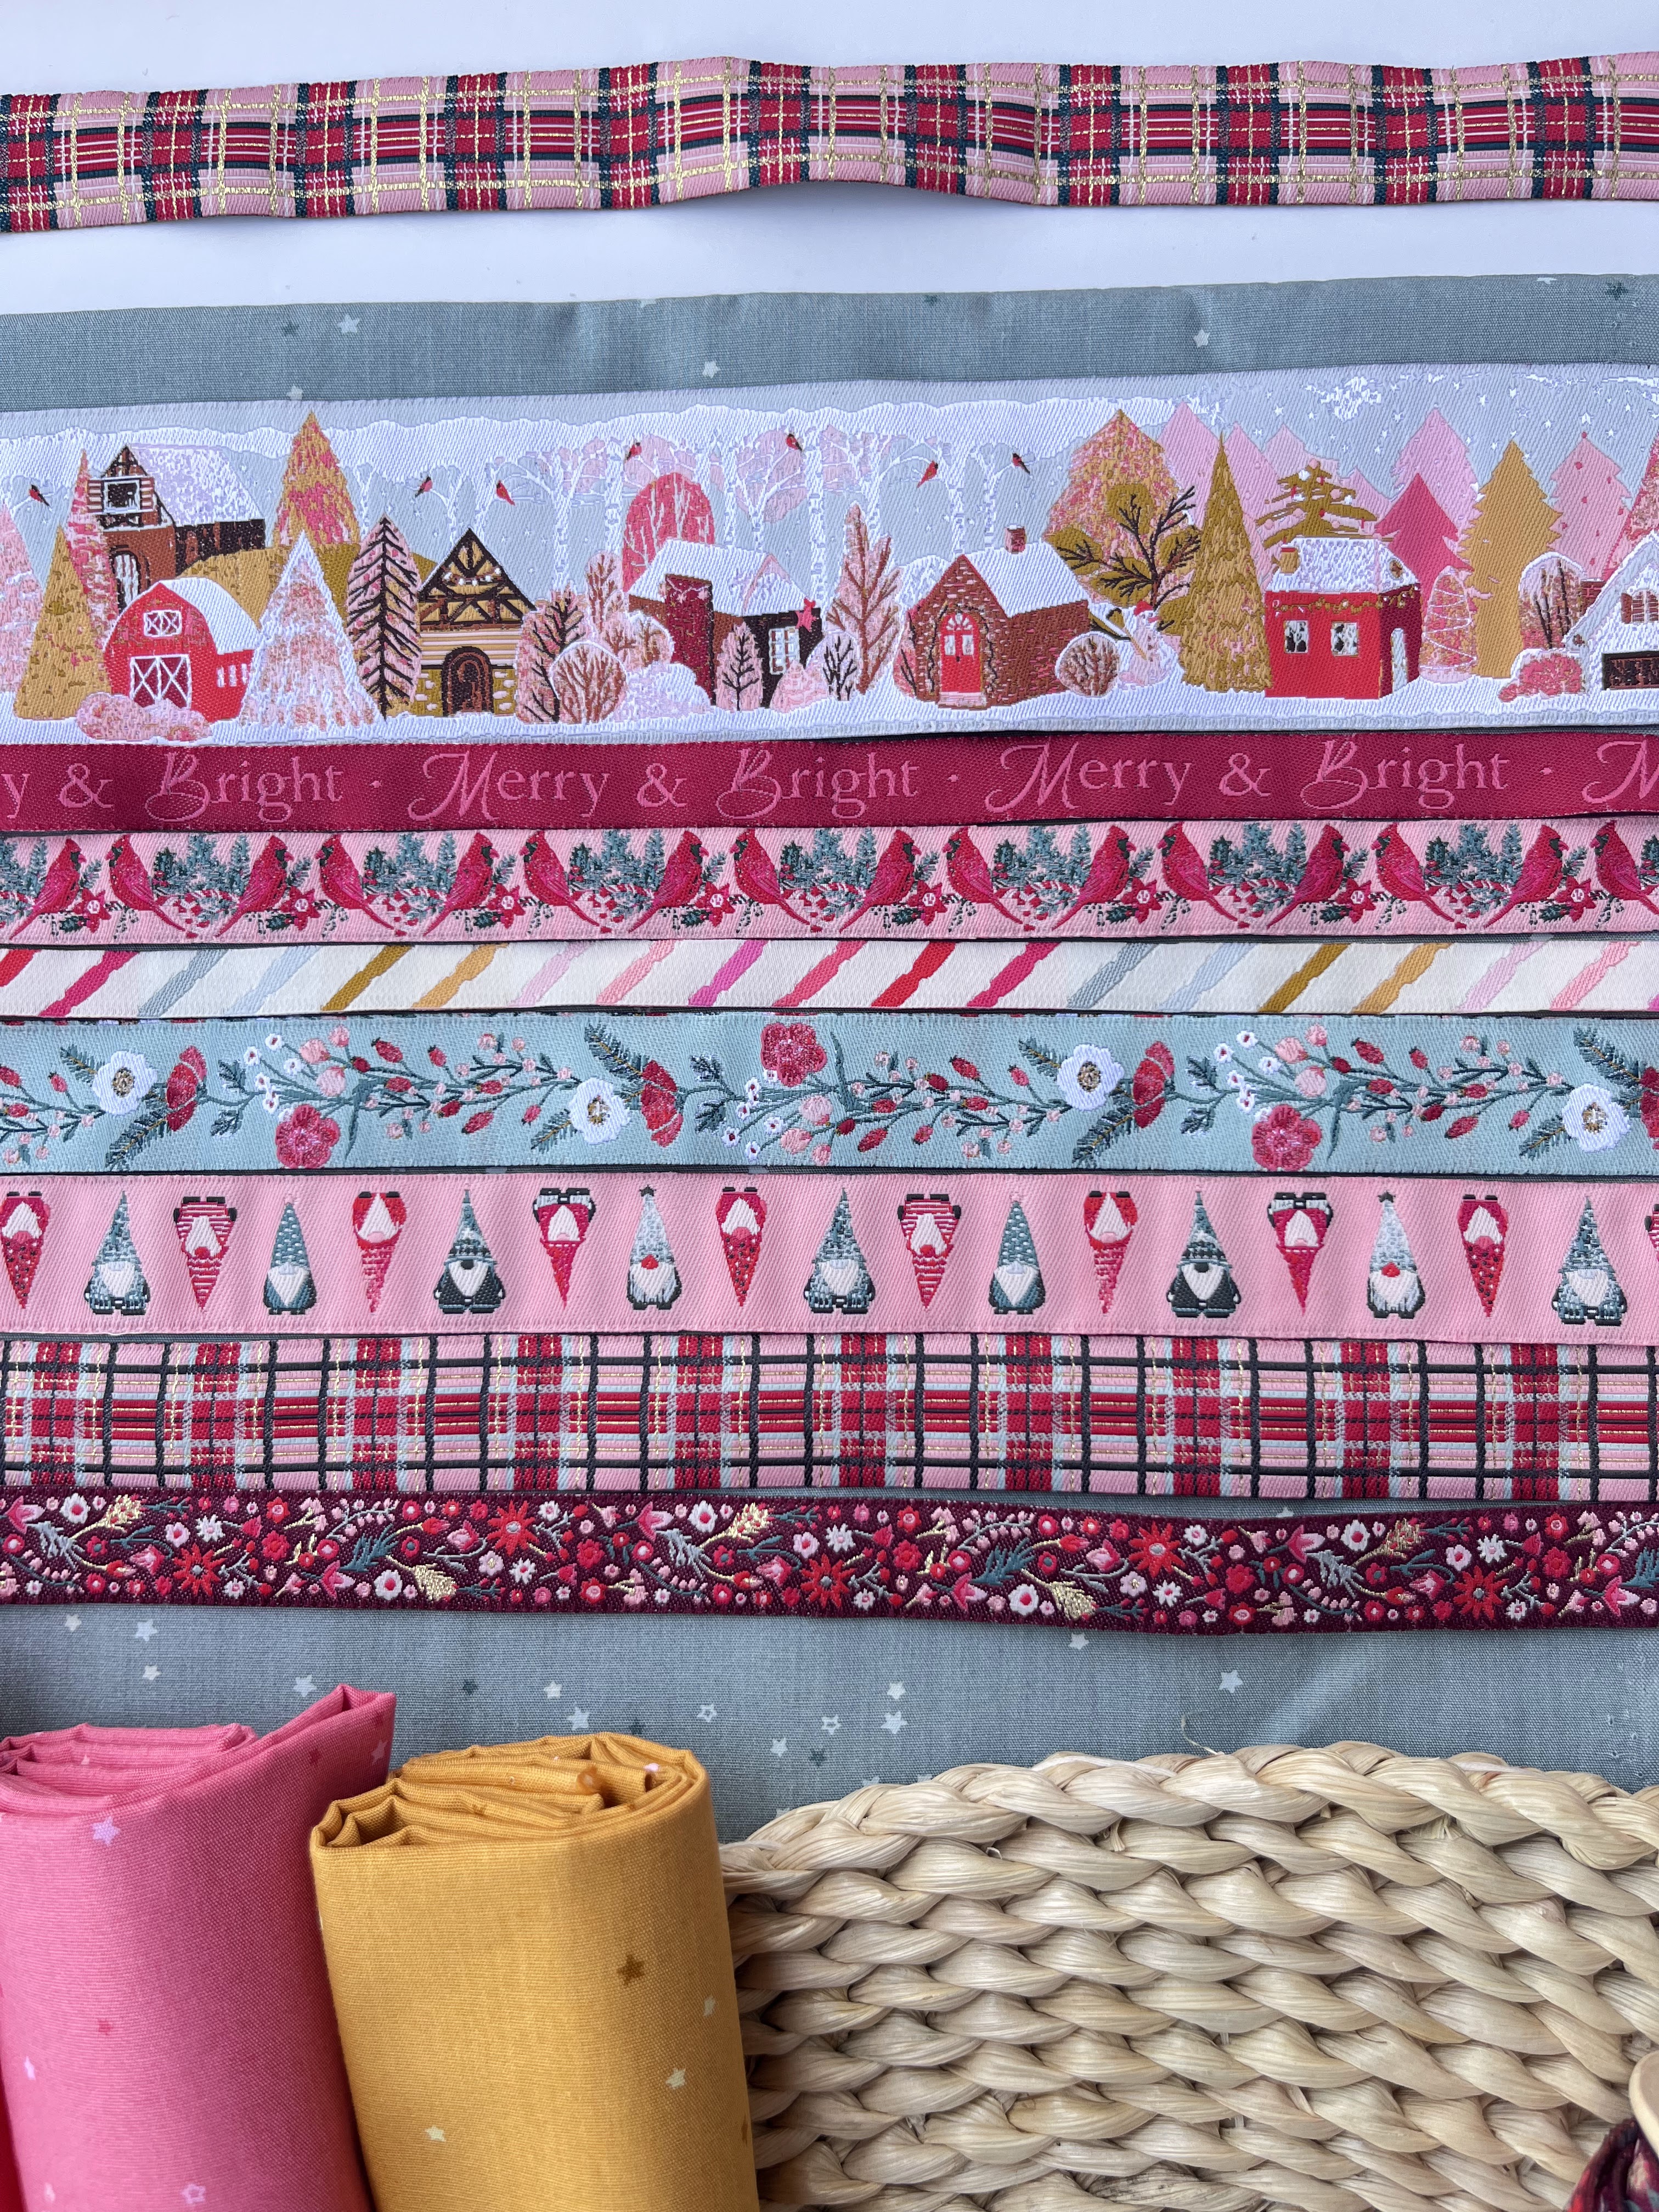
I am thrilled to introduce a brand-new extension of the Adventale world: the Adventale Ribbon Collection licensed with the Renaissance ribbons.


This beautifully curated line of ribbons brings the soft, wintry essence of Adventale to a new medium—perfect for adding a heartfelt, handcrafted touch to gift wrapping, sewing projects, journaling, and more.


Designed with the same attention to detail and aesthetic as the Adventale fabric collection, each ribbon carries the warmth, nostalgia, and storybook charm you've come to love.

🌿 Available June 2025
🎁 Ideal for makers, crafters, and gift-givers
💌 Limited release—once it’s gone, it’s gone


Designing it was such a joy, and using it on my first project (a little pouch!) truly felt like a dream come true.
I loved the idea of using these ribbons as the central accent of the pouch (it's a free video tutorial)
But they came handy to be used for/as handle, tabs and ribbon-sliders.


I can’t wait to see how you use these delicate designs to embellish your projects and wrap your world in the magic of Adventale.

Friday, 6 July 2018

Large patchwork handbag with wooden handles - tutorial


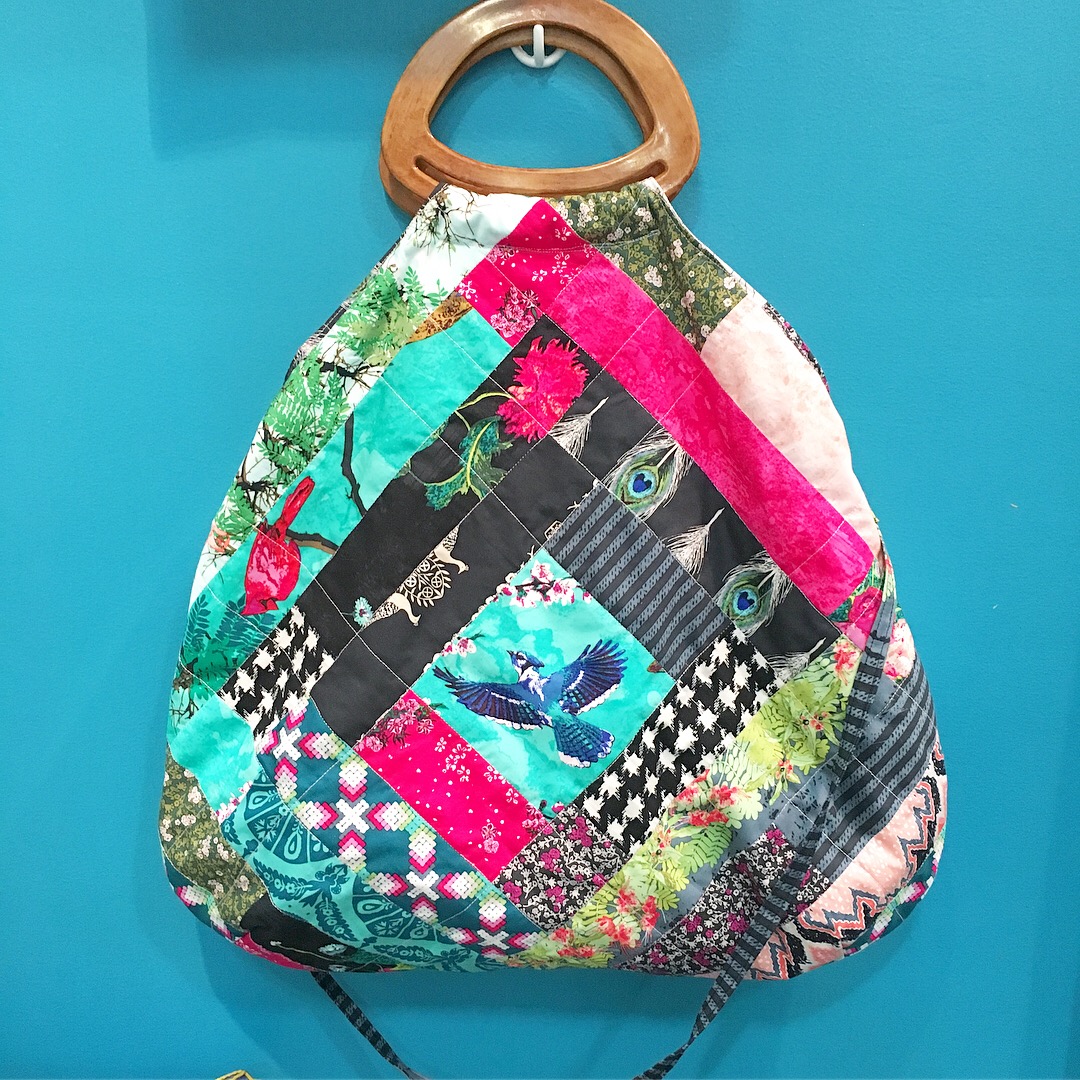
As Decadence fabric collection has started shipping to shops and we are preparing the Look book projects, I figured I can try to explain how I created my Large patchwork handbag with wooden handles, that was exposed in my Portland quilt market booth.


As I had very limited time to prepare all the items for my booth, everything was put together very quickly, without precise patterns to follow and unfortunately, without step by step pictures of making them. What I regret the most is that I didn't take any picture of the patchwork I did, before turning it into a bag :(
But, well I know that most of the quilters have many quilt remnants and unfinished quilt or pillow projects-and this can be a great way to quickly turn them into something usable!!!!


So, any kind of patchwork, quilt block or even any kind of fabric can work great for this.
My big log cabin patchwork blog was approx. 24 x 24". The central squares are 5" and the strips were cut to 2.5". As these were only the fabric strike offs, some were longer and some shorter, I just almost randomly pieced them together to a very long strip, which I was cutting as needed to do the log cabin piecing around.

Anyway, if starting from scratch- HERE's how to make the log cabin block! Just add another strip or more to all 4 sides, to obtain bigger block. You can use it like that, or rotate it into a diamond shape, like I did ;)

As my collection has 2 palettes (color stories: Demure and Lush), I just tried to play with one side of the bag featuring one palette, while the other was featuring the other one. It's good as now I can choose which side to "wear",  depending on my outfit ;) or surrounding?


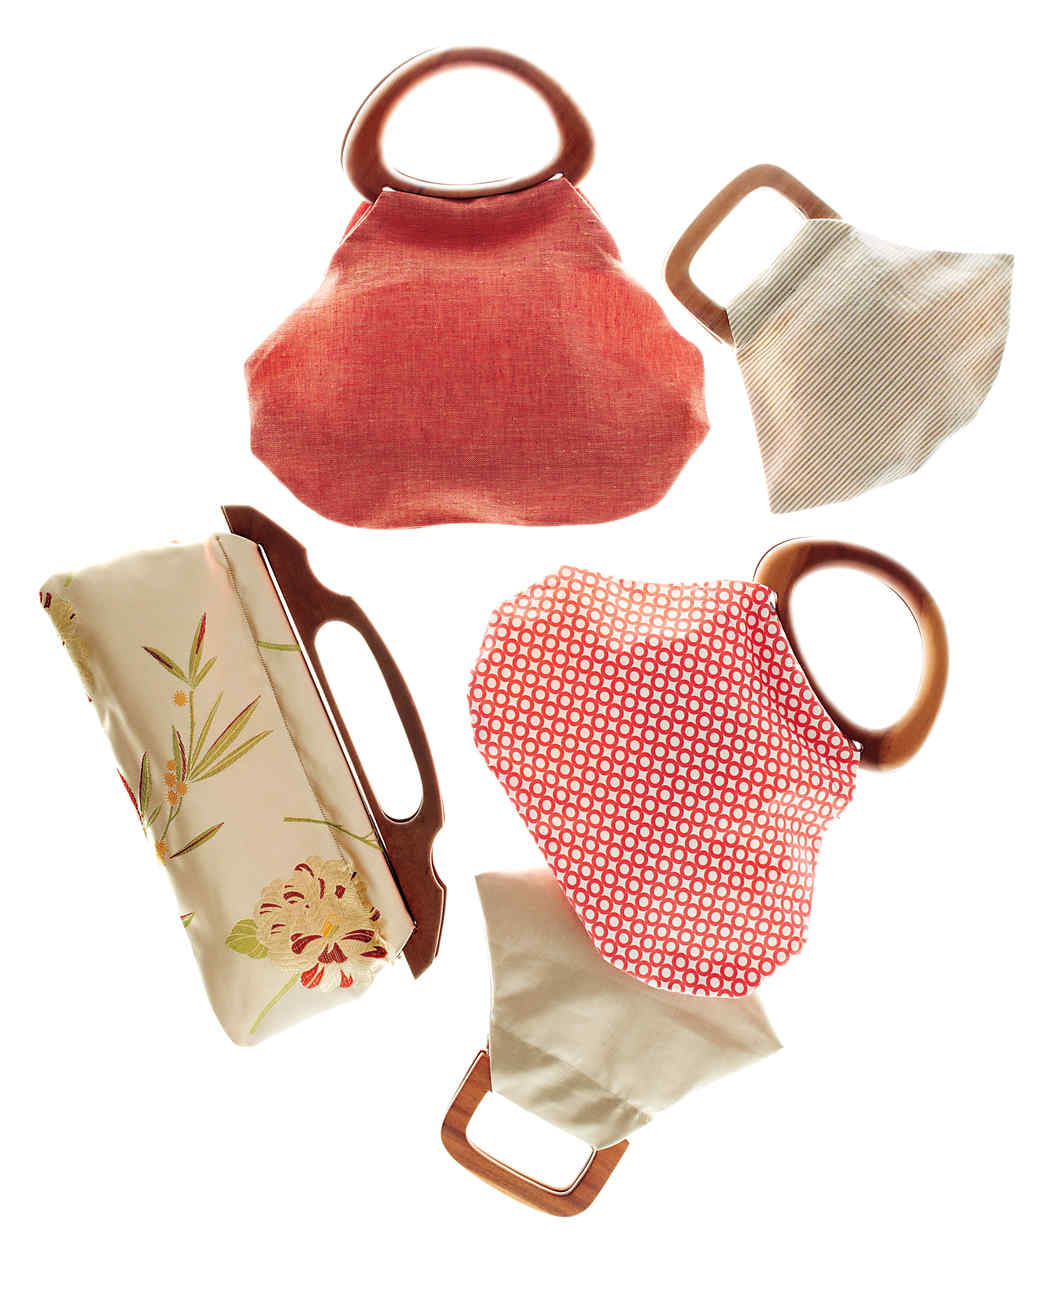
So, in one local craft store I bought the wooden handles and just had to use them. I never used before any bag pattern with these kind of handles, but have found THIS very nice article/tutorial by Martha Stewart with patterns for many types of handles and also sources where to shop for the handles etc.

So, it was easy to draft the handle allowances looking at those patterns. The body of the bag is pretty much taken from my birdy bag, as well as side attachment details for the shoulder strap-only that it was much thinner than the original one.


I am happily wearing my bag daily and getting so much compliments for it's unique look.
Hope that this will inspire you to make one too!!!
Happy sewing!
xx, Katarina


Monday, 4 April 2016

Lavish library bag tutorial


Spring has officially sprung and so my Lavish fabric collection is making it's appearance in the fabric stores! I didn't make any introduction post about inspiration and prints from the collection, but will do that very soon, once the look book will be out ;)


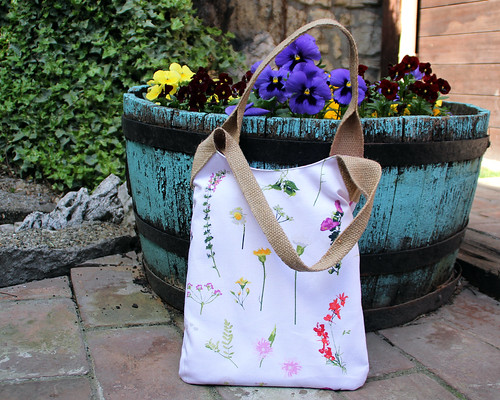
But, what I did almost the same moment I got fabrics, was to create a bag and a free tutorial for the bag, so that it may eventually inspire you to create something that easy and useful as well. For the first time, I used AGF canvas substrate to make a bag and I really love how it turned out, especially as it didn't require any additional stabilizer or interfacing, as the material is strong and has the perfect weight for bag making.
3

Finished size of this bag is: 14 x 11. 5".

Here is what you'll need:

Needed supplies:

1. fabric: 1 fat quarter of the canvas fabric for the main sides (canvas is 58/59" wide, so one fat quarter is 18 x 29")  + 1/2 yd of regular quilting weight fabric for the lining  
I used my Lavish C-26809 : Petal Picking Dainty fabric for the outside and LAH-16804
Seeds of Dahlia for the lining

2.  54" of 2" wide hemp or jute webbing for the handles
3. sewing machine, thread (for the best results - use Aurifil), scissors, ruler, rotary cutter, pins, iron
I used Aurifil 40wt and Schmetz leather needle (90/14)-great for medium to heavy weight fabrics and webbing

So, let's get started!

Prepare your fabrics (eventually wash them, if you prefer to prevent some shrinkage and press them nicely prior to cutting).

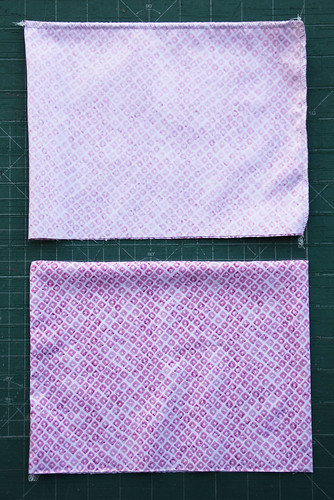
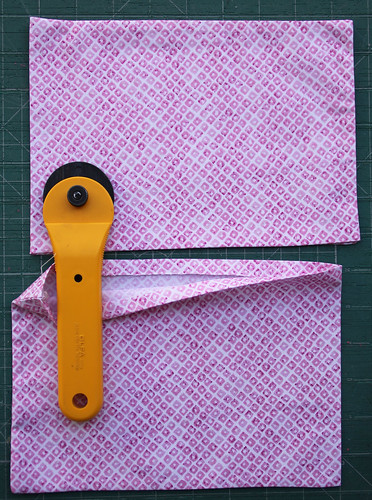
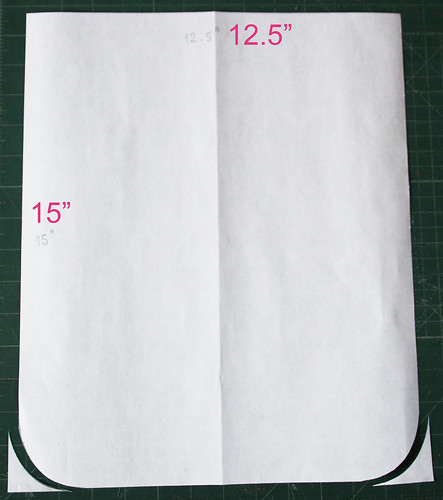
The good thing about this pattern is that you don't need to print and tape any paper template. If you want to make the bag in this dimension, like mine, just cut 2 rectangles measuring 15 x 12.5" each in the main fabric and also 2 rectangles, of the same size from the lining fabric. Additionally and as optional, you can use the left over piece of the lining fabric to make 2 inside pockets.
As you can notice, I rounded the bottom corners (because I didn't calculate any darts), using the round cup's lid.

38

37

But you can also make this bag much bigger in size, like maybe 18 x 16"- horizontally or vertically (in that case just be sure to add a bit more hemp webbing for handles and eventually make some darts to add more comfort inside and also, eventually add a magnetic snap closure inside - I am definitely making another bigger in size with these tips).

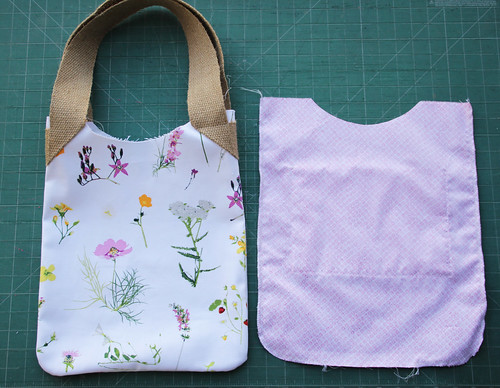
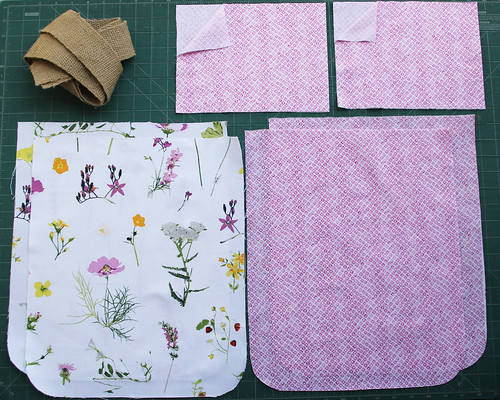
So, here's what we have and need:
36

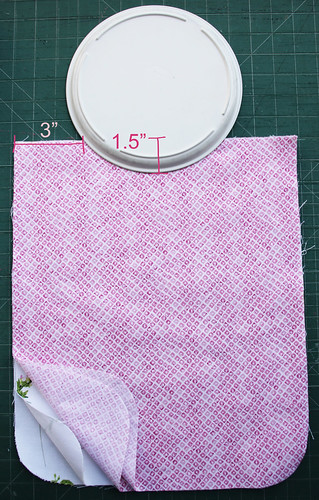
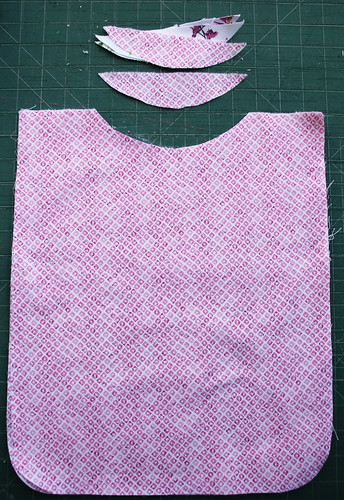
They can be used that way, or you can customize the shape a bit more, like I did, by opening a bit more the arm holes. As you can notice, I love "fancy tools"!!!
35

Here, much better, looking like giant bibs!
34

Now for the pockets (you can click on the pictures to allow better view):
33 32 31

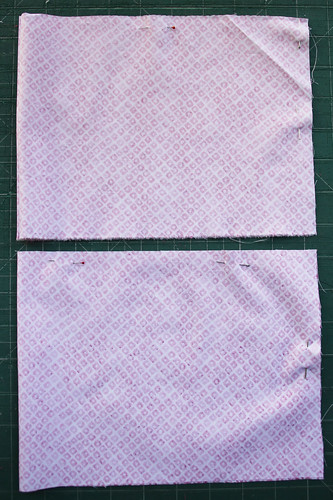
take two pieces of the lining fabric measuring 18 x 6.5" each, fold them on the shorter side, right sides facing, and pin on the two sides (one side has to remain open, allowing turning inside out). Sew these two sides closed and turn them inside out. Press them and also press the ends of the open side (approx. 1/4" seam allowance) inside. Pin the pockets to the both lining pieces.
30

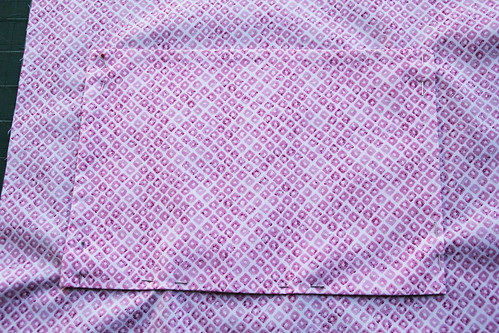
Sew the pockets on all 3 sides: laterals and bottom.
29

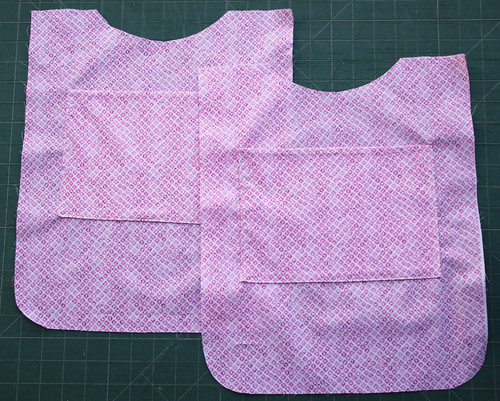
The inside parts are ready to be sewn together - so place them on the top of each other, right sides together, pin and sew all the way around, leaving the bottom gap open (approx. 6").
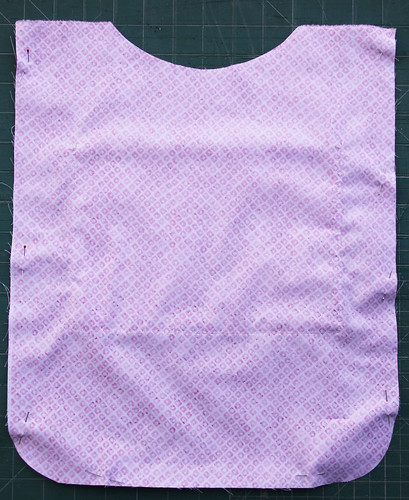
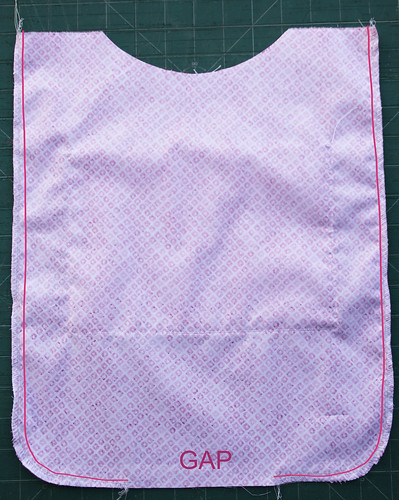
28 27

Now, let's prepare the main pieces: adding the hemp webbing handles to it:
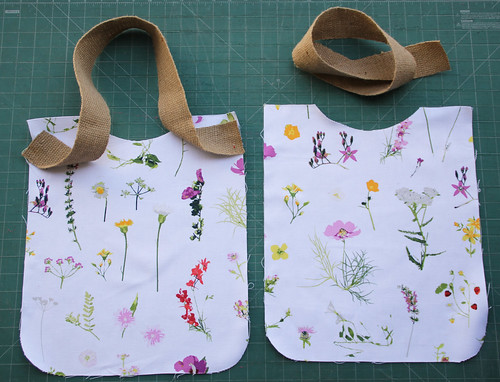
26

I used 27" long hemp webbing for each handle, but you can easy customize this  size according to the bag size or your need (if you prefer them shorter or longer, maybe).
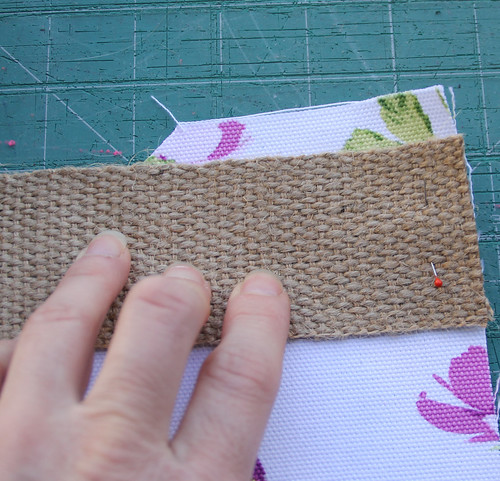
25

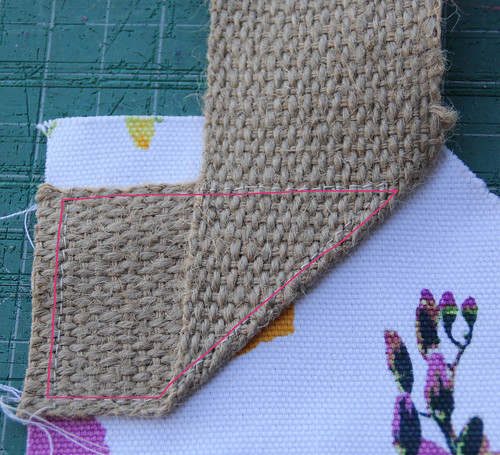
Pin the ends of the hemp to the both lateral sides, positioning them approx. 1/2" from the upper side (this will permit secure and easy sewing when joining the lining to the exterior fabric)
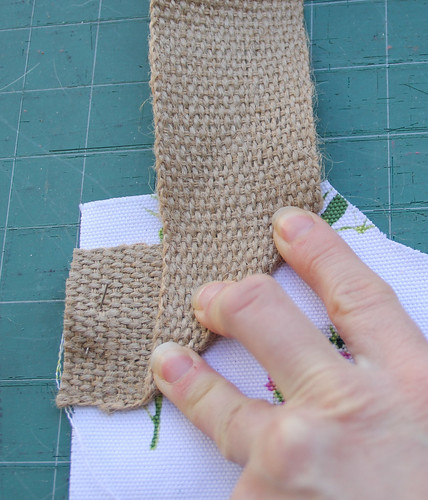
24

Now, turn the webbing like shown on the picture, guided by that nozzle made on the upper side, taking care that it's also a bit (like 1/2") away from the main fabric's edge (otherwise, you will have difficulty to sew).
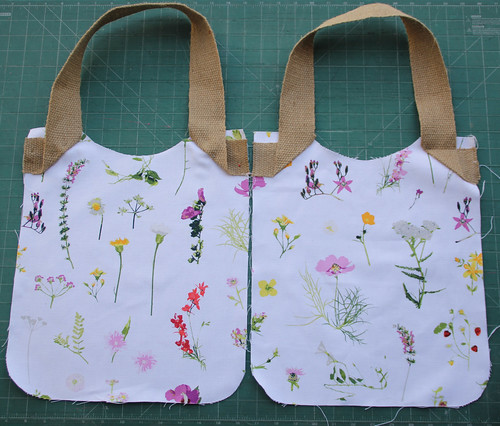
22

Pin and sew these endings like this:

21

Now pin and sew front and back outside pieces on the top of each other, right sides together.
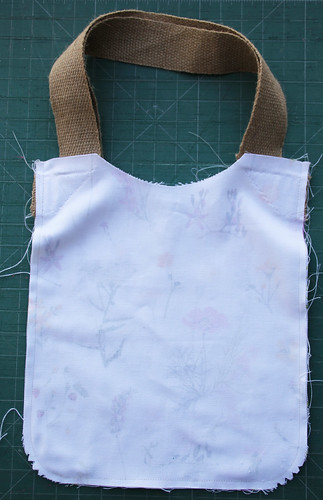

20

Clip the rounded corners a bit, to prevent scrunching.
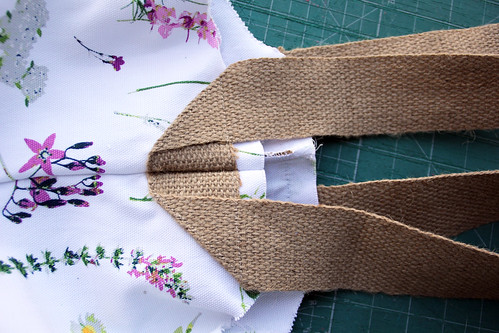
19

Turn the bag inside out.

18

Place exterior part of the bag inside of the lining part of the bag, or vice versa (right sides together).
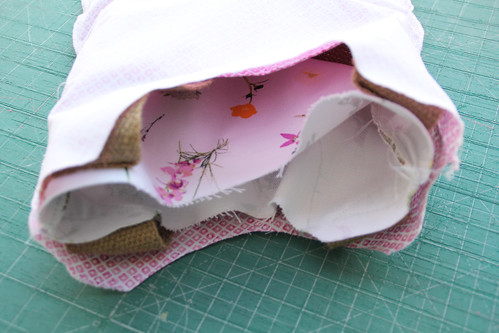
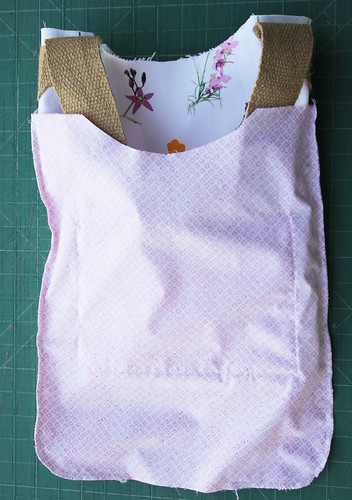
17


16

Pin and stitch the lining to the exterior, all the way around on the upper side, making sure that you don't entangle the handles.
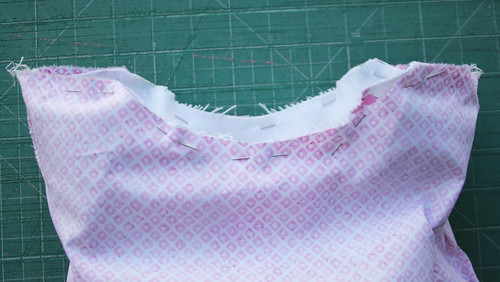
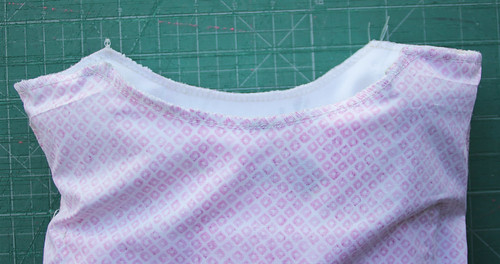
15

14

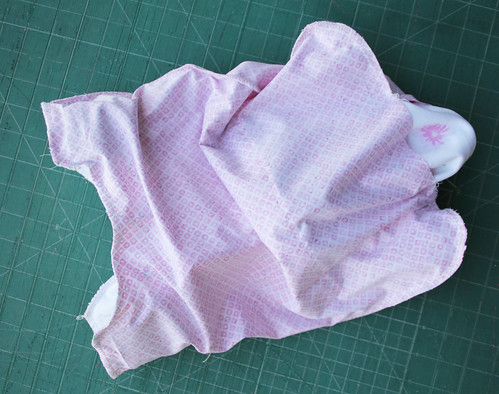
Turn the bag inside out through the lining's gap and stitch the opening gap closed.

13

12

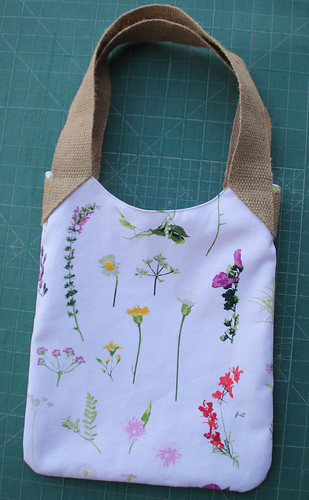
Press the seam around the top line of the bag and do the top stitching, passing over the handles as well.
11

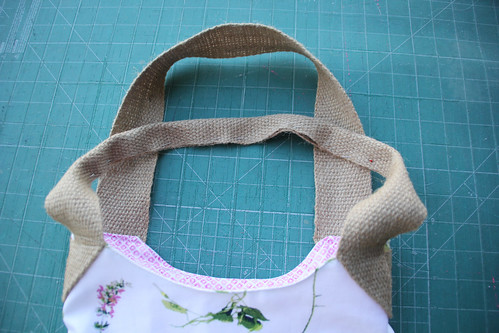
You can leave the handles as they are, or you can eventually stitch them by folding mostly the central part, that will go over your shoulder.
10

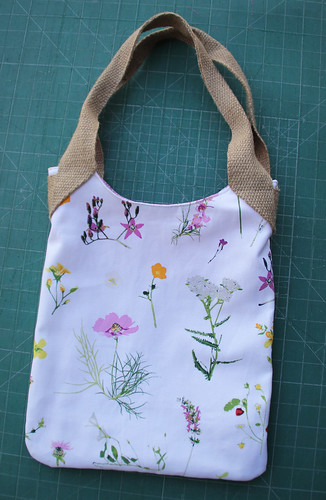
You can apply some nice decorative stitch or even hand stitch with some nice floss.
9

Hope that you like it :)

5

Happy sewing,
xx, Katarina