Certainly a lot has changed since I made THIS HST quilt and wrote MY FIRST "quilt" TUTORIAL, but in this past decade (how that happened😱) I definitely learnt a lot and I am so proud of the whole learning curve and process that led me to being more confidential with quilts and quilting.
I can't stop laughing at fact that I did use my serger for complete piecing process of my first two quilts and that I didn't even know what dog ears were and why they should be trimmed, but these quilts are still "alive" and cherished and sincerely sometimes I am even challenged to use serger again for some piecing aspects 😆 (hopefully the quilt police isn't reading this).
One thing is sure-HSTs are still my favorite quilt unit. They are versatile, fun and easy to make and they give beautiful results.
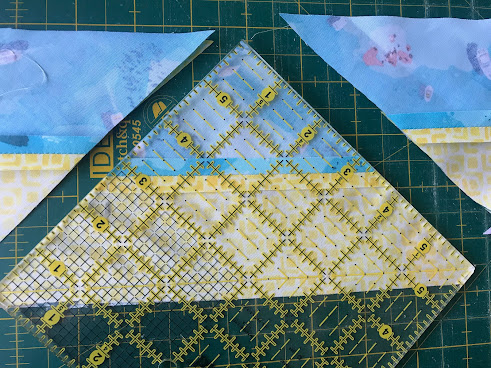
But, back to process and learning-I made so many quilts in these last 10 years, since I made the first one and I used so many different techniques when making HSTs. From traditional "2 at a time" to more modern "4 or 8 at a time" to triangles on a roll, I realized that tube quilting method is the best one for me:
1- because it saves time and fabric
2- it's precise
3- it's trimming free! (while in all other methods, you need to square and trim precisely the HST, which can be a long and exhausting process, here you get a perfect, ready to go unit...minus the dog ears)
The only tricky part of this technique can be edges that are cut on bias. That means that they tend to stretch a bit, if manipulated, but I tested that too (you can see it in the following video-the difference between HSTs done with fabrics cut on grain VS those cut on bias) and I came to a conclusion that I still prefer the traditional, on grain cutting, than cutting on bias, even because for me this "negative aspect" can immediately become a positive one, in case you need that bit of stretch for aligning your HSTs in rows, if you know what I mean ;)
What I also learnt is that some people cut fabrics on bias (45 degree) to avoid this "feature", but I personally prefer using a bit of starch and smaller stitch length which helps with eventual wonkiness. There are many other blocks and units that are cut on the diagonal (like diamonds used for Lone star quilts), but they get stabilized in the quilt assembly process and also in quilting.
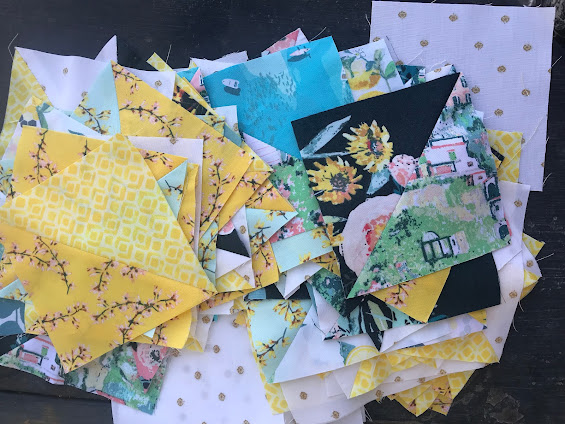
Shown in the video are the 2 1/2" HST squares (used in my Kelim pattern) that were created with 2 1/4" strips, cut on grain and also 4" unfinished HSTs (used in my upcoming Kelimi pattern ) that were created with 3 1/2" strips (tested when cut on grain and on bias).
Fabrics used in the video are from my Capri collection for Art Gallery fabrics.
In my quilt patterns I like to include a diagram, measurements and directions for this method, but I realized that it would be much more convenient, to just gather all that info in one place, under this blog post and include a video too, which can be even more helpful to some quilters, especially beginners.
Depending on the size of the unfinished HSTs and precision in cutting, the number of obtained HSTs will differ. I usually get 14-16 of 2 1/2" unfinished HSTs from 2 1/4" strips.


.jpg)













 GRID
GRID
 DECADENCE
