Another free pattern day!
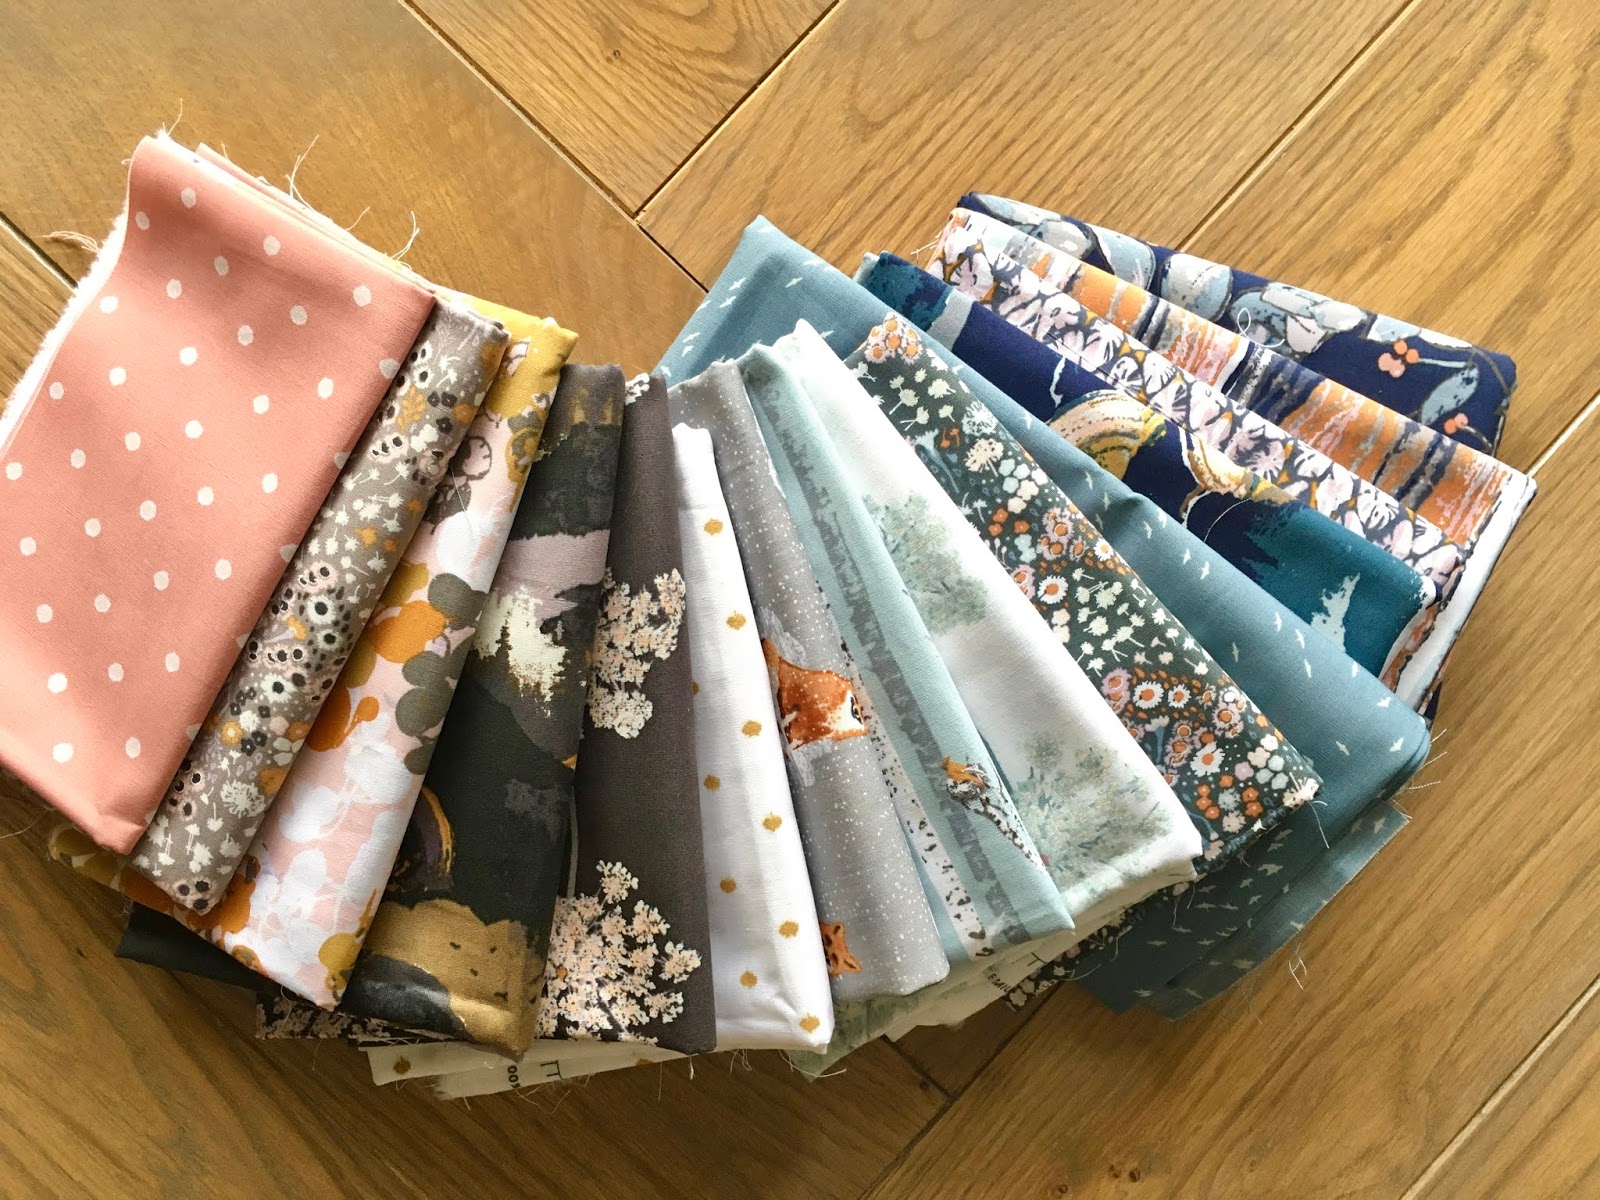
Today, I am bringing this beautiful and easy sewing dress created with my Poppy Memories print in Rayon from my
Floralish fabric collection.
This rayon dress pattern is great for hot summer days, perfect as a beach cover up and is very attractive, but also easy sewing pattern! It's actually one size fits all, as you can manage it's fit with ties and make it yours ;)
As with all
Art gallery fabrics their gorgeous
rayons are very soft and have an amazing drape, they are 54-56"wide, which will provide this amazing flowy effect!
So, let's get started!!!
Needed supplies:
- 3 - 3 1/2 yds of cotton voile or rayon fabric or other quilting cotton
(I used a bit more than three yards of my poppy memories print in rayon)
*If you have 3 yds of fabric, you can make the tier to be shorter, like 8" instead of 10"
- sewing machine(serger is optional, but preferred)
(if you don't have the serger just use a straight stitch and than do a zigzag stitch on the edges to keep the edges from fraying)
- scissors and/or rotary cutter
- thread, needle (size 9 sharp needle is the best choice for rayon sewing)
- iron and pins or clips
- bias binding tool (25 mm)- optional, but very helpful and highly recommended
WOF-width of the fabric (this rayon is 54-56" wide)
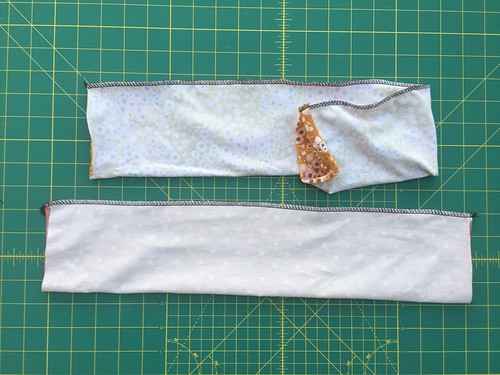
*The armpit parts (both front and back pieces can be slightly adjusted to fit better your body- they could be cut from 6"-8" inches from the sides toward the center of the fabric, as shown above, according to how you are prefer the dress to fit your body).
1. Cut and prepare all the pieces, as shown above:
- 1x front piece-cut from the 44" x WOF
- 1x back piece-cut from the 36" x WOF
- 3x tier strips- 10" WOF each
- 2x ties strips- 1" x WOF each
(the ties for this project and this type of fabric can be cut normally-no need to cut them on bias)
front:
back:
2. Place the front and back pieces together, right sides inside, pin (or clip) and sew both sides of the dress closed. You can top stitch the side seams, if preferred, which will stabilize seams.
*I serged the armpit seams before sewing the side seams, because of fraying, but this is optional and can be done after.
3. Gather the neckline: front and back side.
There are many techniques for gathering-ruffling fabric. You can use whatever method you prefer: with the ruffler foot, with the gathering foot, with the sewing machine using 2 basting stitches and pulling the fabric or with your serger. I usually gather cotton fabrics using my serger. When the fabrics are light weight as voile and rayon, you don't even need the ruffler foot - just put the differential and needle feed to be as high as possible (avoiding breaking the thread-if too high) . For the rayon, as it is light weight fabric, it's also very easy to use the sewing machine. Just adjust the tension of the top thread to almost maximum, and slightly loose the tension on the bobbin thread. Don't forget to adjust all the tensions to normal once you are done with ruffling!:)

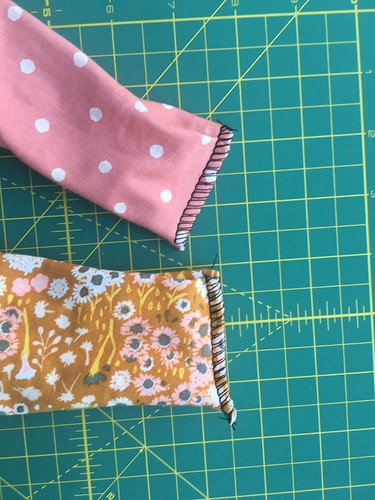
4. Pin and sew the armpit seams closed, as preferred.
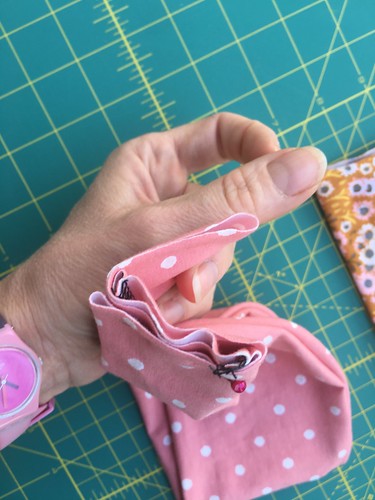
5. Make the ties with both 1" strips.
To make them, you can either use the bias binding tool (like I did) and than press it lengthwise or without this useful tool, you can fold the strip in half lengthwise and iron it, then open and press both sides toward the center crease, press center crease close again.


5. Also, at this point, you can sew the tier strips together. Place 2 strips right sides together and sew shorter sides together just on one side, than add the 3rd strip sewing shorter sides together.
6. Gather (ruffle) accordingly just one of the longer edges of the tier to obtain the same width of the main dress piece (approx. 108"). Finish the other edge with serger or zig zag seam and top stitch it.
7. Pin (or clip) and sew the tier to the bottom edge of the dress. Top stitch the bottom seam.
8. You have 2 ties: one is for the front and one for the back of the dress.
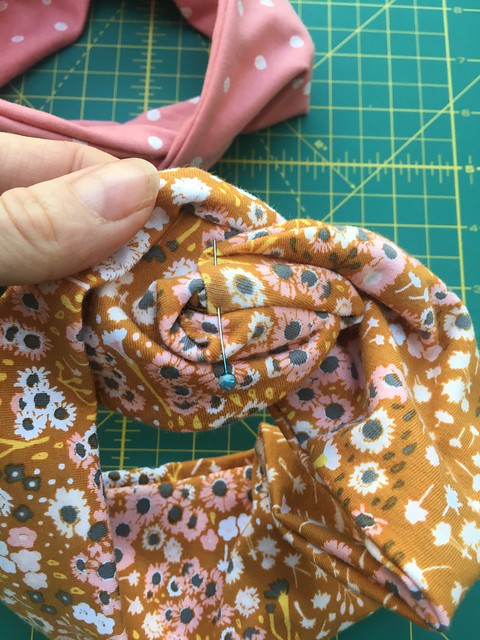
To finish the necklines (both-front and back) with the ties-first pin (or clip) the center of the tie to the center of the neckline.
To be sure that everything that is gathered, and a bit bulky will be safely placed inside the tie and centered nicely to the tie, you can eventually pin and stitch the gathered neckline to the
bottom part of the opened tie (that seam will be visible only on the wrong side of the dress-inside), just as picture beside is showing.
Gathering "density" will determine how the necklines will be: more open or more closed and it's suggested that you decide that by measuring yourself (from armpit to armpit + allowing how many inches more you would prefer it to be open)
10. Leave the back gathered neckline to be a bit longer than the one on the front, as it will allow more exposed back. Of course, if you don't like the back to be exposed, finish the back neckline like the front one-gather it with same "density".
My front neckline is 13" and 23" on the back.
11. Sew the ties in place, Starting from one end of the tie, going to it's opposite end, making sure that each tie is centered nicely on the dress-front and back.
12. Make the knots on the ties ends and trim them.
It's finished - just tie the dress the way you prefer and you are ready to rock!!!
xx
Katarina


 GRID
GRID
 DECADENCE


