. . . . . . . . . . . . . . . . . . . . . . . . . . . . . . . . . . . . . . . . . . . . . . . . . . . . . . . . . . . . . . . . . . . . . . . . . . . . . . . . . . . . . . . . . . . . . . . . . . . . . . . . . . . . . . . . . . . . . . . . . .
Showing posts with label how to. Show all posts

Wednesday, 4 March 2026

Patchwork, But Make It Fashion: A Quilted Zipper Hoodie


It’s hard to believe it’s been four years since I made that Botanist patchwork hoodie for my son — and, well, it’s definitely running a bit small now! I couldn’t wait to make a new one with fabrics that felt more him — and with the Soar fabric collection, here it is!

He even helped me while I was sewing, which made the process magical… until the moment of truth: assembling everything and realizing it’s a bit tight in the upper arms. Argghhh — I should have measured him before cutting!

The good news? The pattern is the same Burda/Simplicity Man Hoodie 6718, but I added a zipper. That meant I made the front as one piece, then split it in two to insert the zipper — as shown in this convenient video. Honestly, without that zipper, getting it on him would’ve required both strategy and negotiation. 

But on the positive side — I will wear it with pleasure, so I officially have a new statement piece in my wardrobe!! Cozy, colorful, quilted, and with a zipper — what’s not to love?

So, lets start with the process!

I started with cutting the fleece as a base, but using batting or flannel is perfect too (you could even recycle an old thinner blanket for this — it adds beautiful loft and sustainability to the project). This base acts as both your stabilizer and your quilting layer, so there’s no separate quilting step at the end.

image courtesy of Art Gallery Fabrics

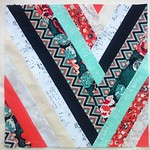
It’s always so satisfying turning simple strips into dynamic patchwork panels. Of course, there's a handy strip roll with already pre-cut 2.5" strips, so it's perfect for this project!

I started by cutting all my Soar fabrics (all 16 prints) and some new and old Seedling prints into 2.5" x 21" strips. 

From older Seedling colors, I used Licorice, Sage, Shitake, Copper, Clay and Pewter. So 16 Soar prints and 10 total of Seedling colors (4 new + 6 old colors). 

I have cut 2 (two)- WOF (2.5" x 42") strips from each of these these 26 fabrics and then subcut all the strips in half for easier strip-sets making. 

It's like 130" x 42" total of fabrics used for the patchwork. I had some leftovers, though...

From there, I created strip sets of varying widths, from 3 to 8 strips per set. The process is straightforward, but a few little tips make all the difference: change your sewing direction as you stitch the strips together. This helps prevent bowing or curving of the strip sets, keeping everything nice and straight. After stitching each set, I pressed the seams — careful open seams pressing is key for smooth, flat sets.

Once pressed, it was time for my secret weapon: the Stripology squared ruler. Using this handy tool, I cut the strip sets into new, perfectly even patchwork strips — ready to assemble into the larger design.

This technique is perfect for creating structured, versatile patchwork, and it’s especially fun when mixing fabrics of different colors, textures, or patterns. Every set feels like a mini quilt in itself, and the possibilities are endless!


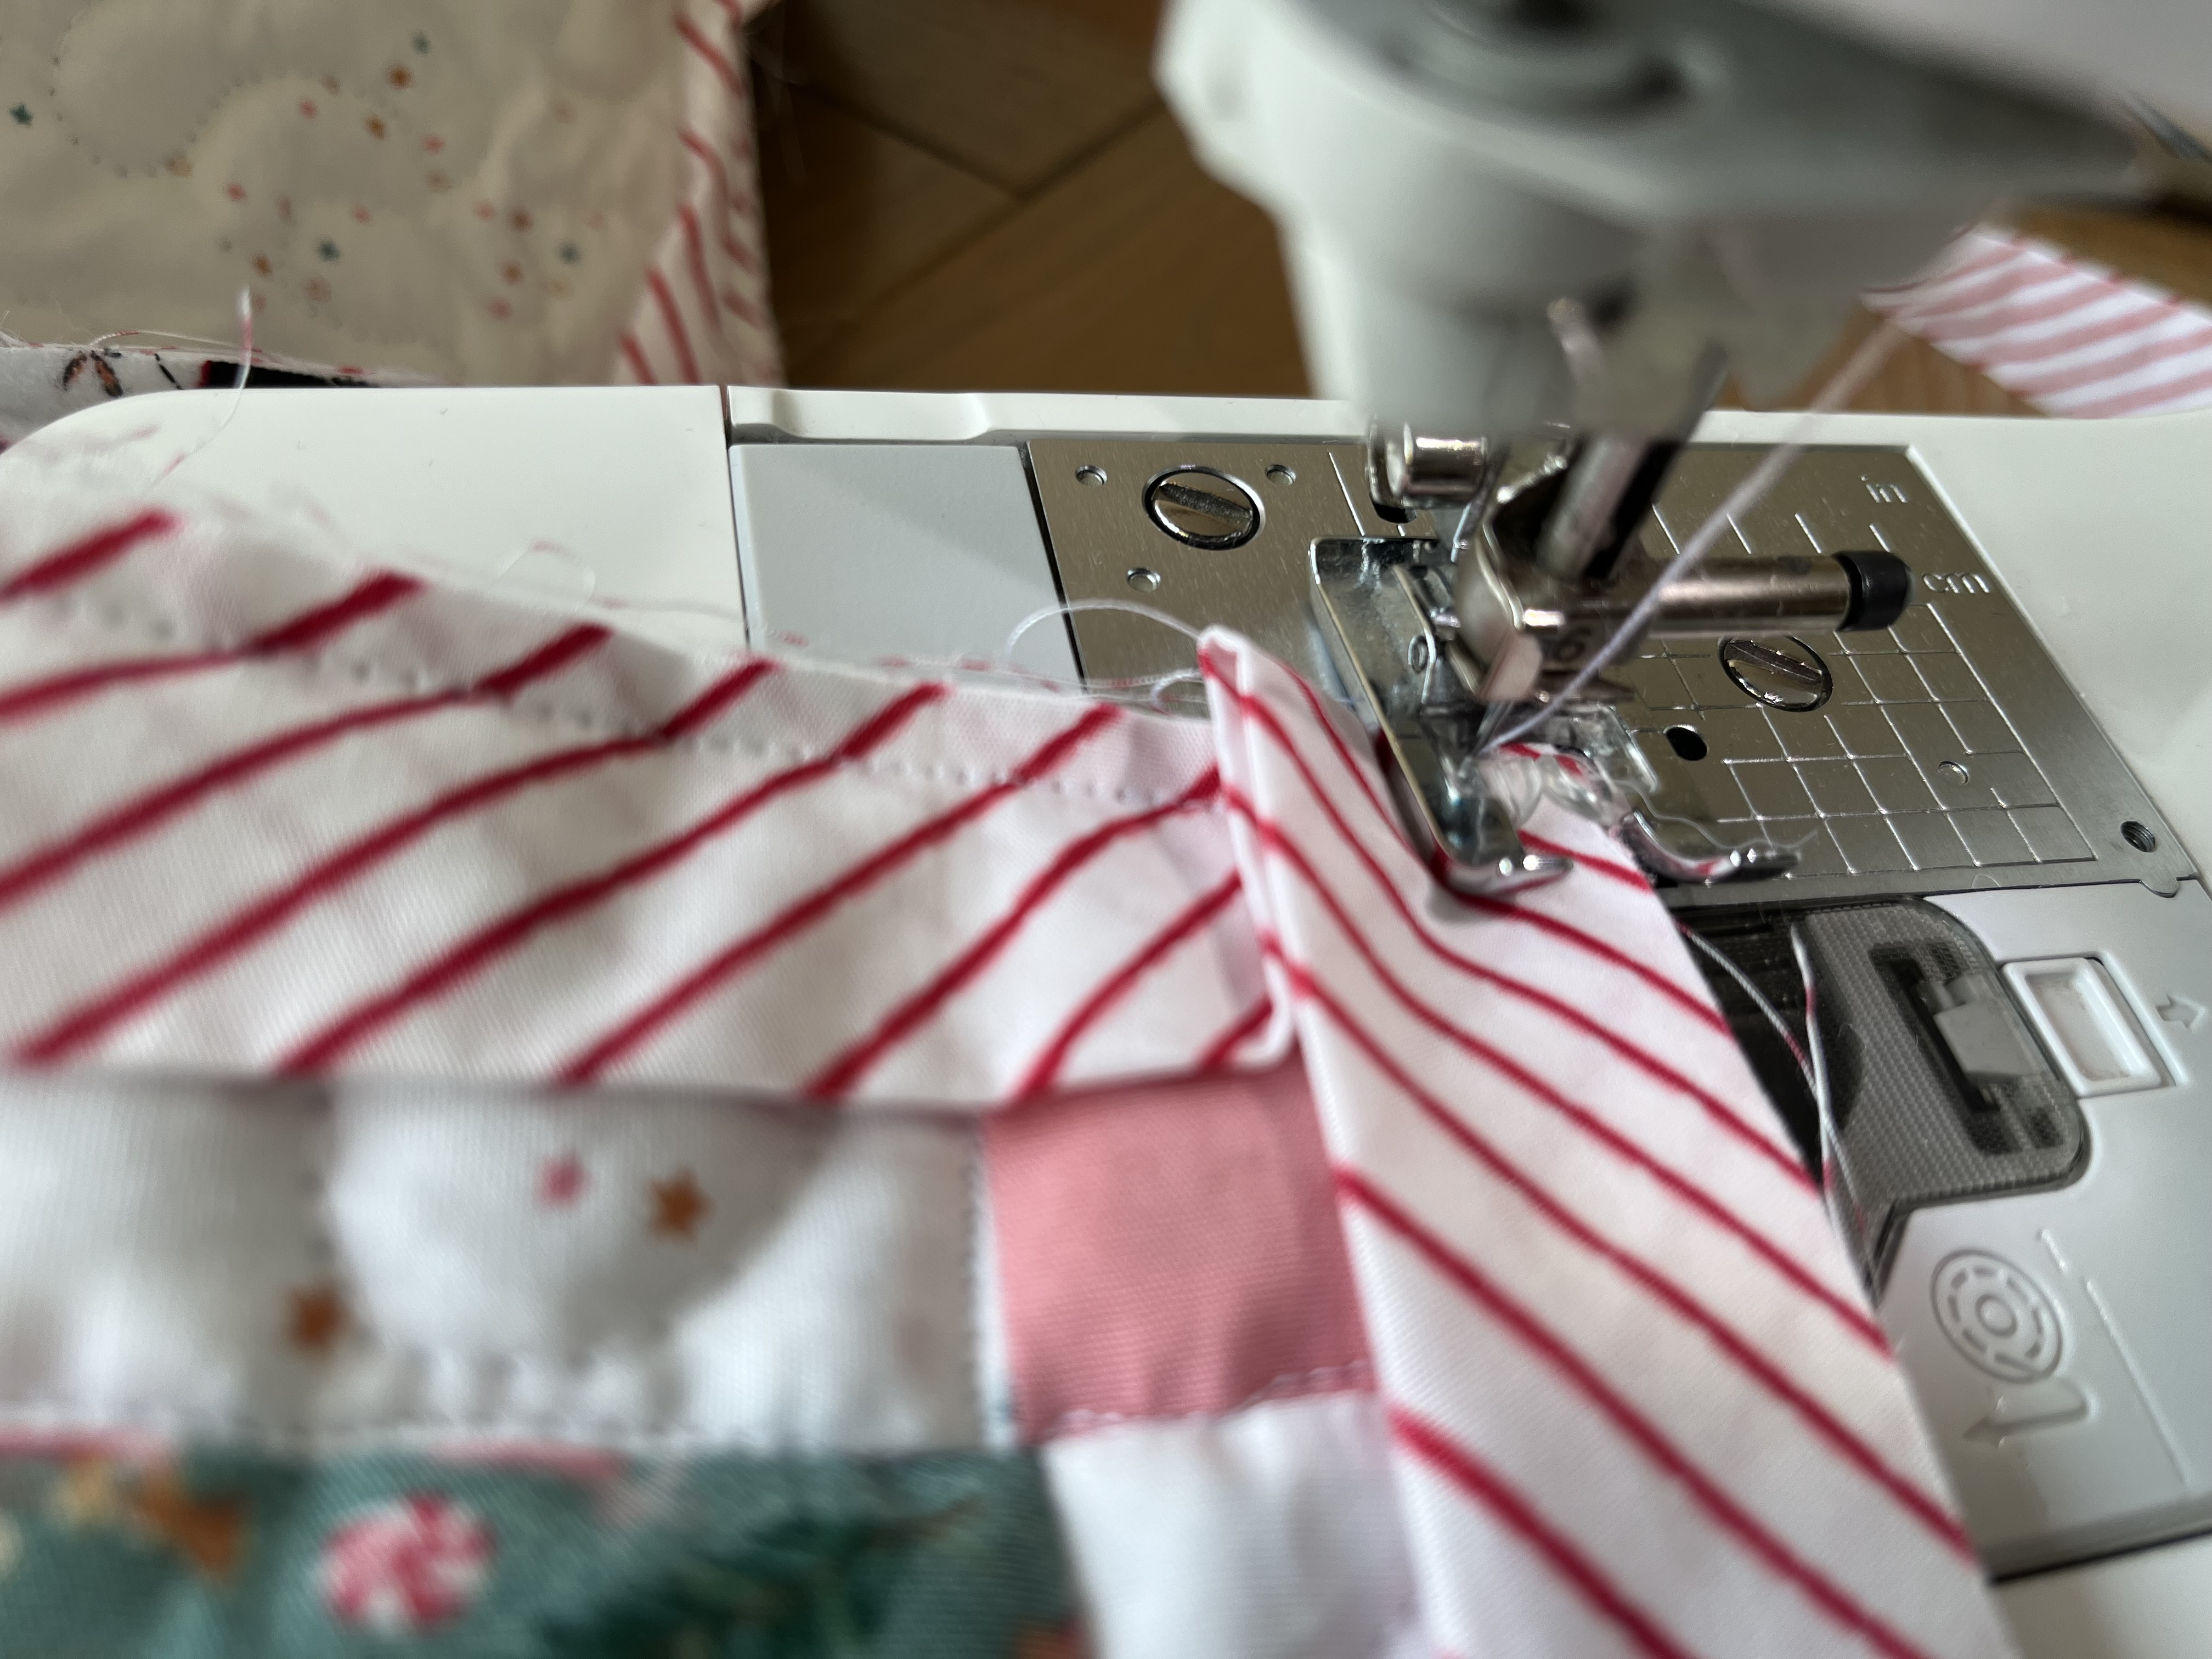
Instead of sewing patchwork blocks first and quilting later, each fabric strip is added directly onto the batting base. I began from the bottom — placing the first strip right side up and stitching it down with a simple straight stitch at the bottom.

From there, I added the next strip right sides together, just like traditional patchwork. After stitching the seam, I flip the new piece open and press it flat. Because it’s attached to the batting underneath, it’s already quilted in place.

Piece by piece, adding strips in rows, going up, trying to maintain good alignment, until you reach the upper edge of the base.


Beside fabrics for the patchwork strips and flannel or fleece for the base or lining, (calculate at least 2-3 yds  for the patchwork and the same for the base) you will need around 1.5-2 yds of the trimming for wrist cuffs and waistline or some kind of jersey fabric that can be cut in strip, folded and used as ribbing. And a zipper. I used the 60 cm one.


You can also add the eyelets and a cord within the hoodie part- as the pattern provides. I didn't, as I lined the hoodie part with the Seedling Forest print. 


The first thing I did was the smallest - the front pocket. 


Here are all the hoodie pieces before adding the zipper and final assembling.


Again, you can watch this convenient video for adding the zipper.

I made a following video while sewing my first hoodie, it could be helpful to watch. 

The patchwork method is the same, only that this time I used only 2.5" strips while in the first video/hoodie, I used different strip widths. 

I really hope that you may find this inspiring and I really think that this is amazing way to use some loved fabric scraps and quilt blocks and leftovers! And I think that it's easier than making a jacket or coat, so maybe worth trying before sewing something a bit more delicate.


Happy sewing, Katarina


Tuesday, 8 July 2025

Wooden kiss lock frame pouch bag

When I spotted this beautiful 6" wooden kiss lock frame at a local craft shop, I couldn't resist picking it up. It came with a set of small screws—perfect for securely fastening the layers of fabric sandwiched together.

There’s something so satisfying about that click of a wooden kiss lock frame closing around your handmade creation. These retro-inspired pouches are perfect for carrying small essentials—or gifting with flair.

Feel free to download the paper template I used for this bag.


🧵 Materials You’ll Need:

  • Outer fabric: 2 pieces (10" x 14") – quilting cotton or linen works beautifully

  • Lining fabric: 2 pieces (10" x 14")

  • Fusible fleece, foam or batting: 2 pieces (approx. 9.5" x 13.5")

  • 6" wooden kiss lock frame 

  • Coordinating thread

  • Fabric glue (optional, but helpful for positioning)

  • Your usual sewing tools: scissors/rotary cutter, pins or clips, iron, sewing machine

✂️ TIP: If you're using directional fabric, make sure your pattern faces up from the bottom of the pouch!


Step 1: Cut your outer and lining fabrics using this template

As my main fabric wasn't directional, I cut it as a one piece, rather than 2, shortening the central part (bottom seam allowance line).

Step 2: Fuse the Fleece

Iron the fusible fleece (or foam) to the wrong side of your outer fabric pieces or simply quilt the batting to the main fabric for more textured look, like I did.

This gives your pouch structure and a soft feel.

Step 3: Sew the Outer & Lining Pieces

Outer Fabric: Place right sides together and sew around the sides and bottom using a 1/2 " seam allowance.

Lining Fabric: Repeat the same process but leave a 2–3" turning gap at the bottom.

Step 4: Join Outer and Lining

  1. Turn the outer pouch right side out. Keep the lining inside out.

  2. Nest the outer pouch inside the lining—right sides should be facing.

  3. Align and clip top edges and sew around the entire top curve.

  4. Pull the outer pouch through the gap you left in the lining.

  5. Stitch the gap closed with a small ladder stitch or machine-stitch close to the edge.

  6. Push the lining into the pouch and give everything a good press.


Step 5:  Attach the Wooden Frame
  1. Slide the top edge of your pouch into the frame evenly.

  2. You can use a small amount of fabric glue to hold it in place.

  3. Use the screws to fix everything together for extra security.

  4. Repeat on the other side.


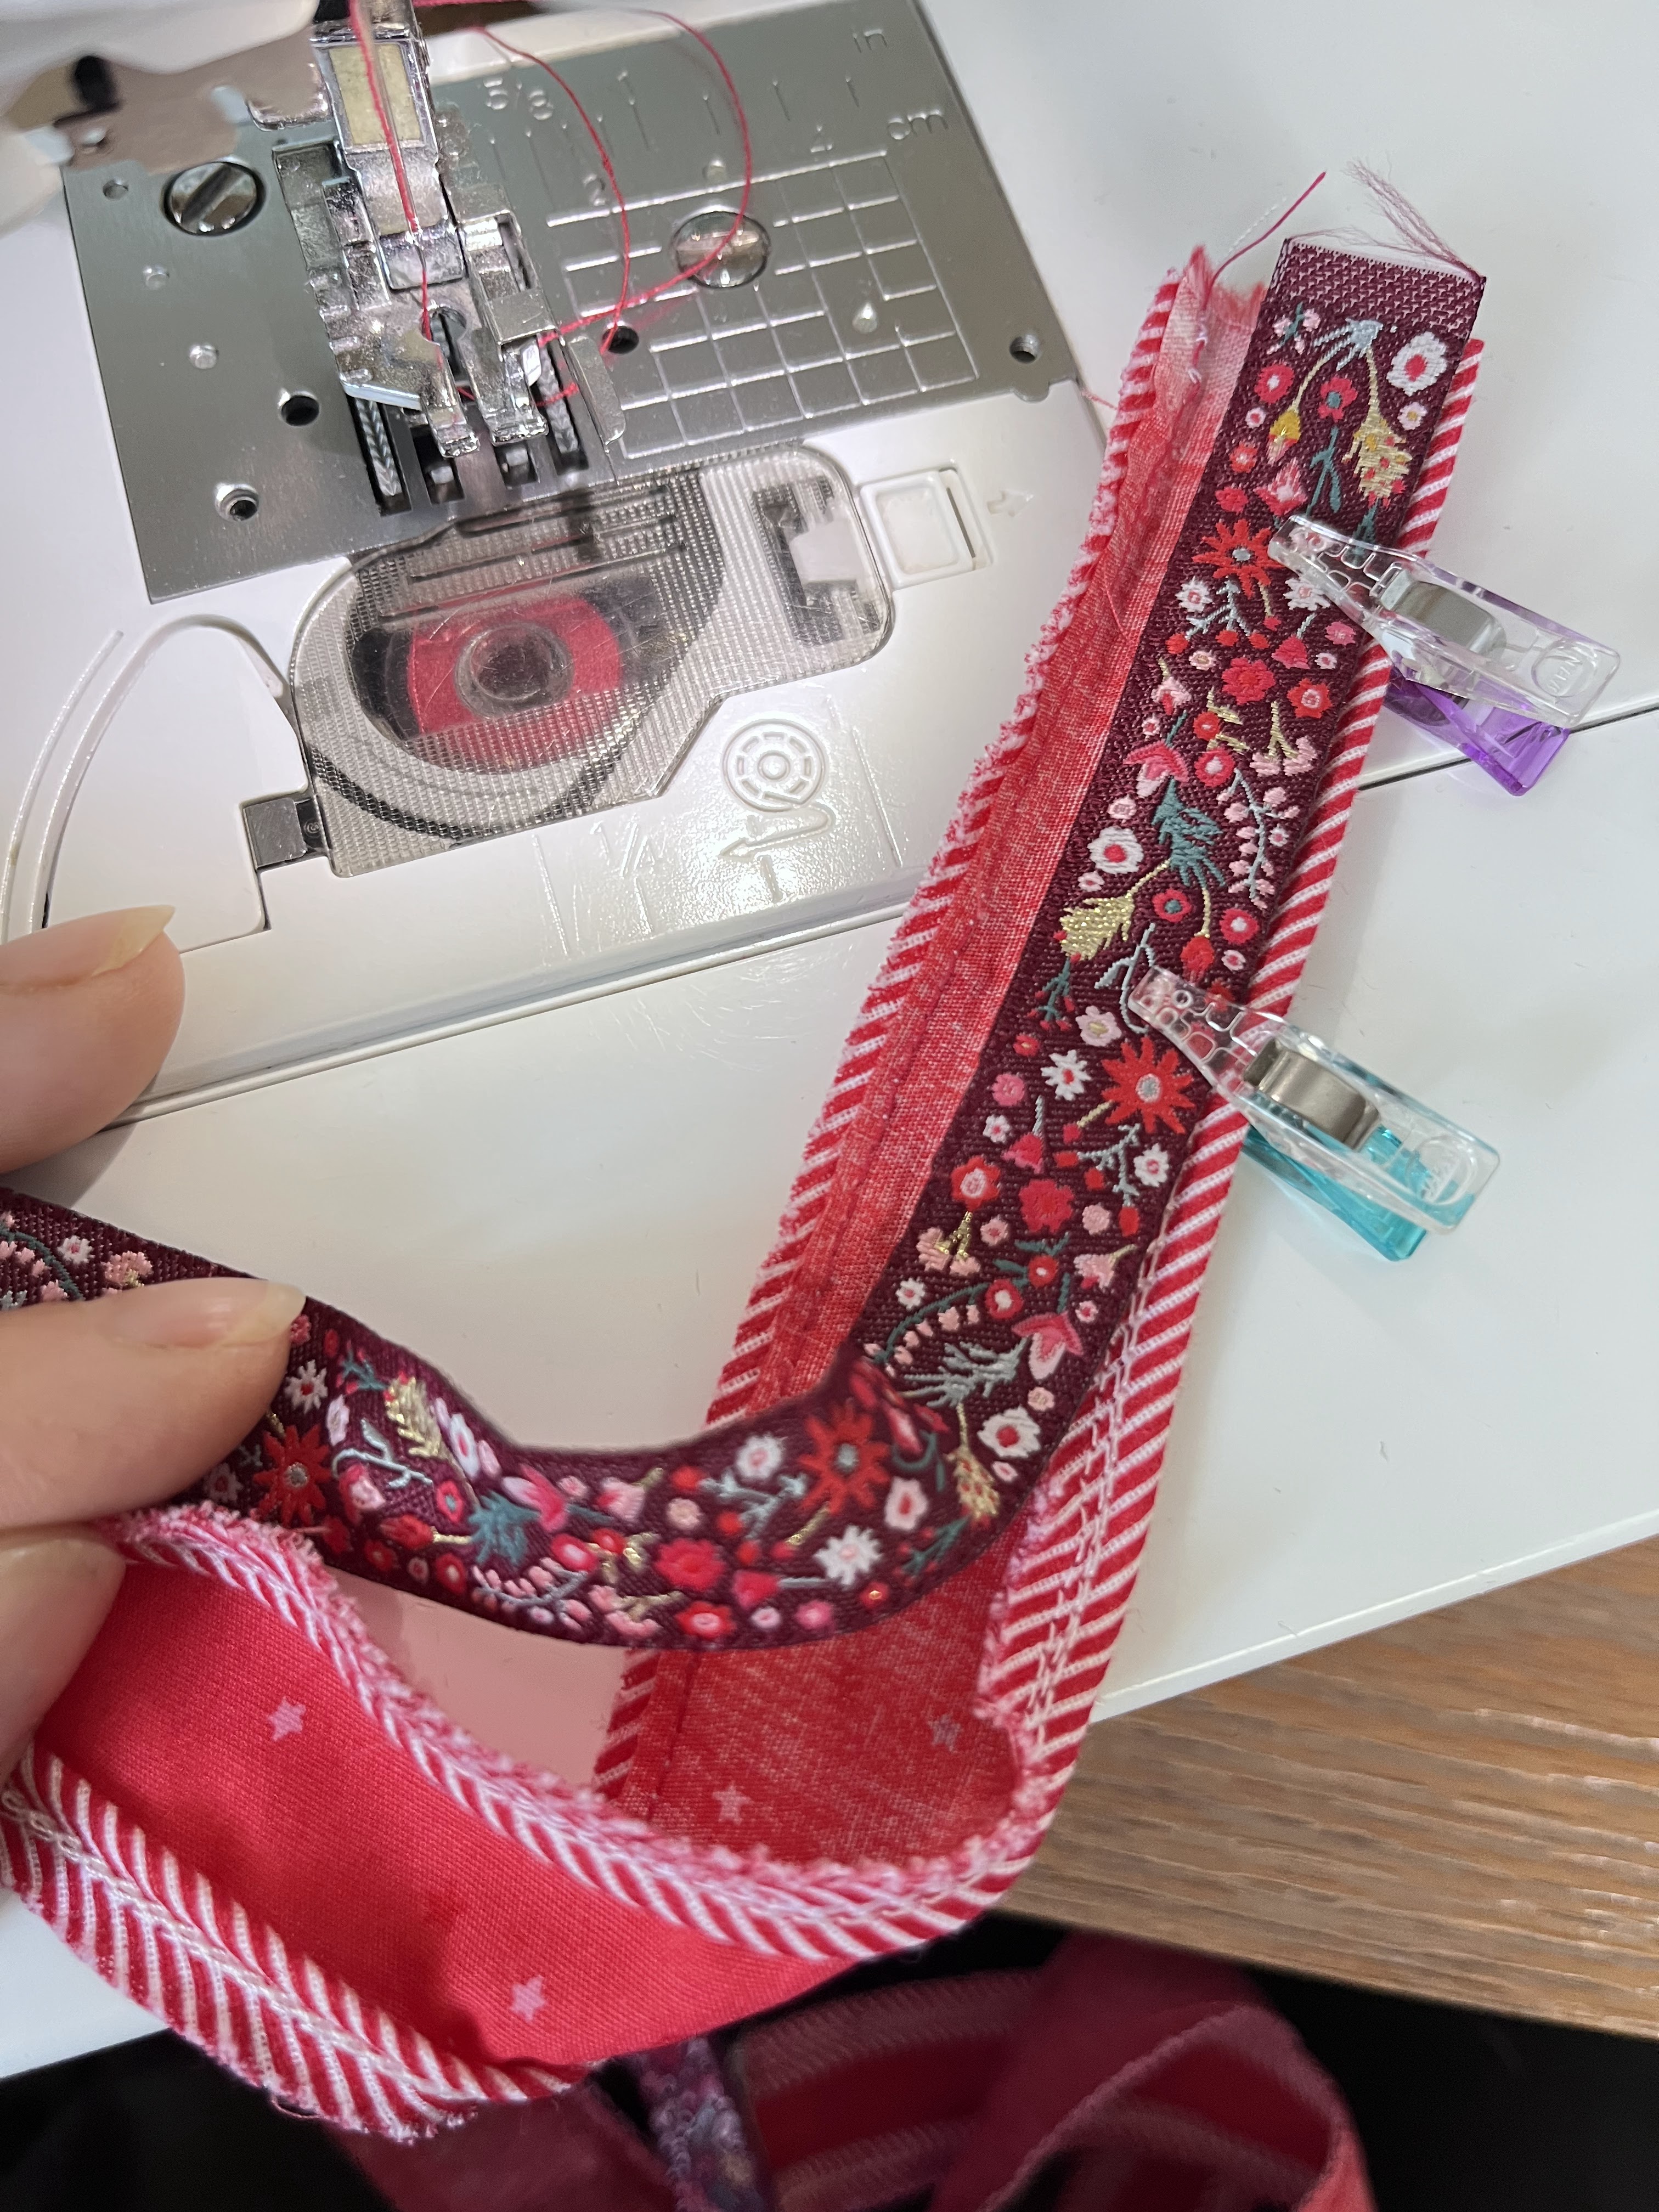
I also stitched up a matching fabric and my Adventale Renaissance ribbon handle, embellished with piping for an extra touch of flair.


I hope that this was helpful! I certainly loved creating mine!!!


xx,
Katarina

Monday, 7 July 2025

Quilted boxed pouches tutorial - adjusted for sewing with directional prints


If you’ve ever made a zippered boxed pouch and ended up with your cute directional fabric turned sideways (or upside down… oops), this one’s for you!

And here's my newest pouch created with the prints from my Soar collection. 

Actually, I used the left over fabrics and patchwork pieces from the Patchwork hoodie so this is a great way to use those leftover blocks and similar patchwork from previous projects.

So, basically this patchwork panel was created using a quilt-as-you-go method — one of my favorite ways to build texture and use even the tiniest leftover pieces.

I started with a base measuring 20" x 16", using a piece of fleece (you could also use batting or flannel or even recycle an old thin blanket for this — it adds beautiful loft and sustainability to the project). This base acts as both your stabilizer and your quilting layer, so there’s no separate quilting step at the end.

Then the building begins.

Instead of sewing patchwork blocks first and quilting later, each fabric piece is added directly onto the batting base. I usually begin in one corner or roughly in the center — placing the first scrap right side up and stitching it down with a simple straight stitch or gentle quilting lines.

From there, I add the next piece right sides together, just like traditional patchwork. After stitching the seam, I flip the new piece open and press it flat. Because it’s attached to the batting underneath, it’s already quilted in place.

Piece by piece, scrap by scrap, the panel grows.

There’s no strict rule about shapes — you can work with strips, squares, improvised angles, or even sections of old patchwork that you’re repurposing. It’s a beautiful way to give new life to unfinished blocks or worn quilts. Each seam secures the layers together, so the texture builds naturally as you go.

As the composition expands, I continue adding pieces outward until the entire 20" x 16" base is covered. 

What you’re left with is a fully quilted patchwork panel — textured, layered, and completely unique. No separate backing step. No large quilt sandwich to wrestle with. Just a steady, satisfying rhythm of stitch, flip, press, repeat.

It’s sustainable, forgiving, and perfect for transforming scraps — or even forgotten blankets — into something beautifully usable.

Here's a picture of a finished panel using the scraps from my Eerie fabric collection.

Sky is a limit....


Here's my go-to pouch tutorial with a smart little fix: free downloadable template that helps you easily work with directional prints—no more guessing or flipping pieces around. Whether you're making one for yourself, as a gift, or to use up those irresistible fabric scraps, this version keeps things tidy, professional-looking, and beginner-friendly.

You can watch my video on You tube with a process—from cutting the fabric to sewing the boxed corners—so you can make these pouches with confidence (and style). 


The only difference is in size (the non directional one-like this above ditsy floral burgundy one is a bit larger and the main fabric was all one piece and that I didn't cut the corners immediately.


Also, in THIS post you can find more info about embellishing the fabrics and pouch with ribbon details.


🧵 Materials You’ll Need - for the finished size 9" x 5" x 5"

  • Outer fabric: 2 pieces (10" x 14") – quilting cotton or linen works beautifully

  • Lining fabric: 2 pieces (10" x 14")

  • Fabric for the tabs and handle:  (3.5" x 12.5") to be cut after sewing in 3 pieces

  • Fusible fleece, foam or batting: 2 pieces (approx. 9.5" x 13.5")

  • 15" Zipper and pulls (1 or 2 -it's up to you) 

  • Coordinating thread

  • Your usual sewing tools: scissors/rotary cutter, pins or clips, iron, sewing machine

✂️ TIP: If you're using directional fabric, make sure your pattern faces up from the bottom of the pouch!

As Adventale fabric collection has a lot of cute panels that can be very inspiring and unique for gift-giving projects and has that Alphabet panel  that can be such a beautiful way to turn initials into stitched art. 

*discard the numbers on this first paper template-that was a first test, so it's not perfect and was improved

I started with cutting the letters M and R in 7.5" squares. I added 7.5" x 3.5" rectangles in Twinkle Little Stars Sky fabric on both sides and sew them together. 


Then I added 1.5" x 14" rectangles in Jolly Ribbons Festive fabric at the top, where the zipper will be sewn to both rectangles and there should be added another 2" x 14" rectangles of another fabric for the bottom ( I added that small ditsy floral from my Plentiful collection).


Here are quilted and sewn together both sides. My lining is Twinkle Little Stars in Ruby.


I also did the other pouch but all in one fabric, using another fun letter print from the collection called Letters to Santa.

Instructions:

I like to use plastic zippers sold by the meter. They are affordable, available in many colors and they are easy to sew over, without the fear that the sewing needle might broke. While the easiest way to use them is to simply detach the sides and install the zipper pulls (sliders) only after sewing the zipper to both main fabric panel and lining, I filmed also the version with the zipper pulls on from the beginning, so I hope that this overlapping of two zipper methods will not be confusing. Prepare the Fabric:
Cut the outer layer fabric, batting and lining fabric according to the specified dimensions. Cut the rectangle that will be used for the handle and tabs. Ensure that all pieces are neatly cut to size. Quilt the main fabric to the batting as desired-this is to stabilize the fabric and give more structure to the bag. You can avoid this step by using some thicker fabric, like canvas or similar. Clip the fabrics and zipper tape to mark the centers for easier matching. Make the Handle and Tabs: Take the 12.5” x 3.5” (32 cm x 9 cm) rectangle. Fold the rectangle in half lengthwise and press along the fold to create a center crease. Open up the fold and press both longer sides towards the center crease. Fold the rectangle closed again along the original center crease. Topstitch along both longer edges of the rectangle to secure the folds in place. From this rectangle, cut the handle at 6.5” and the remaining 6” divide in half to obtain two 3” pieces that will be folded in half to become tabs. Attach the Zipper:
-I have filmed 2 videos: one is showing the zipper with the pulls already on (in case that you are applying the regular, ready to sew zipper) while the other clip in the video is showing the easiest way to attach the plastic zipper and add the zipper pulls (sliders) by yourself. If you wish to add pulls on both ends of the zipper, take care to insert them in opposite directions—from the ends toward the center. Be mindful to avoid any weird bubbles forming, which can depend on how the zipper teeth are picked up in installation. Place one outer layer piece face up. Position the zipper face down along the top edge of the fabric. Align one lining piece face down on top of the zipper. Stitch along the edge to attach the zipper. Repeat the process with the remaining outer layer and lining pieces on the other side of the zipper. Ensure that the sides are neatly overlapping and flat, then press them down. Proceed to top stitch along both sides of the zipper edge to secure them in place. Create the Pouch Body: Open the zipper halfway to facilitate turning the pouch right side out later. I suggest to add the zipper tabs right now in the beginning, as it will also secure the sliders and prevent unzipping. Trim off the excess of the zipper tape at this point. Turn the pouch right sides inside and stitch the bottom edge of the lining layer, leaving a larger opening for turning. Finger or iron press this seam open, for easier stitching. Fold the fabric pieces so that the outer layer pieces are right sides together, and the lining pieces are right sides together. Finding your centers (clipped or marked at the beginning), align your bottom edges right sides inside so that they are overlapping the zipper that will be in the middle, make sure that the tabs are in, the zipper is in the center and that everything is even. Clip or pin together both sides. Box the Corners: Press your bag nicely, making sure that everything is aligned. Stitch both sandwich edges (with zipper in the middle) closed. You can add the handle on one side of the bag by finding the center of your seams, securing the handle with the clip and sewing over. You can either sew it to just one side by securing it or you can clip it together with all two layers that will make the boxed corner and sew over. Making sure that the handle is going straight, you need to bring it to the other side and repeat the same process of aligning it to the center of your seam, securing and stitching it in place.

Finish the Pouch: Turn the pouch right side out through the opening in the lining. Push out the corners to ensure they are fully formed. Check that everything is nice and even and that there aren’t some holes or missed seams. Stitch the opening in lining closed using a slip stitch or topstitch. Press the pouch to remove any wrinkles and ensure a smooth finish. Your boxed cosmetic fabric pouch is now ready to use or gift!


I hope that this was helpful, but I am sure that watching the video will make the process even easier.
I can't wait to find time to make another video in horizontal format!  Hopefully soon.

Happy sewing,
Katarina


Monday, 24 July 2023

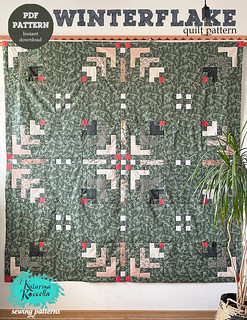
Winterflake quilt sew along - final week 6


Hello and welcome to the 6th
 week of the Winterflake quilt sew-along and thank you so much for following along!


Here are the previous posts if you are catching up only now:


- WEEK 5: quilt assembly

You can get my Winterflake quilt pattern any time and make this quilt pattern at your own pace!


This week we are finishing the quilt and I am sharing my process of quilt sandwiching and binding.


Here's the video:


Huge THANKS to everyone following and sewing along!
Till next time,
Katarina