. . . . . . . . . . . . . . . . . . . . . . . . . . . . . . . . . . . . . . . . . . . . . . . . . . . . . . . . . . . . . . . . . . . . . . . . . . . . . . . . . . . . . . . . . . . . . . . . . . . . . . . . . . . . . . . . . . . . . . . . . .
Showing posts with label knits. Show all posts

Tuesday, 5 November 2019

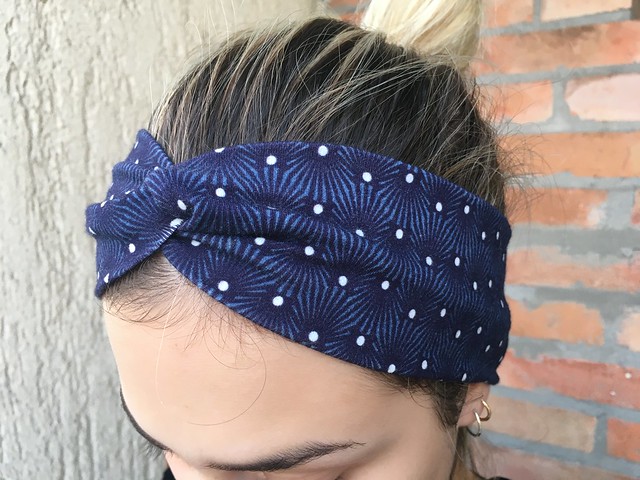
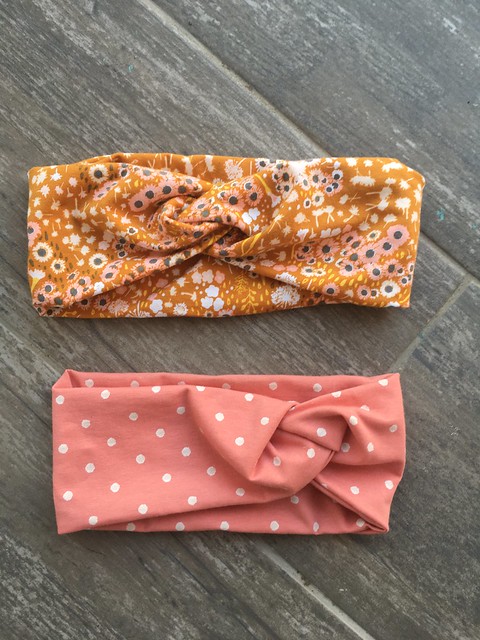
Twisted knot knit headband tutorial

Untitled

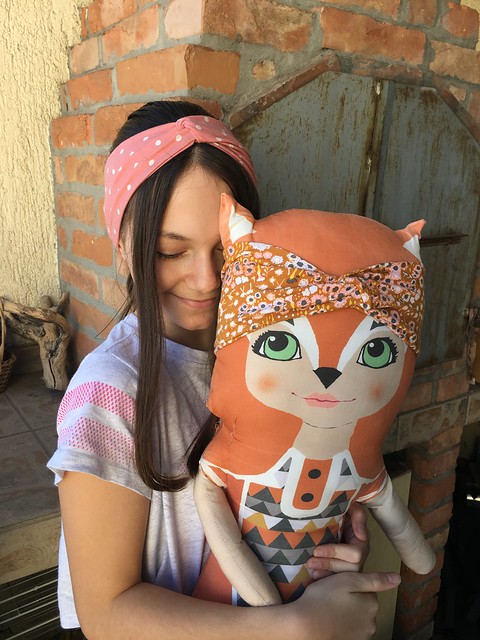
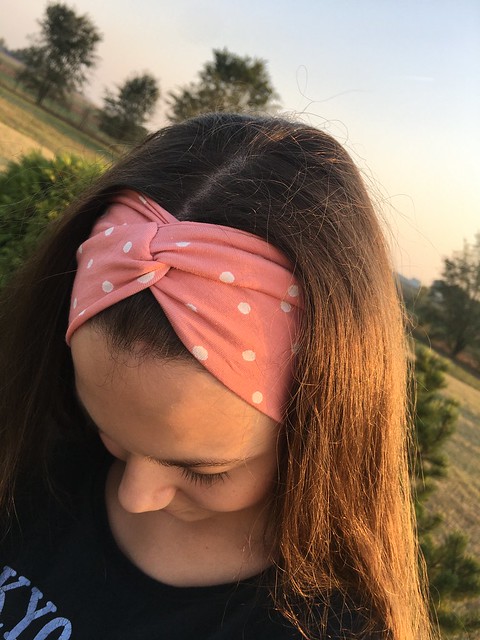
Knit or jersey fabric headbands are so comfy to wear and very easy to sew. In the upcoming Holidays season, they are wonderful for gift giving!!!
As this project requires just a small fabric rectangle, it is also a great way to use your fabric scraps or to up-cycle some old t-shirt.
But, be aware, making these can be addictive, so it may also lead to some fabric shopping!

Untitled

There are many types and weights of knit fabrics, but what's important to know for cutting them is the way they stretch, as you need the headband that is stretchy and that can be placed on the head. The best knit or jersey fabric option for these headbands are the 4 way stretch knit fabrics, that means that they are stretchy lengthwise and widthwise. If the knit you are using is 2 way stretch (means it stretches only across the grain - selvage to selvage, be sure that you are using that stretchy direction for the longer measurement.  If your fabric is 4-way stretch (fabric stretches both ways-with and across the grain), you don't need to worry about cutting direction.
I must say that with all my knit fabrics designed for AGF, it's really a pleasure to make these, as AGF knits are 4 way stretch, are OEKO certified and have a wonderful composition of 95% Cotton and 5% Spandex, meaning that they have great performance and are so soft and comfy. 

Untitled


These headbands are very popular, especially in the last couple of years, they are usually called twist headbands, crossover headbands, yoga headbands, turban headbands, boho headbands... to name a few common ones.


There are many free tutorials for this type of headband on different craft blogs and you tube channels, but I thought to gather here some of my conclusions, examples and tips.
Untitled

Needed supplies:

- rectangle of jersey knit fabric - approx. 20" x 8" (the best is 4 way stretch)
- scissors or rotary cutter
- sewing machine (serger is optional, but preferred)
- stretch (ballpoint) needle
- thread and pins

There are several things that can determine the length measurement for these headbands: head circumference or age (if making it for kids) and knit fabric type or performance (some are very stretchable and elastic, while some are less). Regarding the width measurement for these headbands - it's totally up to you and your style and preferences.

I have tested several types and measurements, making some for my family and friends-always using my AGF knit fabrics and here's what I came with:

Adults and teenagers : 20-21" for the longer rectangle size and 7-8" for the shorter size.
Teens : 19-20" for the longer rectangle size and 7-8" for the shorter size.
Gradeschoolers (5-12 yrs old) 18-19" for the longer rectangle size and 6-8" for the shorter size.
Preschools (3-5 yrs old) 17-18" for the longer rectangle size and 6-7" for the shorter size.
Toddlers (1-3 yrs old): 16-17" for the longer rectangle size and 6-7" for the shorter size.
Babies15-16" for the longer rectangle size and 5-6" for the shorter size.

So, let's get started!!!


Untitled

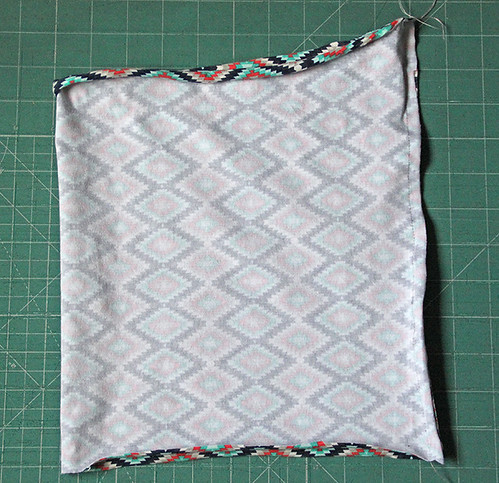
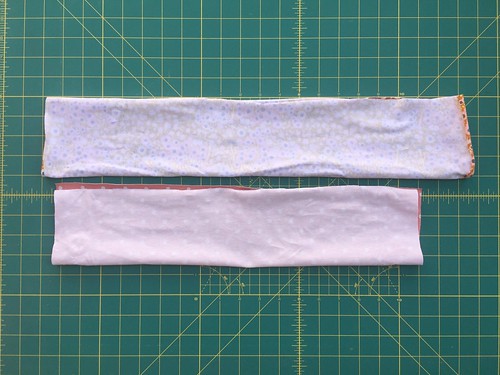
1. Now that you have determined the size and have cut your rectangle, you need to make the tube. 
Just fold the rectangle in half, longer sides together, right fabric side inside.
Untitled

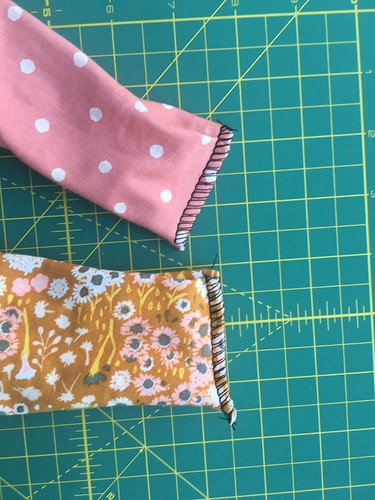
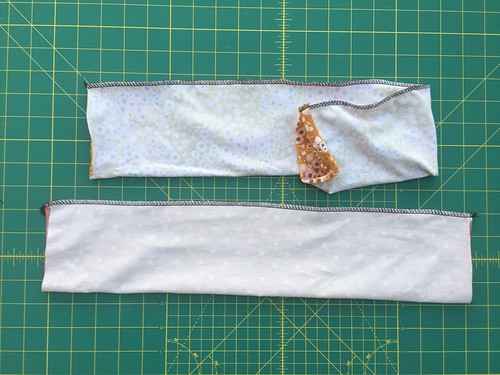
2. Sew seam (seam allowance is up to you) with either a serger, or regular sewing machine, using some stretchy stitch options, like overage stitch or narrow zig zag (here's what works best on mine):


Untitled


Untitled


Untitled

3. Turn the tube inside out and lay it down.
Now you can choose if you prefer your seam to be on the side or centered inside the headband. I tried both versions and although the centered one may look nicer, I prefer the side one, just because that way it makes it easier to twist the headband and find the best look of the final knot, without trouble to turn the seam right side inside. It may sound weird, but you may try and will realize this little issue;) 


Untitled


4. Fold it in half, lengthwise and join the shorter sides together. 
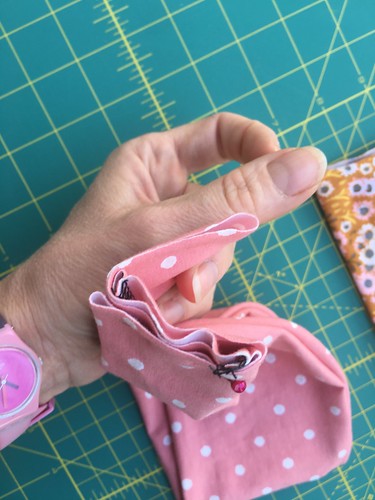
Now you will create the knot by making a little sandwich with these shorter sides-by folding one side on another.
Untitled

Place the left edge of the upper layer on the center of the bottom layer and fold the remaining piece on the back. You can watch this little video that will help understanding better.

Untitled

This is what it will basically look like:


Untitled

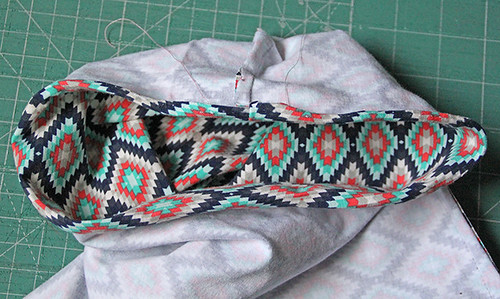
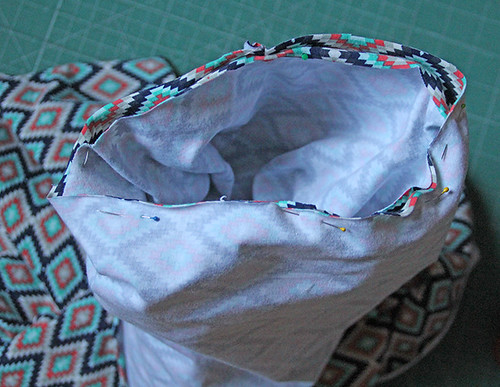
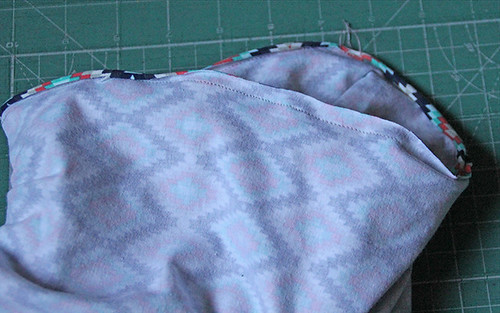
5. Sew across this juncture, gathering all 4 layers together. You can do it with simple, straight stitch.
Just cut the fabric excess, to avoid the bulk and secure the threads on both ends.

Untitled

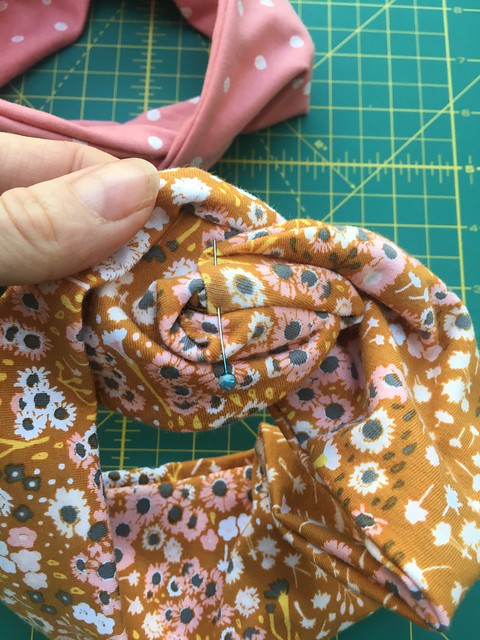
You are done- just open the headband and adjust the knot the way you like it.
You may eventually close and securely tuck in the sewn ends by hand sewing a few stitches on the top of the knot.
Untitled

Hope you enjoyed it!!!

Untitled

Happy sewing,
Katarina


Friday, 19 December 2014

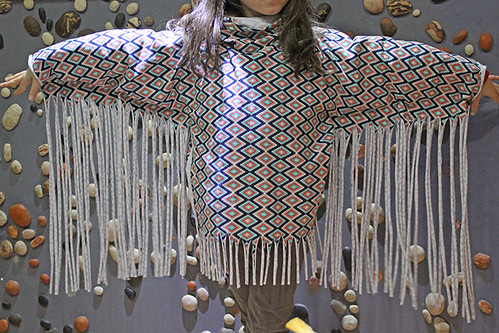
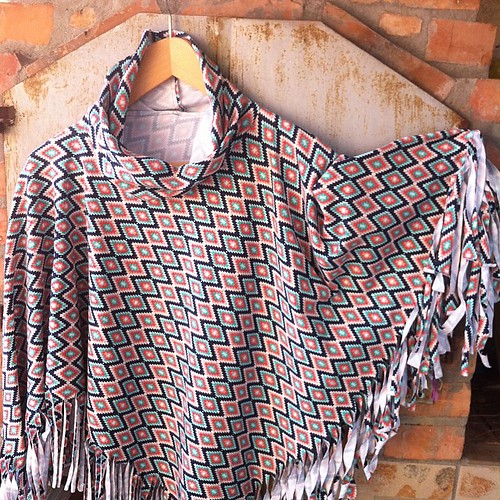
Fringe poncho tutorial -2 styles


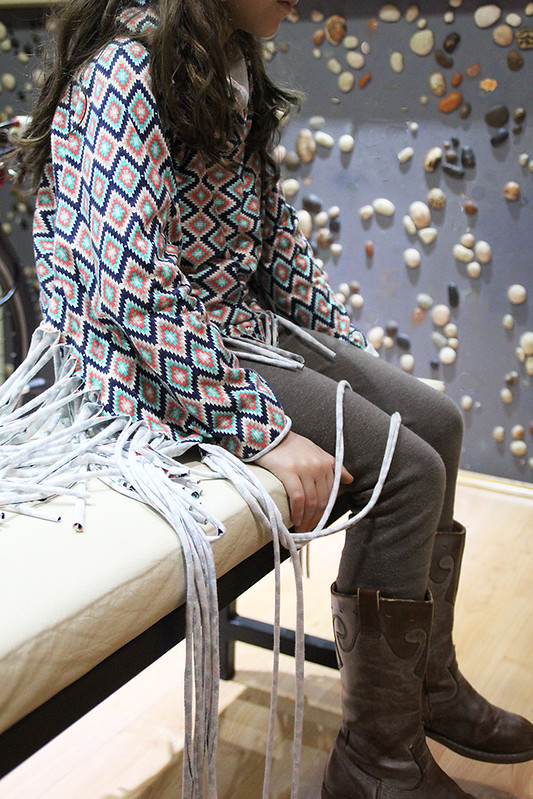
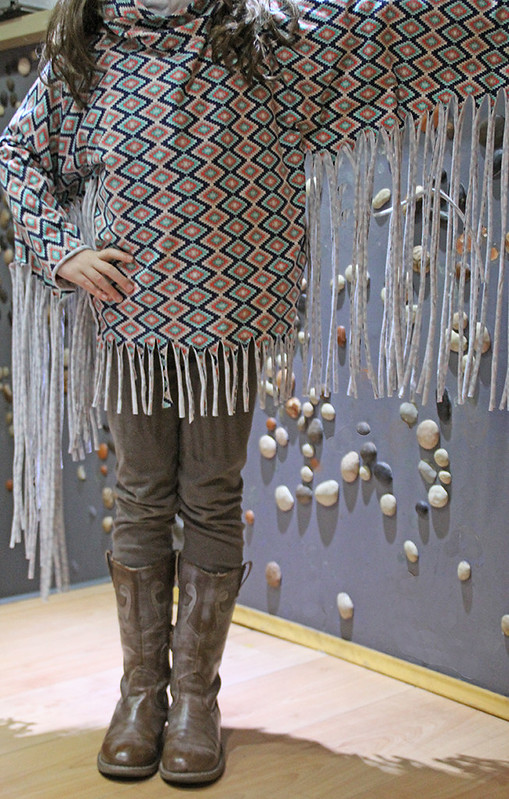
Fringe ponchos

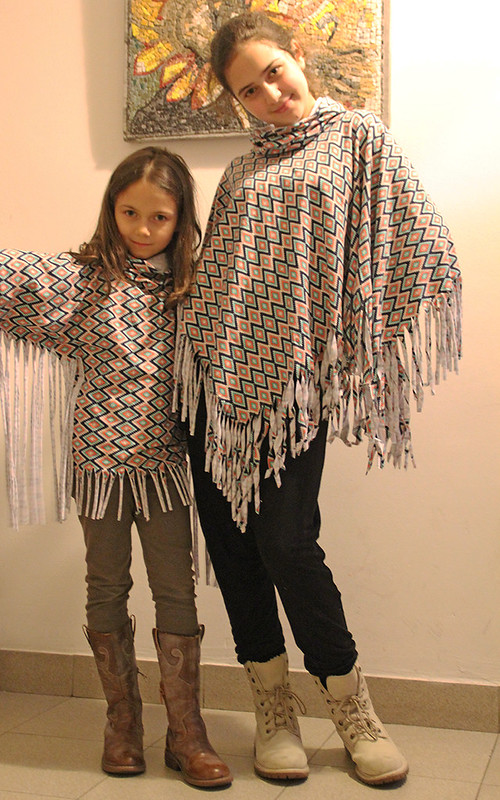
If you are on of those people willing to try knits , but have fear of this stretchy fabric, then this is the perfect project for you. It's suitable for kids and adults as well. It comes in 2 different versions :)


4 years ago, I wrote about THIS great project with knits (it would make a perfect gift), so maybe you can try that one as well? So easy!!!
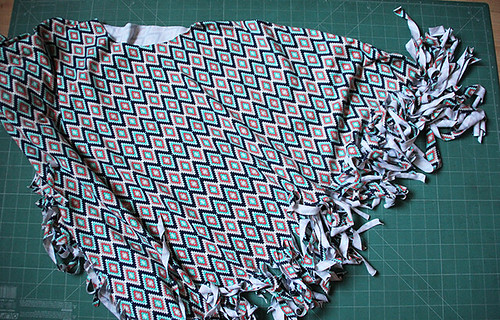
Anyway, back to the fringe poncho and sewing with knits: the most important thing is to use ball point needle (for stretchy jersey and knit fabrics) and to be sure, that according to your needle size and thread that you will use, to adjust the thread tension on your machine. For the parts of your clothes that will need some stretching, use the zig zag stitch or the twin needle. That's basically all you need to know for the begging, the rest is all about practice and experience ;)


Once I started using a serger I fell in love with sewing knits! It's something else!!! But, luckily, this tutorial has barely 2-3 straight stitches, and you will not need a serger for that. What I love about knits is that the hem is easy-rolling (the fabric edge gets rolled up), this means that for some projects you don't need hem finishing (which for some people can be very nerve wracking).

So let's get started!  

Fringe ponchos

You will need: 

- 1 - 1. 5 yard of jersey knit fabric (depending on the size)
- scissors  
- rotary cutter (with sharp blade)
- sewing machine  
- stretch needle 70/10 
- thread
- pins 
- paper adhesive tape

It is very important to determine the measurements for the poncho:
1. for the width  <--->
2. for the length  ^

You can maybe understand it better if looking at this picture (that's from my kaftan tutorial )


Take those measurements from your child (or you) or from the person that you are sewing this for, using the tape measure. According to that buy/cut the knit.

You should know that knit comes in very abundant width of 58/60", which is great for all the garment projects and sizes.

Fringe poncho toddler version

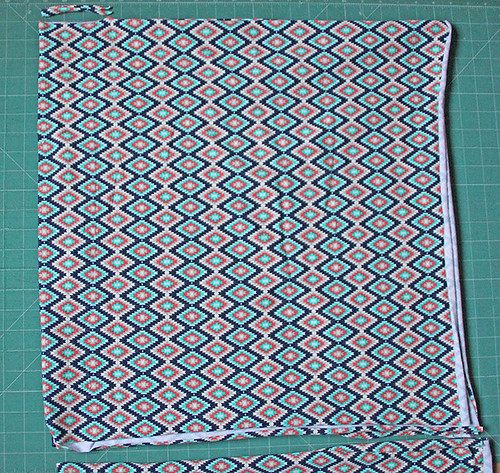
So looking at the above picture, you will notice that the 58/60" width of the fabric ( my cutting mat is 36 x 24") was cut to 44".
That way I got the square of 44x44".
I have used the same 44x44" fabric piece for both types-styles of poncho.

So let's see the STYLE #1 first, rectangle poncho fringe, great for toddlers!
RECTANGLE FRINGE PONCHO-style 1

Step 1. Cut the fabric upon your measurements.
The width of the fabric - 58/60" will be left like that for XL women size. All the smaller sizes are to be determined by the wrist to wrist measurement. My 7 yrs old daughter has the wrist to wrist measurement of 44", so that was my width cut. The length of the fabric is to be determined by the desired length of the poncho, doubled (for front+back). I wanted the poncho for my daughter to be 22" long, so I used 44" as length. That's why and how I got the 44x44" square.

Fringe poncho toddler version

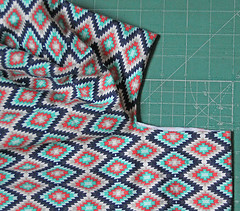
Step 2. Place your piece of the knit fabric on the cutting surface, folded in half width wise (to find the center) and cut out the neck opening that is approx. 3 x 0.5" (once opened the fabric it will be 6 x 0.5") like shown on the picture. If you are cutting in smaller sizes cut it to be full opening 4-5" x 0.5". If cutting it in bigger sizes, cut it to be full opening 7" x 0.5"

Fringe poncho toddler version Fringe poncho toddler version Fringe poncho toddler version

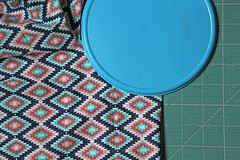
Step 3. Fold the fabric lengthwise (be precise with finding the center), so that the cut hole can be further cut in order to obtain the round shaped neckline. You can use some round shape to help you with cutting it perfectly. I have cut it at 2.5".

Fringe poncho toddler version

Step 4. This is the neckline we got. As many people have problem with making nice, round shape hemmed neckline, we will make the turtle neck. To create that, we need the additional wide fabric strip - rectangle.

Fringe poncho toddler version

Step 5. You can determine yourself how long you wish the turtle neck to be. As I've cut my fabric width from 58" to 44", I had the leftover strip of 14", so I used that as the length.

Fringe poncho toddler version

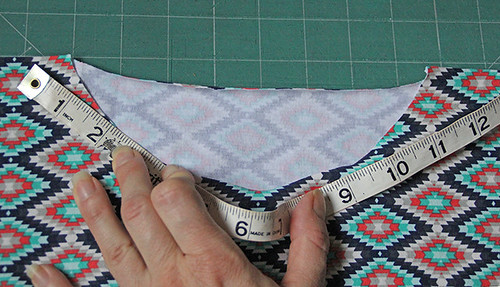
Step 6. To obtain the other, bigger measure of the rectangle, measure the circumference of the neckline opening. In my case it was 19". To that measure add 1/2" for the seam allowance(1/4"+1/4").

Fringe poncho toddler version

Step 7. So, my rectangle was measuring 14 x 19. 5". Be sure to match the fabric print direction.

Fringe poncho toddler version

Step 8. Sew the rectangle on the shorter sides, right sides inside.

Fringe poncho toddler version

Step 9. You can decide if you want to leave the final hem rolled (like I did) or you can fold the edge and hem it using the zig zag stitch or double straight stitch (with twin needle).

Fringe poncho toddler version

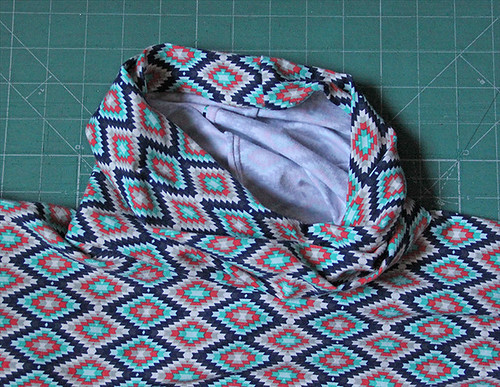
Step 10. Pin and sew the other side of the turtle neck "tube" to the neckline, right sides together. Start pinning and sewing from the center of the back side where you will position the seam.

Fringe poncho toddler version

Step 11. Your turtle neck is done.

Fringe poncho toddler version

Step 12. Now the fringes.

Fringe poncho toddler version Fringe poncho toddler version

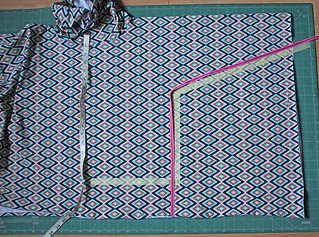
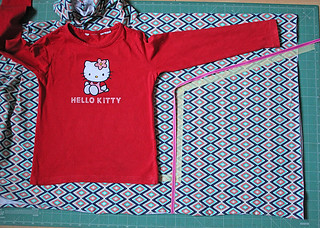
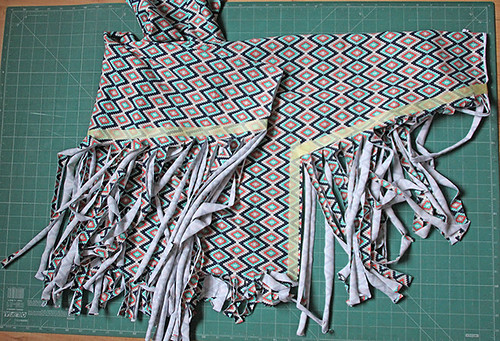
Step 12. You have to determine the side seams (in my picture it's shown with pink ribbon). The best way to do that is to place any regular tee-shirt and add approx. 2" all way around, as shown in the picture.

Fringe poncho toddler version

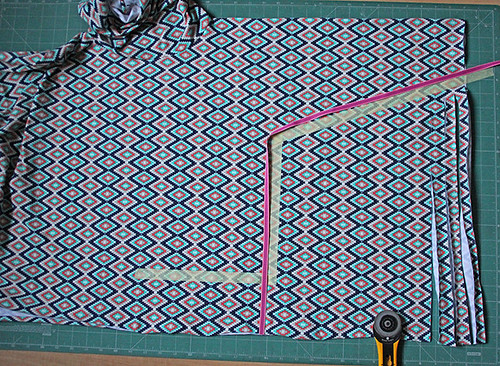
Step 13. Using the paper adhesive tape, define the cutting edges. Start cutting the narrow strips, about 0.5" wide.

Fringe poncho toddler version

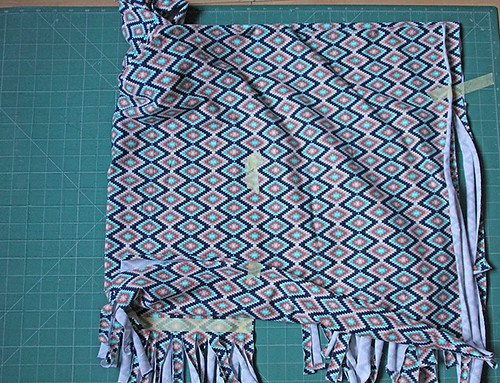
Step 14. Fold the poncho in half width wise, to transfer the defined shape to the other side.

Fringe poncho toddler version

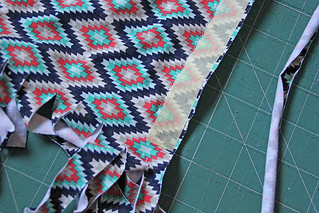
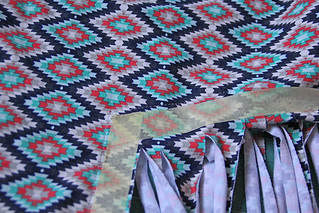
Step 15. With the sewing machine, sew a stitch along the inside side of the adhesive tape.

Fringe poncho toddler version

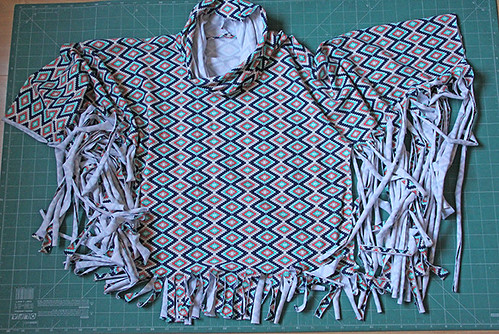
Step 16. Remove the adhesive tape and you are done!!!!

Fringe poncho toddler version Fringe poncho toddler version

Again, if you don't like unfinished sleeve hems, just fold the edge and hem it using the zig zag stitch or double straight stitch (with twin needle).

Fringe poncho toddler version

Fringe ponchos

Fringe ponchos

 RECTANGLE FRINGE PONCHO-style2

Step 1. Cut the fabric upon your measurements.
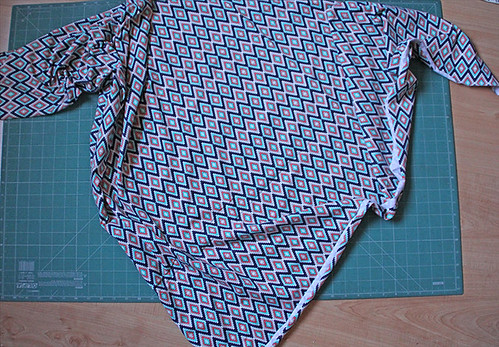
The width of the fabric - 58/60" will be left like that for XL women size. All the smaller sizes are to be determined by the wrist to wrist measurement. My teenage daughter has the wrist to wrist measurement of 50", so that was my width cut. The length of the fabric is to be determined by that same measurement, as it has to be the square. That's why and how I got the 50x50" square for this style. This is equivalent to an S adult size.

Fringe poncho triangle version

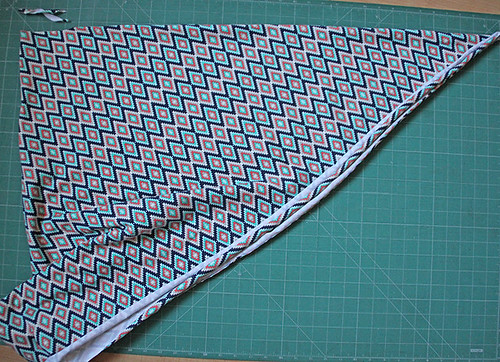
Step 2.  Fold the fabric square on the diagonal square line in order to obtain triangular shape. Place your piece of the knit fabric on the cutting surface, folded in half width wise (to find the center) and cut out the neck opening that is approx. 3 x 0.5" (once opened the fabric it will be 6 x 0.5") like shown on the picture. If you are cutting in smaller sizes cut it to be full opening 4-5" x 0.5". If cutting it in bigger sizes, cut it to be full opening 7" x 0.5"
Fringe poncho triangle version

I made this style as an example of 0 sewing involved, for people that can't sew.
That's why on the following pictures, I have left the neckline just as it is, round-shaped.
To make the round shaped neckline, repeat the step 3. from the first rectangle style #1.
For the turtle neck, repeat the steps 4-11 from the first rectangle style #1.

Fringe poncho triangle version

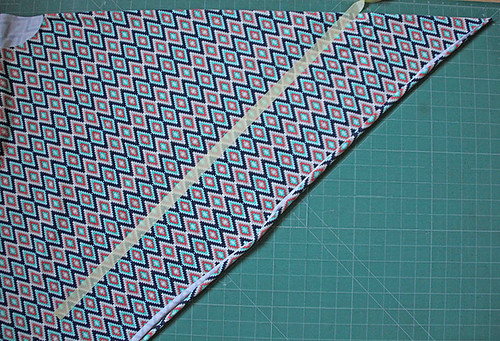
Step 12. You now only need to determine the fringe length using the adhesive paper tape.

Fringe poncho triangle version

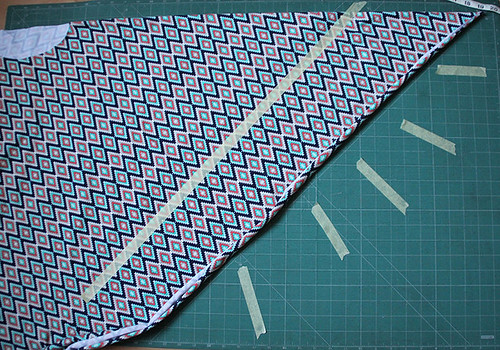
Step 13. You can make to yourself (like I did) some cutting marks on the mat, that will help you with the cutting direction of the fringes, as you are changing angle, going toward the center line.

Fringe poncho triangle version

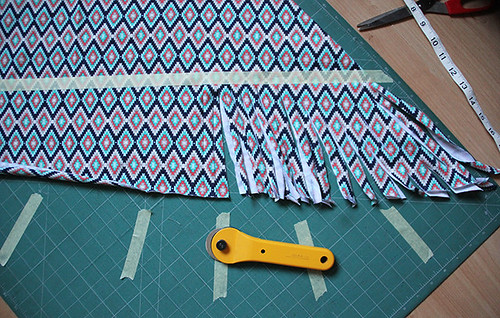
Step 14. Using the paper adhesive tape, define the cutting edges. Start cutting the narrow strips, about 0.5" wide.

Fringe poncho triangle version

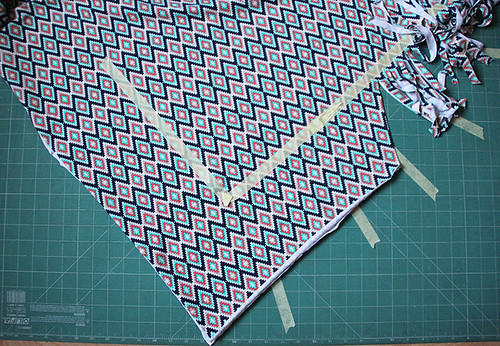
Step 15. Fold the poncho in half width wise, to transfer the defined shape to the other side. Cut the fringes all way around.

Fringe poncho triangle version

Step 16. Remove the adhesive tape and you are done!!!!

The second version of #fringeponcho ( more adult ) is done as well. Tutorial writing to follow.... Have a great day!!!!😊 #recollectionfabrics #wearefabrics #katarinaroccella #knits #artgalleryfabrics

Happy sewing!
Katarina