. . . . . . . . . . . . . . . . . . . . . . . . . . . . . . . . . . . . . . . . . . . . . . . . . . . . . . . . . . . . . . . . . . . . . . . . . . . . . . . . . . . . . . . . . . . . . . . . . . . . . . . . . . . . . . . . . . . . . . . . . .
Showing posts with label headband. Show all posts

Tuesday, 12 March 2024

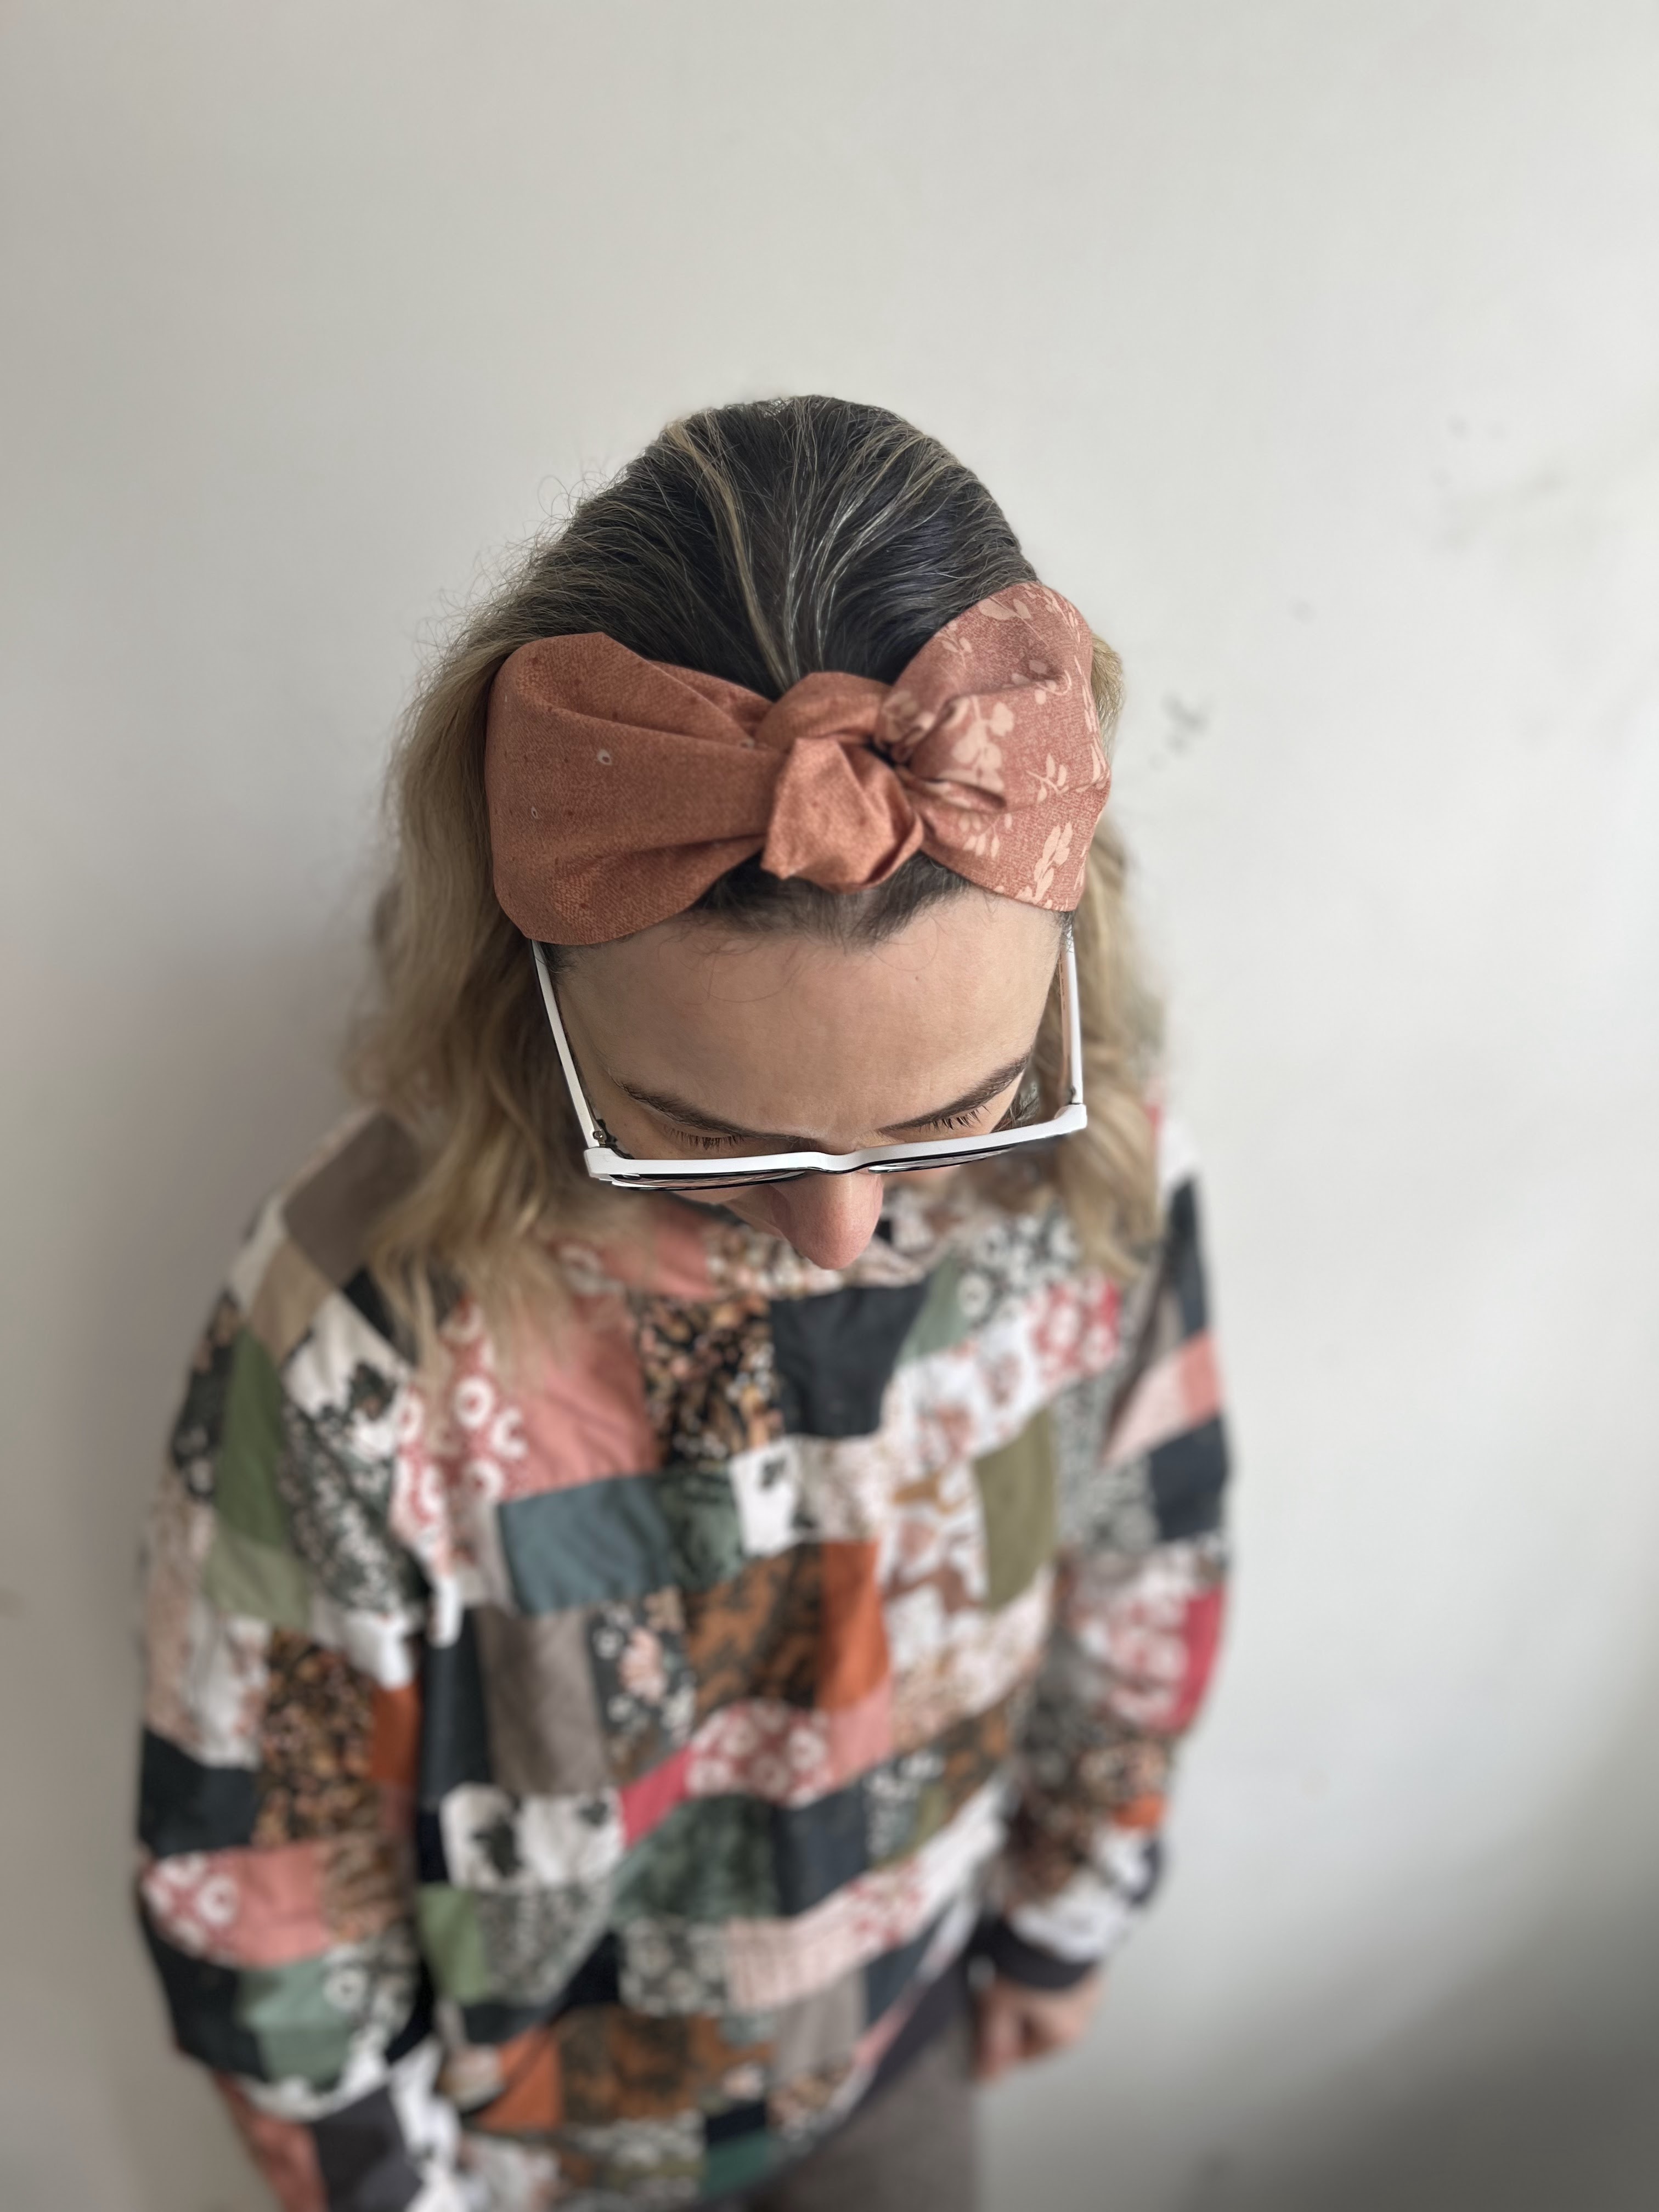
Twisted Knot Fabric Headband tutorial


In the realm of fashion, accessories are the unsung heroes that elevate an outfit from ordinary to extraordinary. Among these, headbands stand out as versatile pieces that not only add a touch of style but also serve a practical purpose. 
If you're eager to infuse your wardrobe with a dash of creativity and flair, crafting your own knot fabric headbands is a delightful endeavour that promises both style and comfort.
knot fabric headbands offer endless possibilities for expression.


Instructions:

Knot fabric headbands are not only chic and fashionable but also incredibly easy to make. With just a few materials and a bit of creativity, you can customize these headbands to suit your unique style and personality. Whether you're aiming for a bohemian vibe, a retro-inspired look, or a modern twist,

Materials Needed:

1. Fabric rectangle 8" x 20" (20 cm x 50 cm)

2. Fabric rectangle 8" x 26" (20 cm x 66 cm)

3. Fabric rectangle 3" x 8" (8 cm x 20 cm) - for elastic casing

    4. Elastic band 4" long x 1" wide (10 cm x 2,5 cm)

Begin by measuring and cutting your fabric. Keep in mind that the width will determine the thickness of the headband, while the length will determine how snugly it fits around your head. If you don't want to make the double knot, but prefer to just scrape one strip through another (making just one hoop), then cut both large rectangles to the same size: 8" x 20".

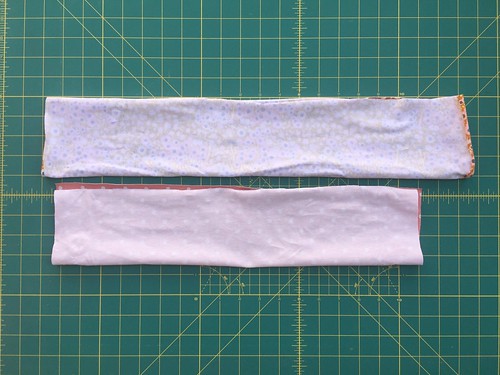
  1. Sew the Seam: fold all three rectangles lengthwise and stitch along the open longer edge of the fabric to create a seam, leaving both shorter ends open. Be sure to backstitch at the beginning and end to secure the seam.


  2. Turn Inside Out: Carefully turn the fabric inside out so that the right side is now facing outward. Use a blunt object, such as a chopstick or pencil, to gently push out the corners and create clean edges.

    Fold and Iron: placing the seam in the centre, press the rectangles-tubes. This will ensure a polished finish.


  3. Insert Elastic: Using a safety pin or bodkin, thread the elastic through one end of the smallest rectangle (elastic casing), securing it with a pin or clip. Topstitch at one shorter end and then on the other end to secure it inside and prevent it from slipping through.


    Stitch elastic casing to headband: Fold the first fabric tube in half, so that the shorter ends overlap and the seam stays inside. Place one shorter end of the elastic casing on the centre, overlap both short ends over the elastic, clip and sew. Turn the bigger rectangle over it, so that the raw edge stays secured underneath. Now the other longer tube needs to go in between the first loop, so just make a hoop and then make a regular knot (tying the knot and therefore "loosing some length" is the reason why this rectangle is 6" longer than the first one). Now repeat the same process for the other side: place the shorter raw ends together, then place the other raw end of the elastic casing on the top, overlap the edges, clip and topstitch. Just push the raw edges underneath the sewn tubes and you are done!


  4. Your knot fabric headband is now ready to wear and enjoy!


You can watch the video for better comprehension that is available on my Instagram profile. I will make sure to film another one soon that will be uploaded to my YouTube channel with horizontal setting.


Happy sewing, Katarina

Tuesday, 5 November 2019

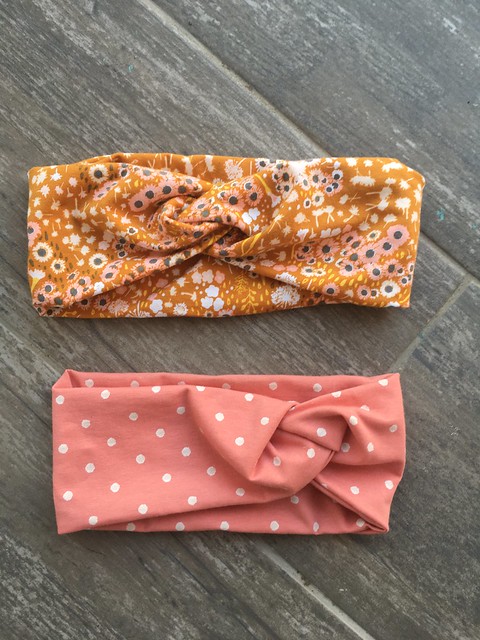
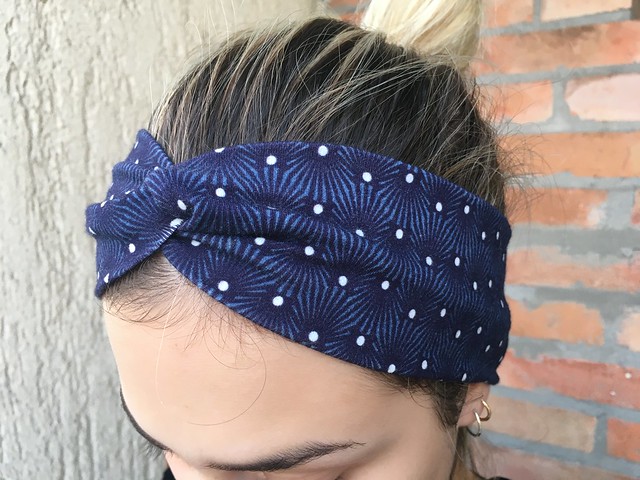
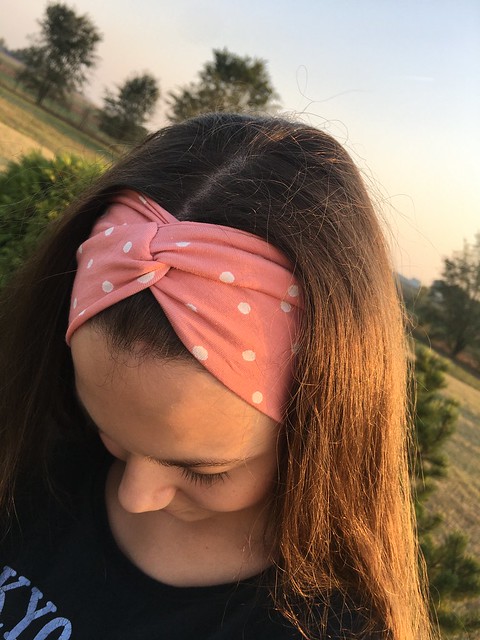
Twisted knot knit headband tutorial

Untitled

Knit or jersey fabric headbands are so comfy to wear and very easy to sew. In the upcoming Holidays season, they are wonderful for gift giving!!!
As this project requires just a small fabric rectangle, it is also a great way to use your fabric scraps or to up-cycle some old t-shirt.
But, be aware, making these can be addictive, so it may also lead to some fabric shopping!

Untitled

There are many types and weights of knit fabrics, but what's important to know for cutting them is the way they stretch, as you need the headband that is stretchy and that can be placed on the head. The best knit or jersey fabric option for these headbands are the 4 way stretch knit fabrics, that means that they are stretchy lengthwise and widthwise. If the knit you are using is 2 way stretch (means it stretches only across the grain - selvage to selvage, be sure that you are using that stretchy direction for the longer measurement.  If your fabric is 4-way stretch (fabric stretches both ways-with and across the grain), you don't need to worry about cutting direction.
I must say that with all my knit fabrics designed for AGF, it's really a pleasure to make these, as AGF knits are 4 way stretch, are OEKO certified and have a wonderful composition of 95% Cotton and 5% Spandex, meaning that they have great performance and are so soft and comfy. 

Untitled


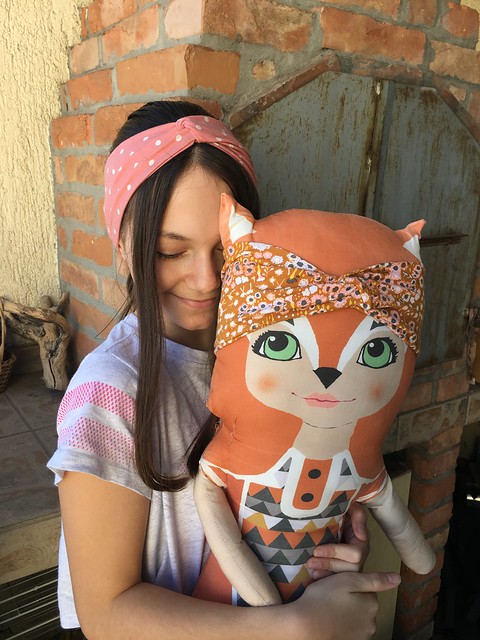
These headbands are very popular, especially in the last couple of years, they are usually called twist headbands, crossover headbands, yoga headbands, turban headbands, boho headbands... to name a few common ones.


There are many free tutorials for this type of headband on different craft blogs and you tube channels, but I thought to gather here some of my conclusions, examples and tips.

Untitled

Needed supplies:

- rectangle of jersey knit fabric - approx. 20" x 8" (the best is 4 way stretch)
- scissors or rotary cutter
- sewing machine (serger is optional, but preferred)
- stretch (ballpoint) needle
- thread and pins

There are several things that can determine the length measurement for these headbands: head circumference or age (if making it for kids) and knit fabric type or performance (some are very stretchable and elastic, while some are less). Regarding the width measurement for these headbands - it's totally up to you and your style and preferences.

I have tested several types and measurements, making some for my family and friends-always using my AGF knit fabrics and here's what I came with:

Adults and teenagers : 20-21" for the longer rectangle size and 7-8" for the shorter size.
Teens : 19-20" for the longer rectangle size and 7-8" for the shorter size.
Gradeschoolers (5-12 yrs old) 18-19" for the longer rectangle size and 6-8" for the shorter size.
Preschools (3-5 yrs old) 17-18" for the longer rectangle size and 6-7" for the shorter size.
Toddlers (1-3 yrs old): 16-17" for the longer rectangle size and 6-7" for the shorter size.
Babies15-16" for the longer rectangle size and 5-6" for the shorter size.

So, let's get started!!!


Untitled

1. Now that you have determined the size and have cut your rectangle, you need to make the tube. 
Just fold the rectangle in half, longer sides together, right fabric side inside.

Untitled

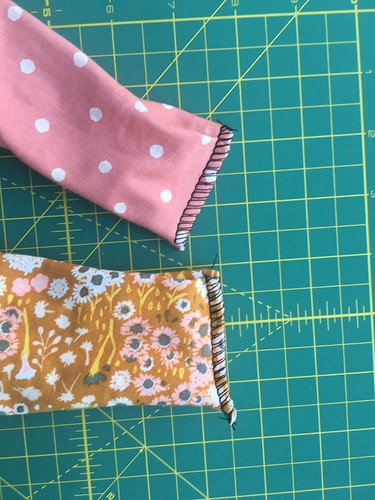
2. Sew seam (seam allowance is up to you) with either a serger, or regular sewing machine, using some stretchy stitch options, like overage stitch or narrow zig zag (here's what works best on mine):


Untitled


Untitled


Untitled

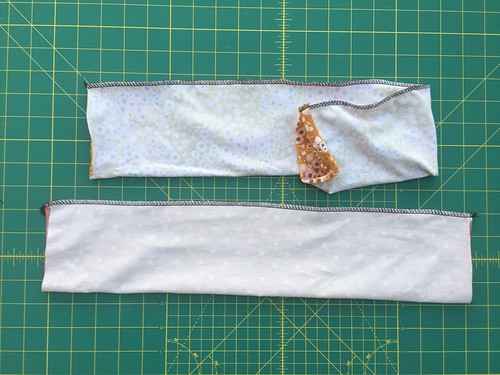
3. Turn the tube inside out and lay it down.
Now you can choose if you prefer your seam to be on the side or centered inside the headband. I tried both versions and although the centered one may look nicer, I prefer the side one, just because that way it makes it easier to twist the headband and find the best look of the final knot, without trouble to turn the seam right side inside. It may sound weird, but you may try and will realize this little issue;) 


Untitled


4. Fold it in half, lengthwise and join the shorter sides together. 
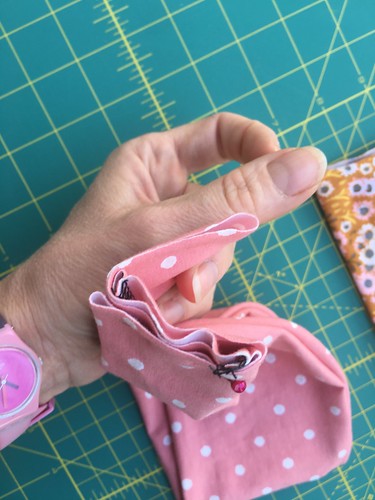
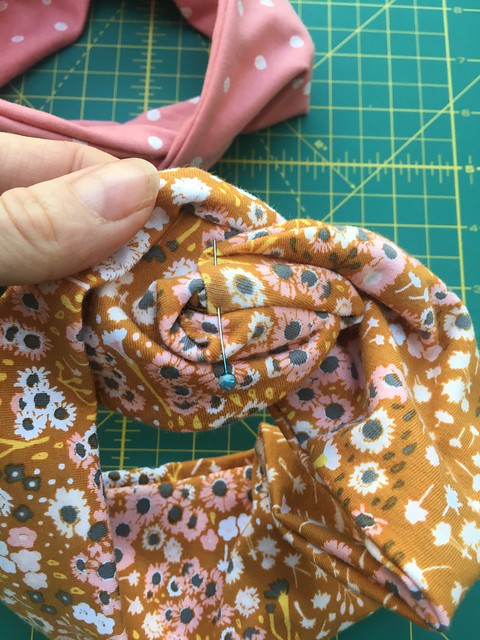
Now you will create the knot by making a little sandwich with these shorter sides-by folding one side on another.

Untitled

Place the left edge of the upper layer on the center of the bottom layer and fold the remaining piece on the back. You can watch this little video that will help understanding better.

Untitled

This is what it will basically look like:


Untitled

5. Sew across this juncture, gathering all 4 layers together. You can do it with simple, straight stitch.
Just cut the fabric excess, to avoid the bulk and secure the threads on both ends.

Untitled

You are done- just open the headband and adjust the knot the way you like it.
You may eventually close and securely tuck in the sewn ends by hand sewing a few stitches on the top of the knot.

Untitled

Hope you enjoyed it!!!

Untitled

Happy sewing,
Katarina