
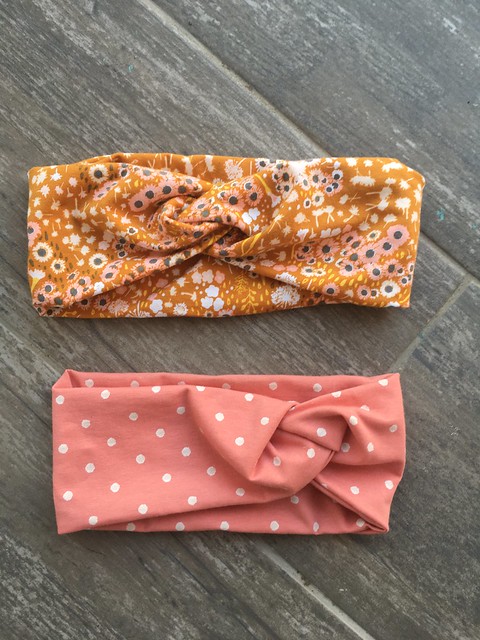
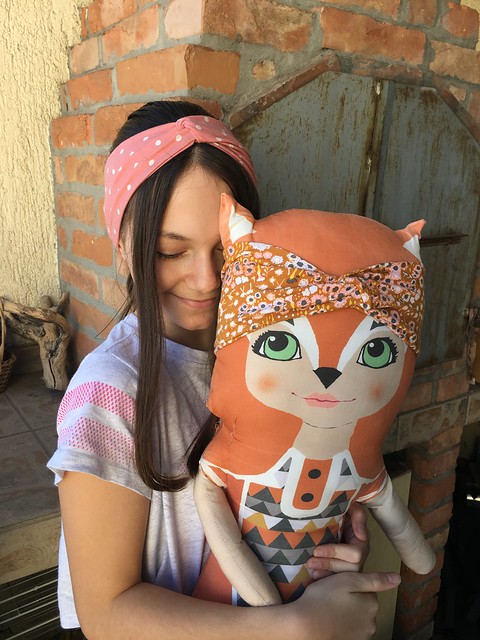
Knit or jersey fabric headbands are so comfy to wear and very easy to sew. In the upcoming Holidays season, they are wonderful for gift giving!!!
As this project requires just a small fabric rectangle, it is also a great way to use your fabric scraps or to up-cycle some old t-shirt.
But, be aware, making these can be addictive, so it may also lead to some fabric shopping!

There are many types and weights of knit fabrics, but what's important to know for cutting them is the way they stretch, as you need the headband that is stretchy and that can be placed on the head. The best knit or jersey fabric option for these headbands are the 4 way stretch knit fabrics, that means that they are stretchy lengthwise and widthwise. If the knit you are using is 2 way stretch (means it stretches only across the grain - selvage to selvage, be sure that you are using that stretchy direction for the longer measurement. If your fabric is 4-way stretch (fabric stretches both ways-with and across the grain), you don't need to worry about cutting direction.


There are many free tutorials for this type of headband on different craft blogs and you tube channels, but I thought to gather here some of my conclusions, examples and tips.

Needed supplies:
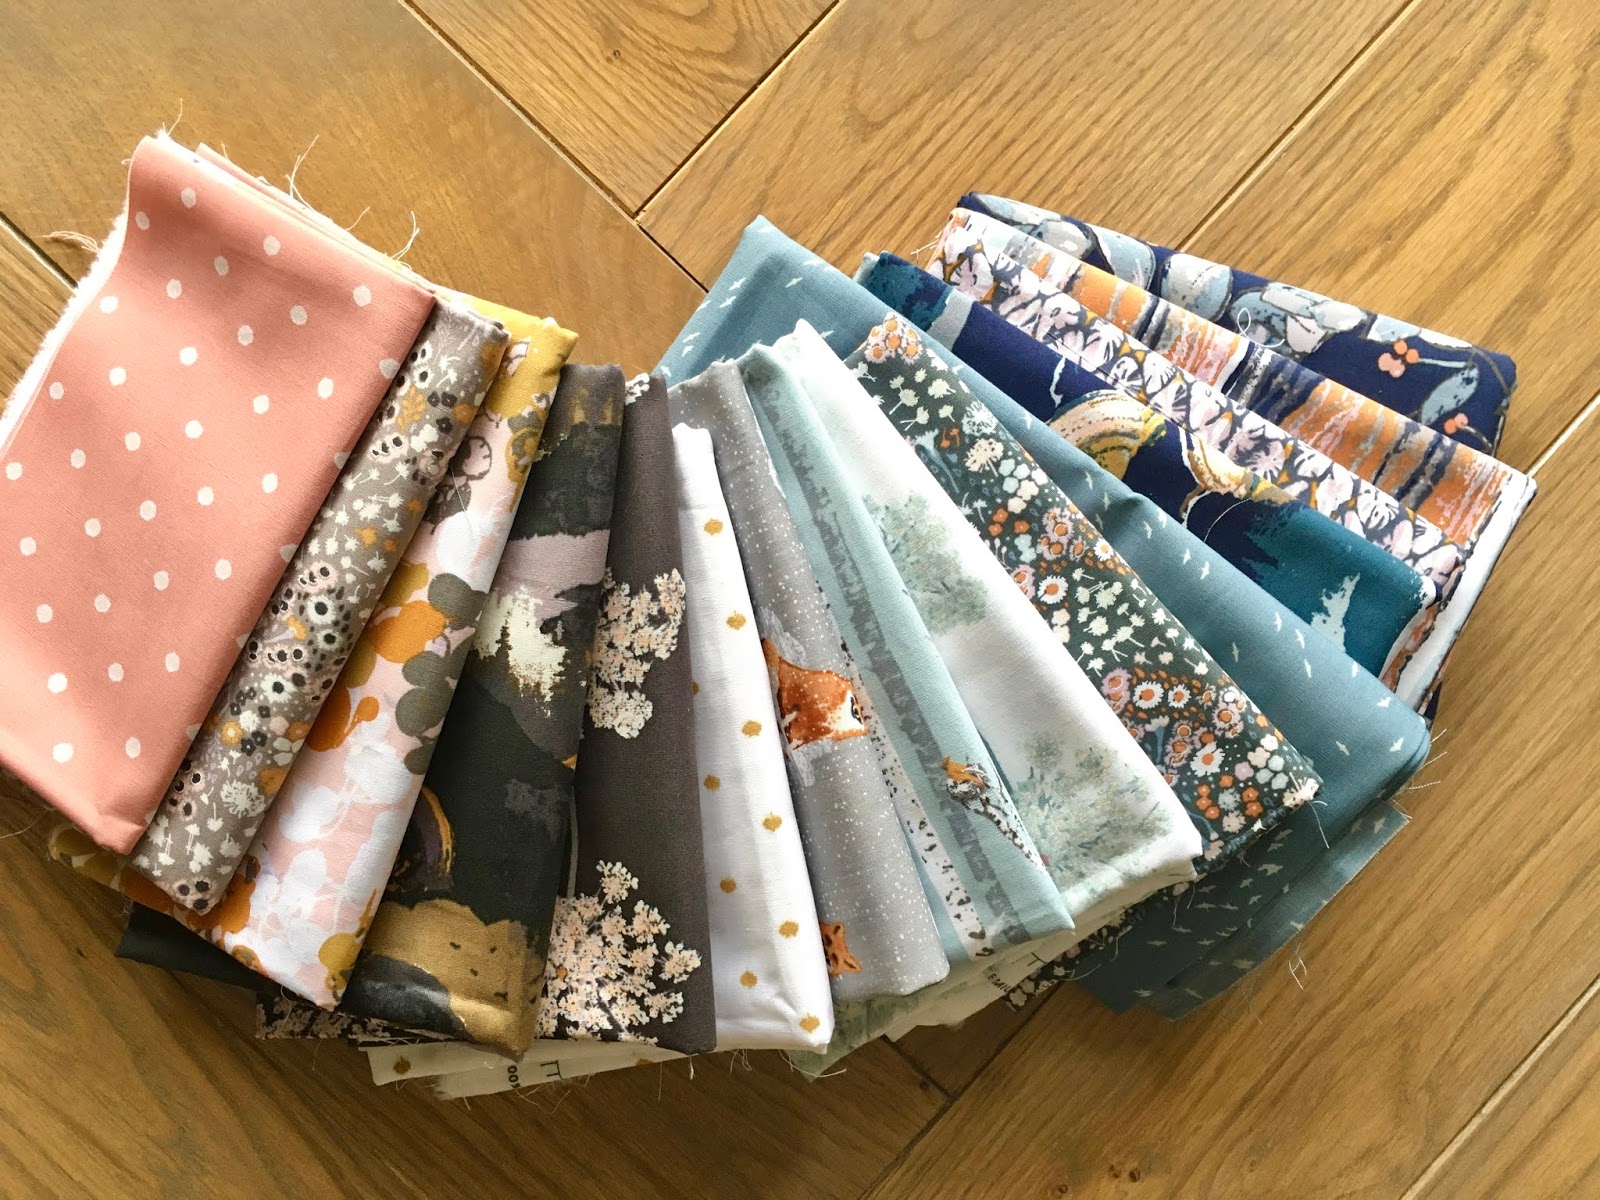
- rectangle of jersey knit fabric - approx. 20" x 8" (the best is 4 way stretch)
- scissors or rotary cutter
- sewing machine (serger is optional, but preferred)
- stretch (ballpoint) needle
- thread and pins
There are several things that can determine the length measurement for these headbands: head circumference or age (if making it for kids) and knit fabric type or performance (some are very stretchable and elastic, while some are less). Regarding the width measurement for these headbands - it's totally up to you and your style and preferences.
I have tested several types and measurements, making some for my family and friends-always using my AGF knit fabrics and here's what I came with:
Adults and teenagers : 20-21" for the longer rectangle size and 7-8" for the shorter size.
Teens : 19-20" for the longer rectangle size and 7-8" for the shorter size.
Gradeschoolers (5-12 yrs old) 18-19" for the longer rectangle size and 6-8" for the shorter size.
Preschools (3-5 yrs old) 17-18" for the longer rectangle size and 6-7" for the shorter size.
Toddlers (1-3 yrs old): 16-17" for the longer rectangle size and 6-7" for the shorter size.
Babies: 15-16" for the longer rectangle size and 5-6" for the shorter size.
So, let's get started!!!

Just fold the rectangle in half, longer sides together, right fabric side inside.
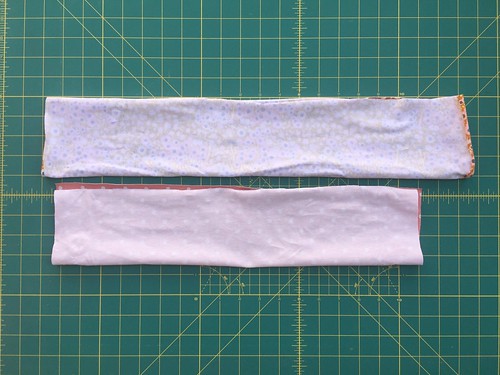
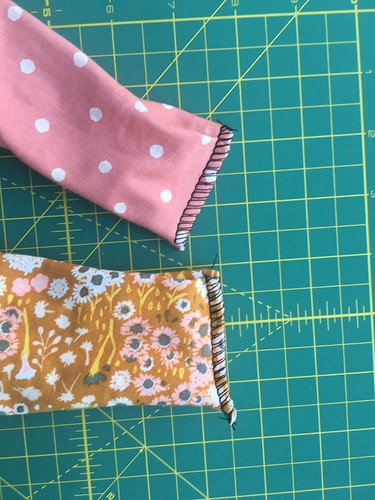
2. Sew seam (seam allowance is up to you) with either a serger, or regular sewing machine, using some stretchy stitch options, like overage stitch or narrow zig zag (here's what works best on mine):

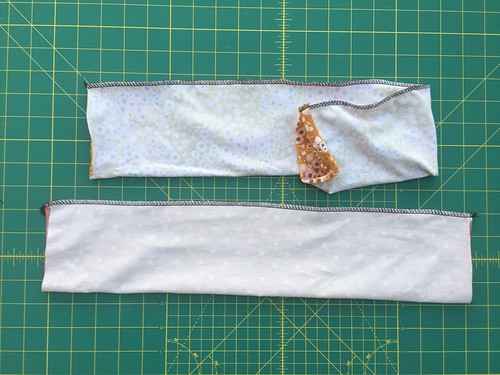


3. Turn the tube inside out and lay it down.
Now you can choose if you prefer your seam to be on the side or centered inside the headband. I tried both versions and although the centered one may look nicer, I prefer the side one, just because that way it makes it easier to twist the headband and find the best look of the final knot, without trouble to turn the seam right side inside. It may sound weird, but you may try and will realize this little issue;)


4. Fold it in half, lengthwise and join the shorter sides together.
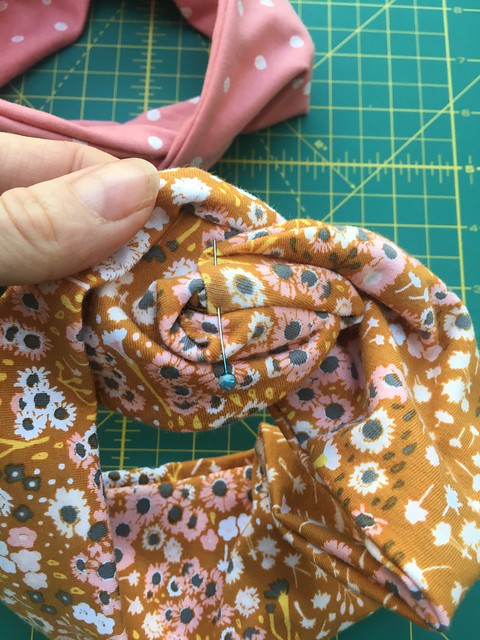
Now you will create the knot by making a little sandwich with these shorter sides-by folding one side on another.
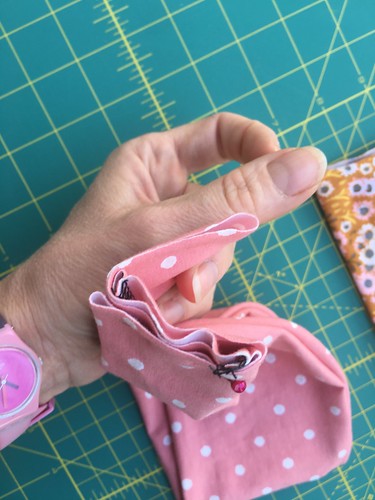
Place the left edge of the upper layer on the center of the bottom layer and fold the remaining piece on the back. You can watch this little video that will help understanding better.

This is what it will basically look like:

5. Sew across this juncture, gathering all 4 layers together. You can do it with simple, straight stitch.
Just cut the fabric excess, to avoid the bulk and secure the threads on both ends.

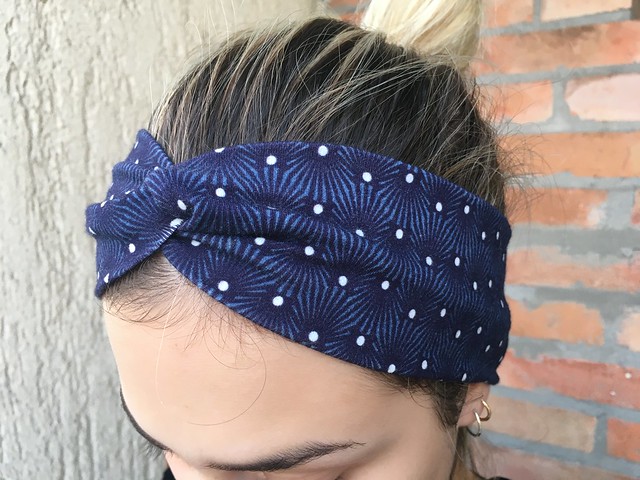
You are done- just open the headband and adjust the knot the way you like it.
You may eventually close and securely tuck in the sewn ends by hand sewing a few stitches on the top of the knot.
Hope you enjoyed it!!!
Happy sewing,
Katarina


 GRID
GRID
 DECADENCE


