In the realm of fashion, accessories are the unsung heroes that elevate
an outfit from ordinary to extraordinary. Among these, headbands stand out as
versatile pieces that not only add a touch of style but also serve a practical
purpose.
If you're eager to infuse your wardrobe with a dash of creativity and flair, crafting your own knot fabric headbands is a delightful endeavour that promises both style and comfort.
knot fabric headbands offer endless possibilities for expression.
Instructions:
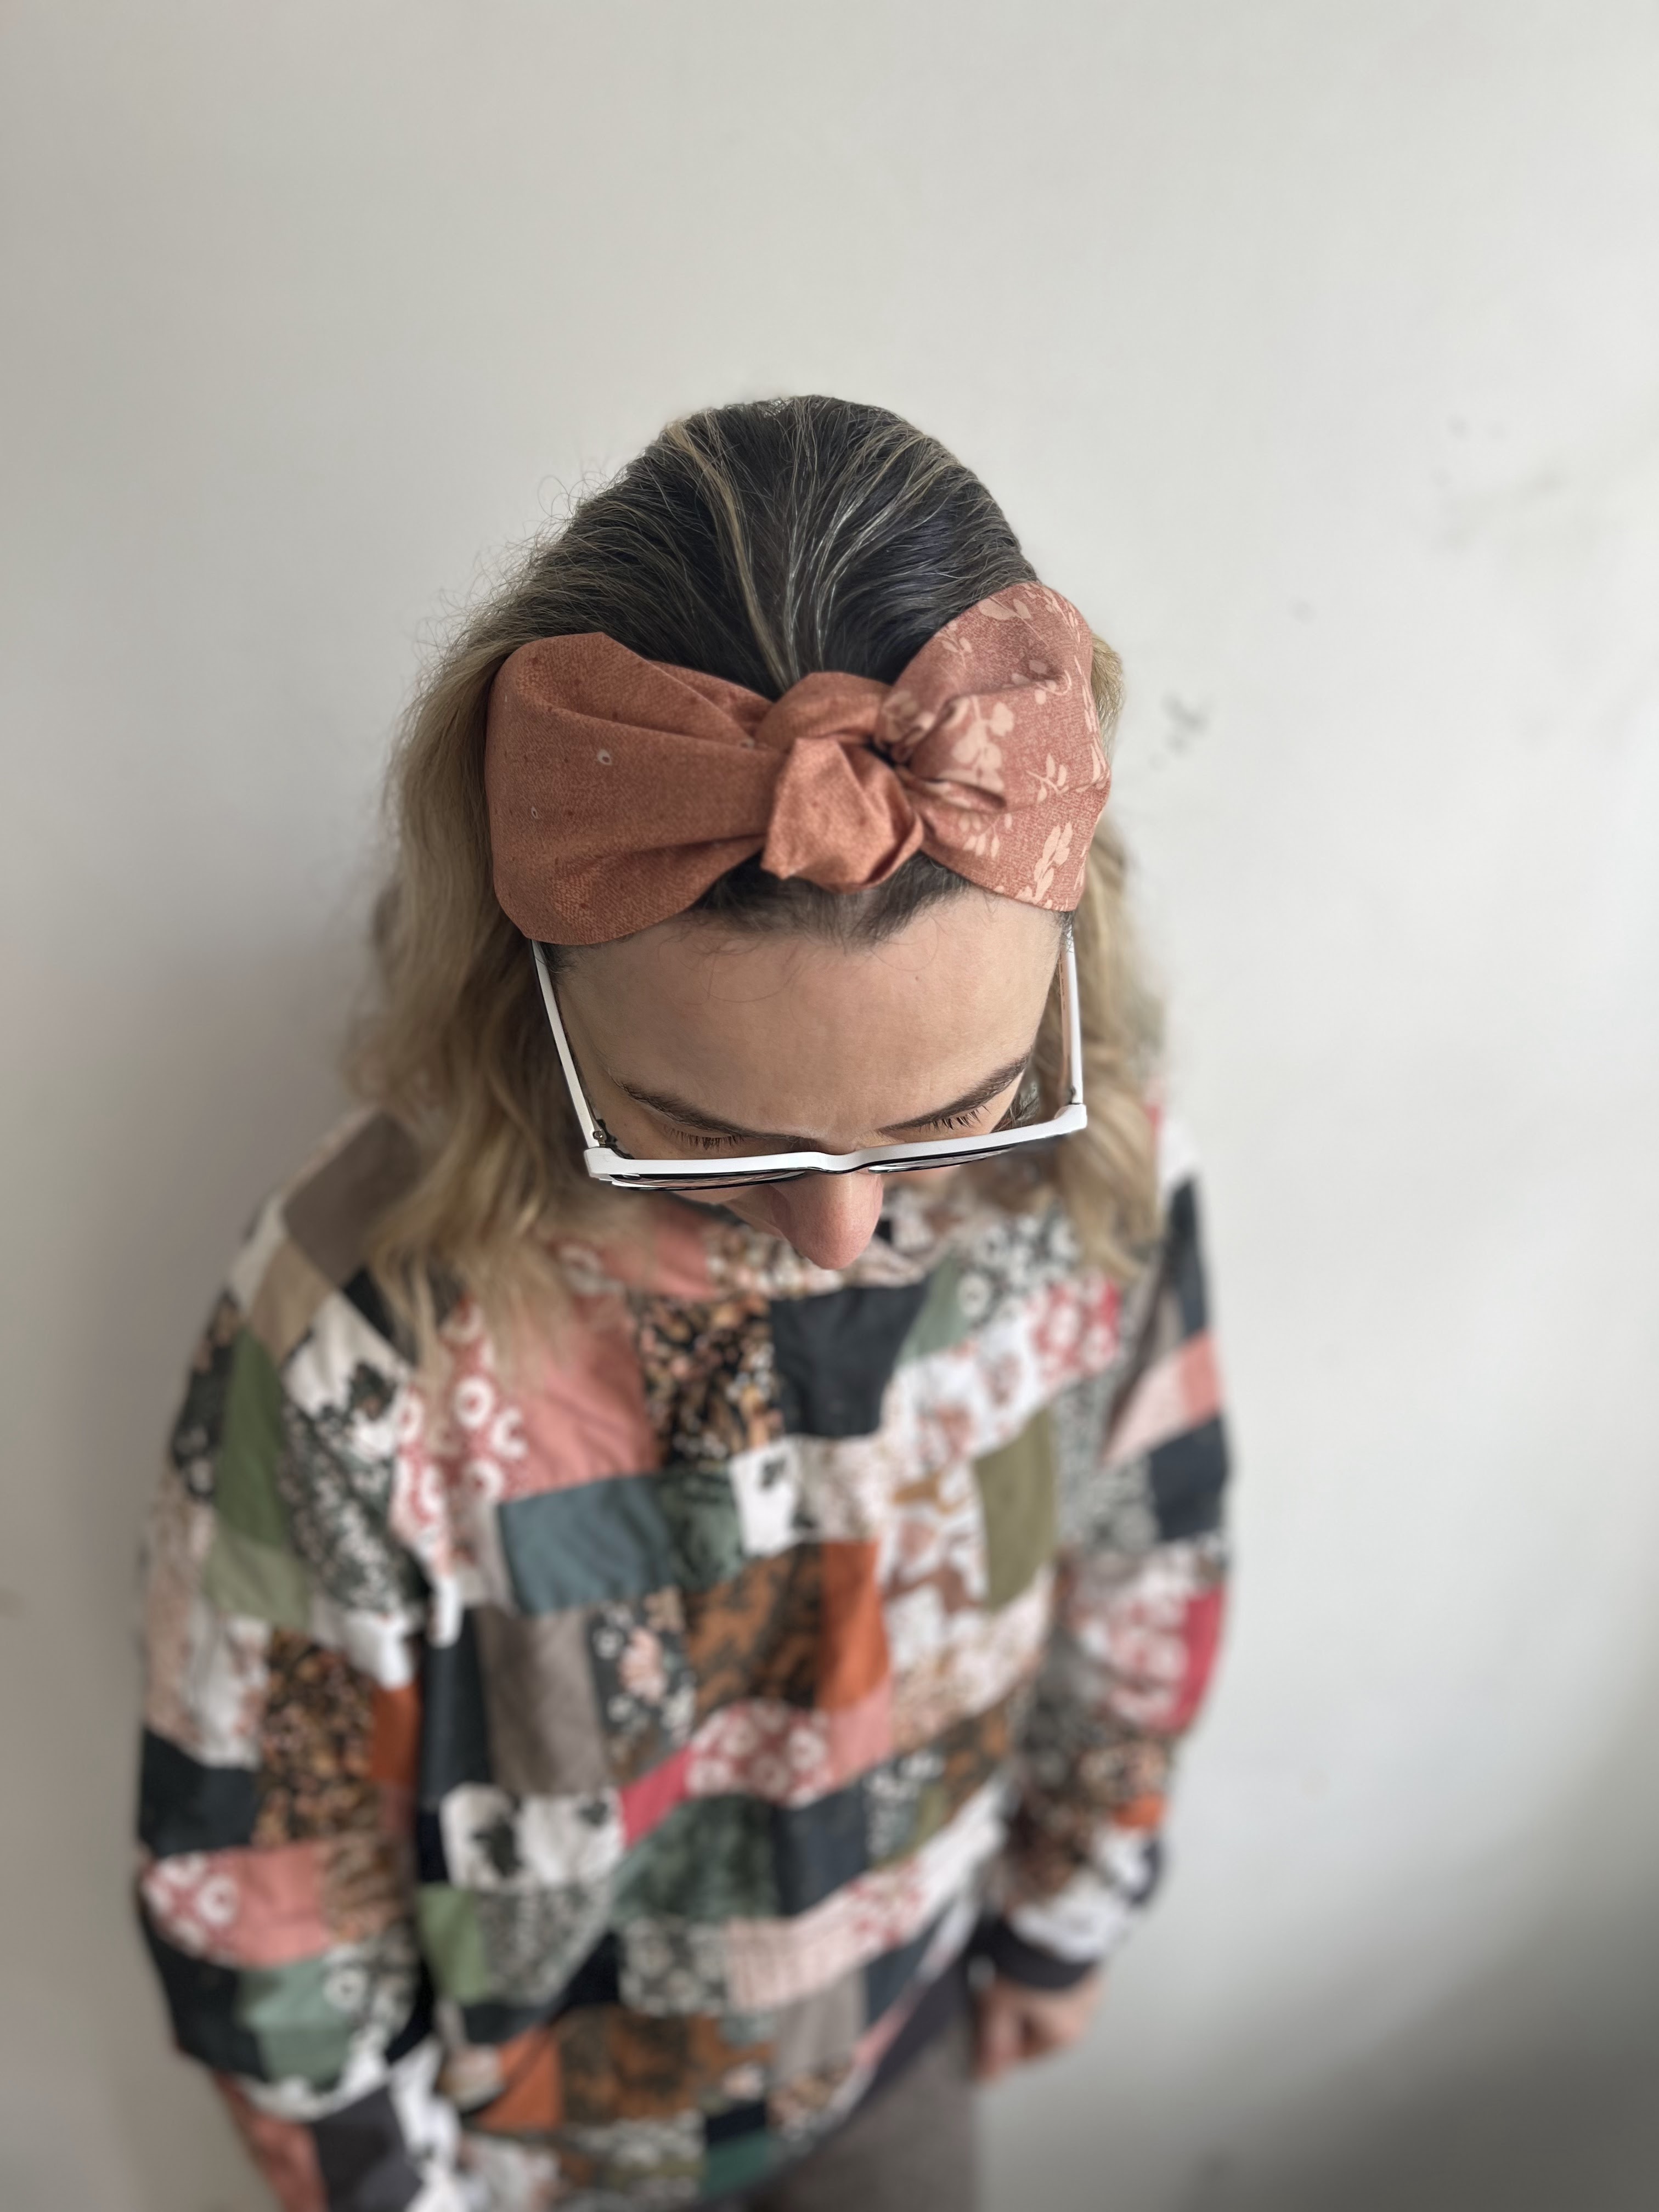
Knot fabric headbands are not only chic and fashionable but also incredibly easy to make. With just a few materials and a bit of creativity, you can customize these headbands to suit your unique style and personality. Whether you're aiming for a bohemian vibe, a retro-inspired look, or a modern twist,
Materials Needed:
1. Fabric rectangle 8" x 20" (20 cm x 50 cm)
2. Fabric rectangle 8" x 26" (20 cm x 66 cm)
3. Fabric rectangle 3" x 8" (8 cm x 20 cm) - for elastic casing
4. Elastic band 4" long x 1" wide (10 cm x 2,5 cm)
Begin by measuring and cutting your fabric. Keep in mind that the width will determine the thickness of the headband, while the length will determine how snugly it fits around your head. If you don't want to make the double knot, but prefer to just scrape one strip through another (making just one hoop), then cut both large rectangles to the same size: 8" x 20".
-
Sew the Seam: fold all three rectangles lengthwise and stitch along the open longer edge of the fabric to create a seam, leaving both shorter ends open. Be sure to backstitch at the beginning and end to secure the seam.
Turn Inside Out: Carefully turn the fabric inside out so that the right side is now facing outward. Use a blunt object, such as a chopstick or pencil, to gently push out the corners and create clean edges.
Fold and Iron: placing the seam in the centre, press the rectangles-tubes. This will ensure a polished finish.
-
Insert Elastic: Using a safety pin or bodkin, thread the elastic through one end of the smallest rectangle (elastic casing), securing it with a pin or clip. Topstitch at one shorter end and then on the other end to secure it inside and prevent it from slipping through.
Stitch elastic casing to headband: Fold the first fabric tube in half, so that the shorter ends overlap and the seam stays inside. Place one shorter end of the elastic casing on the centre, overlap both short ends over the elastic, clip and sew. Turn the bigger rectangle over it, so that the raw edge stays secured underneath. Now the other longer tube needs to go in between the first loop, so just make a hoop and then make a regular knot (tying the knot and therefore "loosing some length" is the reason why this rectangle is 6" longer than the first one). Now repeat the same process for the other side: place the shorter raw ends together, then place the other raw end of the elastic casing
on the top, overlap the edges, clip and topstitch. Just push the raw edges
underneath the sewn tubes and you are done!
Your knot fabric headband is now ready to wear and enjoy!
You can watch the video for better comprehension that is available on my Instagram profile. I will make sure to film another one soon that will be uploaded to my YouTube channel with horizontal setting.


Happy sewing, Katarina


 GRID
GRID
 DECADENCE


