

Almost 2 years ago I visited Barcelona with my family.
Barcelona is a city that pulses with creativity—rich in history, architecture, and vivid colors. For this fabric collection, I tapped into that vibrant energy, blending inspiration from the sweeping curves of Art Nouveau, the shimmering mosaics of Gaudí, and the bold hues of Spanish tile work.

The designs feature flowing motifs, mosaic-like patterns, and jewel-toned palettes—think warm golds, deep teal, rosy blushes, and shimmering metallic accents. These elements mirror the city’s fusion of classical forms and modern creativity.


So, it was quite easy to get inspired with all that beauty and to create the Barcelona fabric collection.

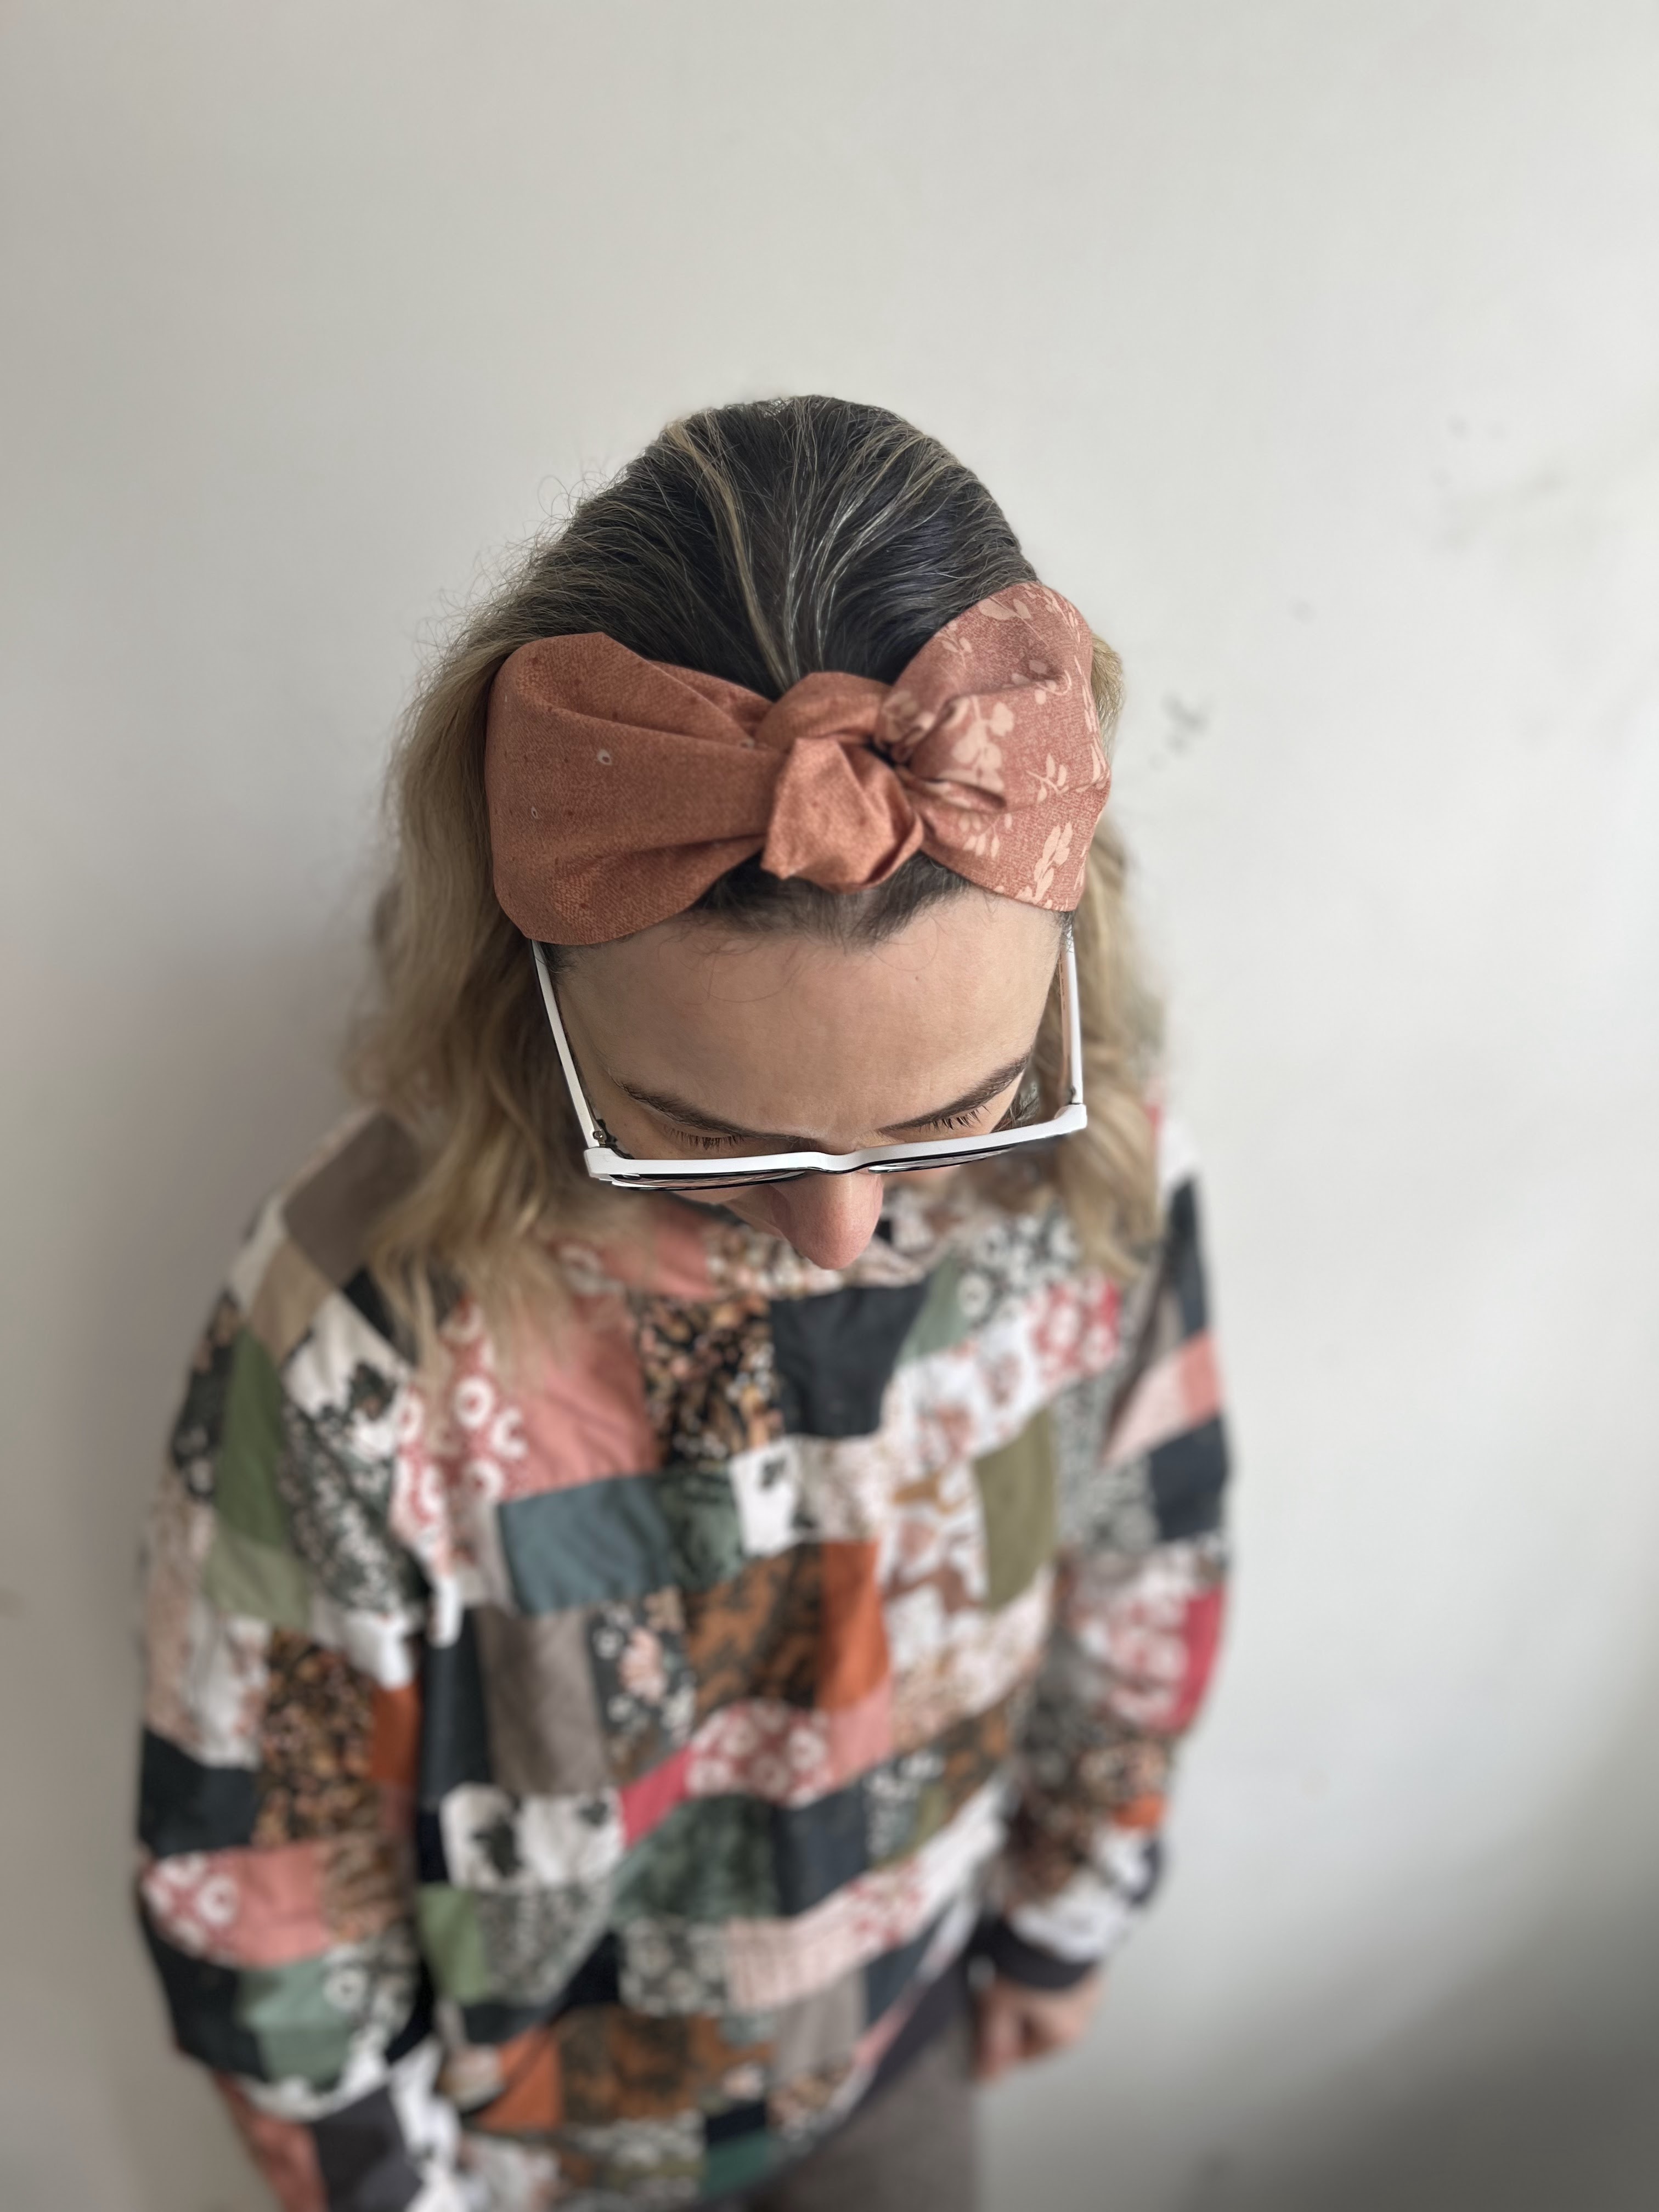
My favourite place is absolutely the Park Guell and its mosaic fence/seatting area.
And this Trecandis Tapestry print was directly influenced. I made a Charlie bomber jacket for myself and love wearing it!


I made several projects....


There are many other great projects and ideas in the Lookbook and hope they will inspire you to create!


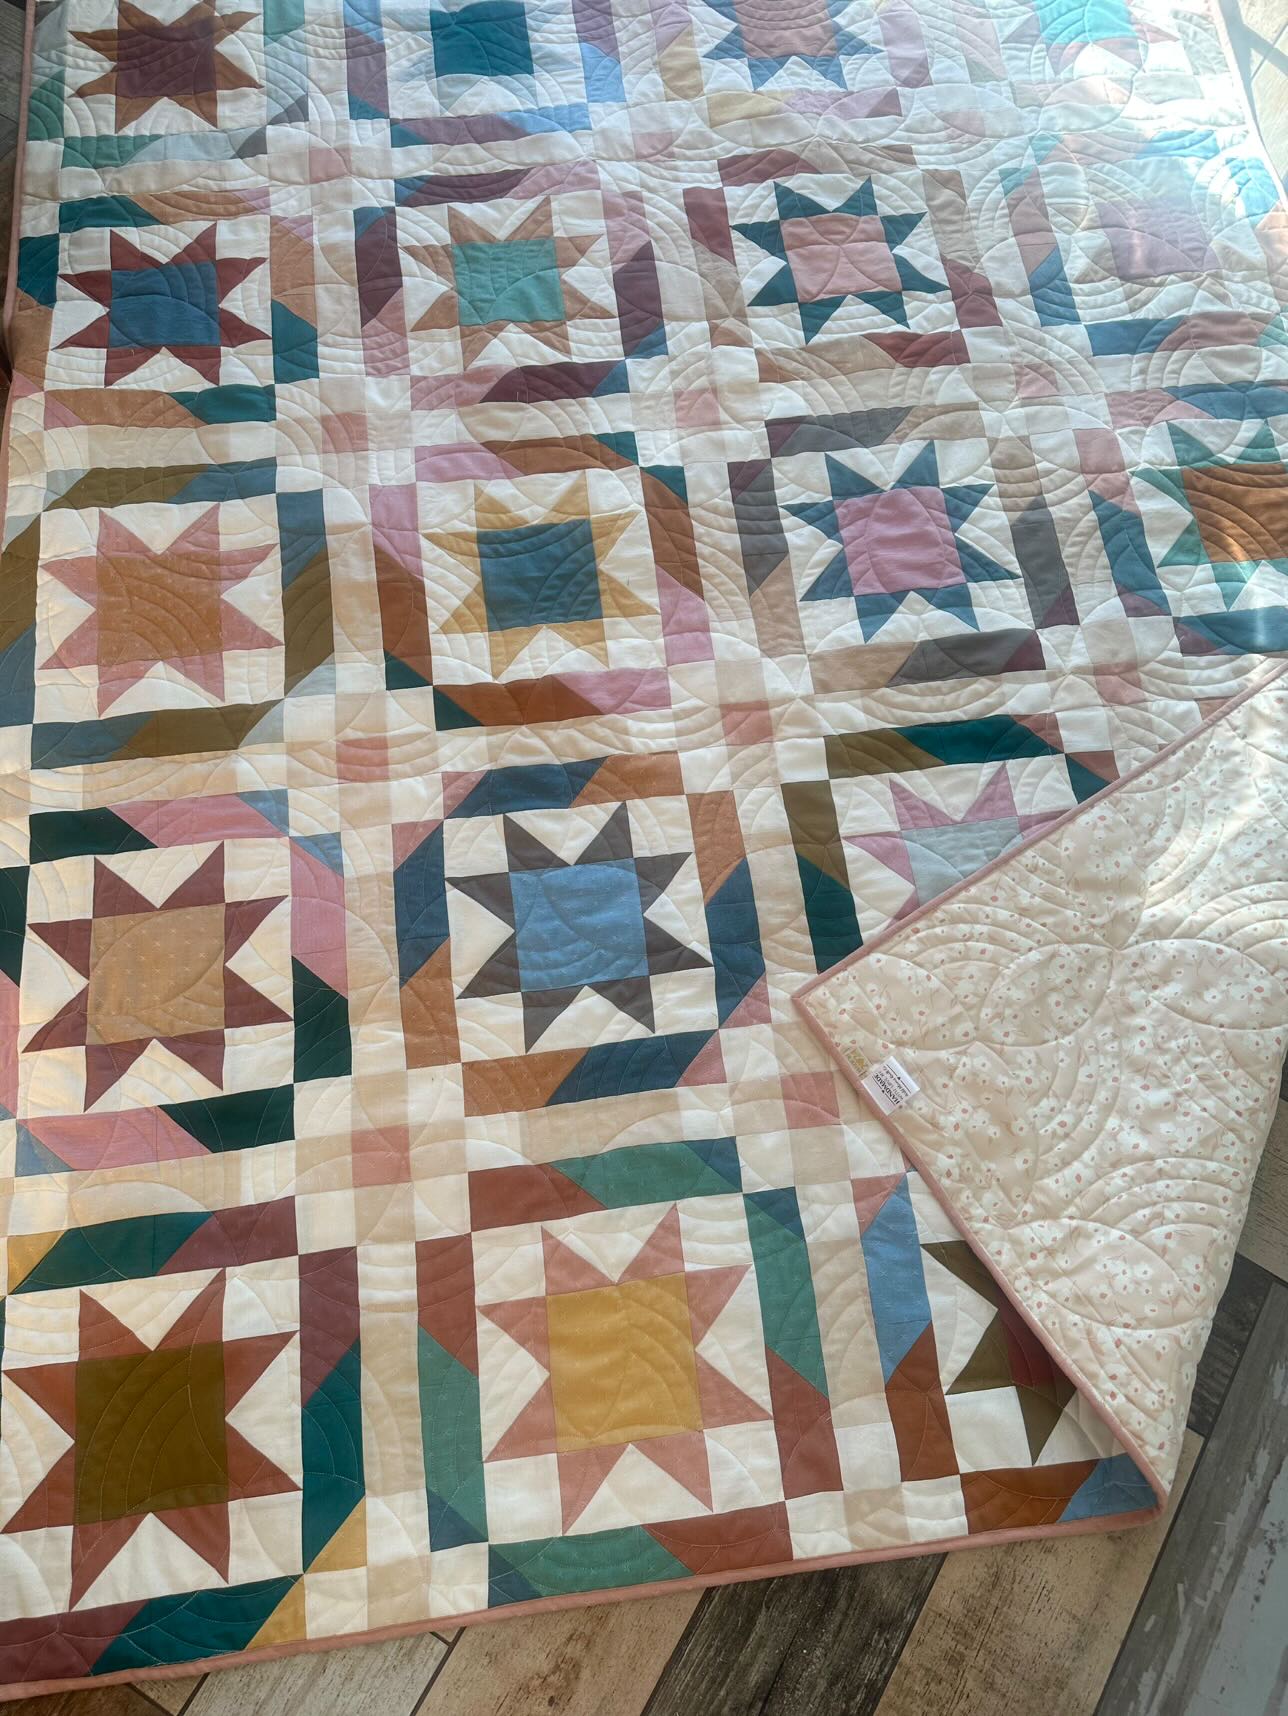
But my favorite projects are the quilts created by my friends:
Amanda Oros that created this majestic Zellige quilt.


And Sue Vinyard that created this beautul, FQ friendly version of the Duomo quilt pattern.

And I adore these colorful and fun Vibrato placemats!

There are many other great projects and ideas in the Lookbook and hope they will inspire you to create!
Katarina


 GRID
GRID
 DECADENCE


