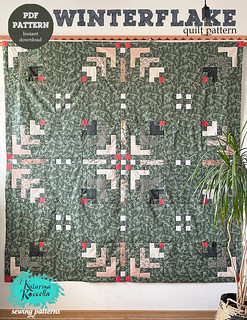
Hello and welcome to the 6th week of the Winterflake quilt sew-along and thank you so much for following along!
Monday, 24 July 2023
Winterflake quilt sew along - final week 6
Hello and welcome to the 6th week of the Winterflake quilt sew-along and thank you so much for following along!
Monday, 17 July 2023
Winterflake quilt sew along - week 5
Monday, 10 July 2023
Winterflake quilt SAL-week 4
Hello and welcome to the 4th week of our Winterflake quilt sew-along and thank you so much to everyone for following along!
You will see how surprisingly easy it will be, now that we have all the quarters and inner borders assembled and have cut all the big, 12.5" squares and rectangles in fabric A.
Monday, 3 July 2023
Winterflake quilt SAL-week 3
Hello and welcome to the 3rd week of our Winterflake quilt sew-along and thank you so much to everyone who participated in the Fabric + pattern giveaway!
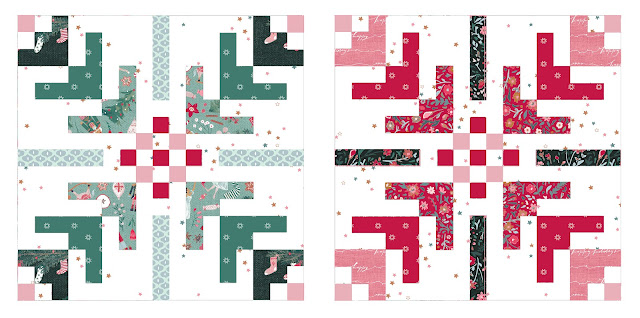
As we assembled strips sets and have cut the strip units last week: this week, we are talking about quarter blocks making, which are needed to assemble the snowflake, I mean Winterflake blocks 1 and 2.
You will see how surprisingly easy it will be, now that we have all the units cut and strip units assembled.
The basic, log cabin structure of quarters of quilt blocks 1 and 2 is a centre shape surrounded by strips, or “logs”. Use the table on the page 6 to create the required number of blocks and inner border units for your quilt size.
Using the diagrams provided in the pattern and paying close attention to the orientation of the Strip Set units, pin and sew logs.
We are starting with the simple 3.5” square in fabric C for the quarter 1, while
for the quarter 2, we are starting with the 3.5” square in fabric H.
We are making the quarter 1 in the video.
As you can see, the most important thing with sewing these log cabin structured blocks is to keep precise ¼” seam allowance, as with basically every quilt block.
I am sure that from this you can easily obtain all the blocks and assembly your quilt top too, but we will leave that for the next week.
I hope that you enjoyed this shorter episode and that you found something useful in my videos!
Happy 4th of July to all of you celebrating and see you next week!
Katarina


.jpg)



















 GRID
GRID
 DECADENCE
