
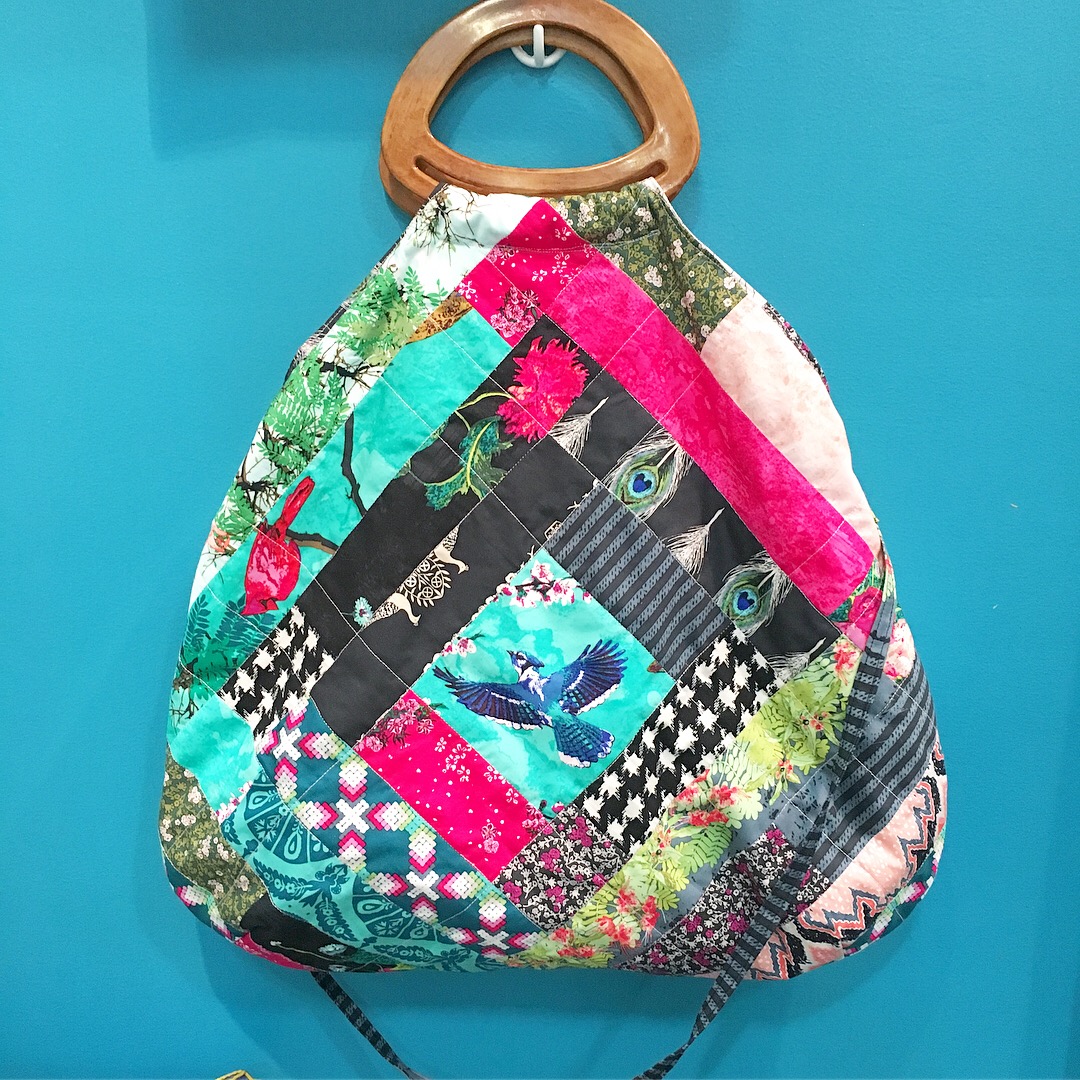
As Decadence fabric collection has started shipping to shops and we are preparing the Look book projects, I figured I can try to explain how I created my Large patchwork handbag with wooden handles, that was exposed in my Portland quilt market booth.
As I had very limited time to prepare all the items for my booth, everything was put together very quickly, without precise patterns to follow and unfortunately, without step by step pictures of making them. What I regret the most is that I didn't take any picture of the patchwork I did, before turning it into a bag :(
But, well I know that most of the quilters have many quilt remnants and unfinished quilt or pillow projects-and this can be a great way to quickly turn them into something usable!!!!

So, any kind of patchwork, quilt block or even any kind of fabric can work great for this.
My big log cabin patchwork blog was approx. 24 x 24". The central squares are 5" and the strips were cut to 2.5". As these were only the fabric strike offs, some were longer and some shorter, I just almost randomly pieced them together to a very long strip, which I was cutting as needed to do the log cabin piecing around.
Anyway, if starting from scratch- HERE's how to make the log cabin block! Just add another strip or more to all 4 sides, to obtain bigger block. You can use it like that, or rotate it into a diamond shape, like I did ;)
As my collection has 2 palettes (color stories: Demure and Lush), I just tried to play with one side of the bag featuring one palette, while the other was featuring the other one. It's good as now I can choose which side to "wear", depending on my outfit ;)

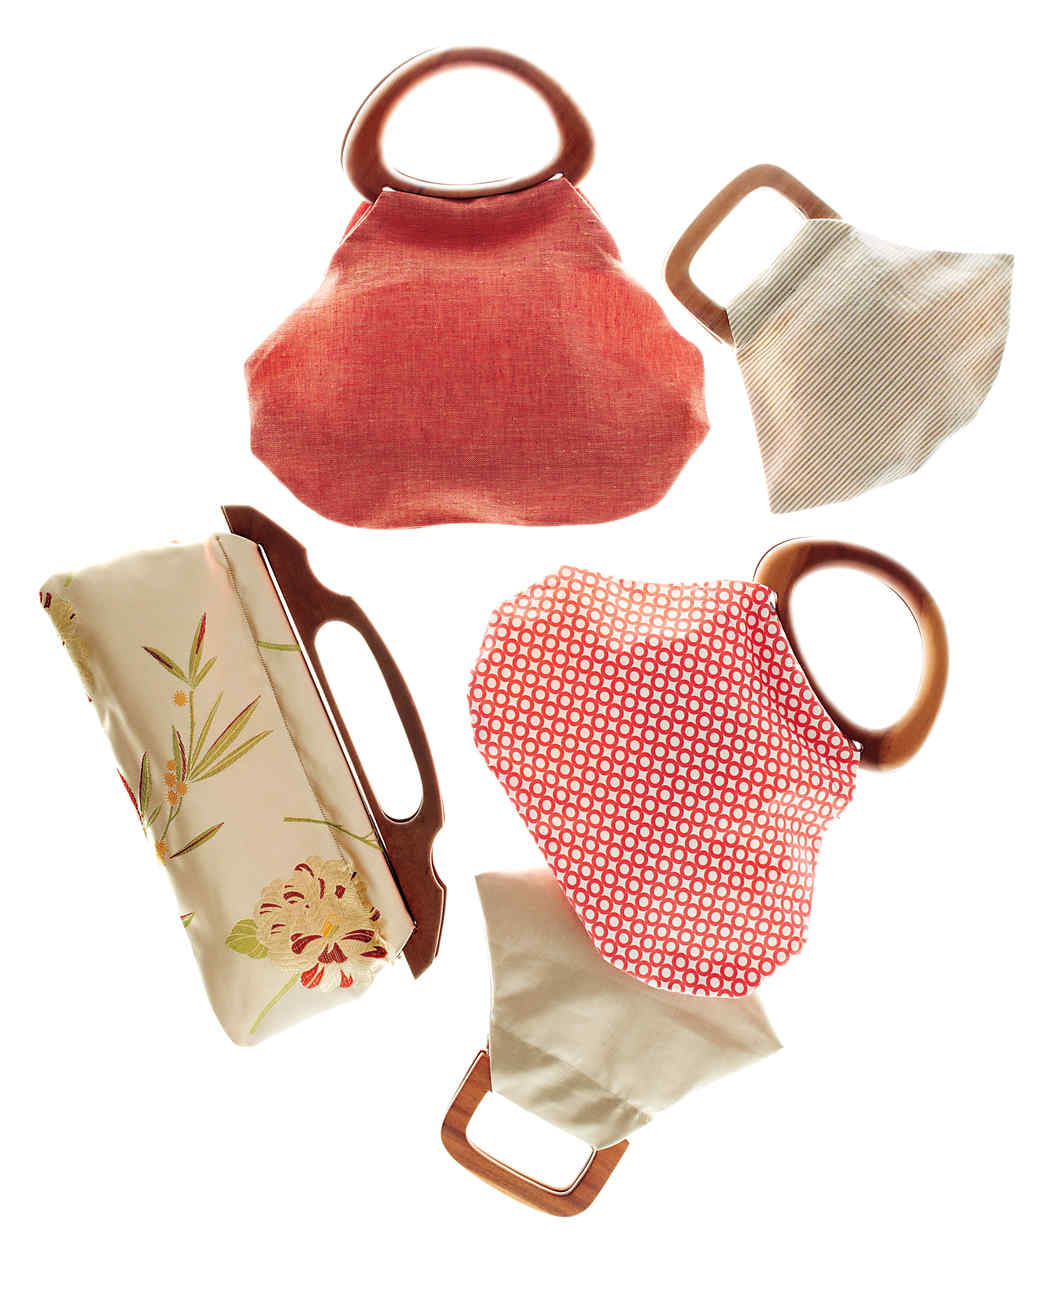
So, in one local craft store I bought the wooden handles and just had to use them. I never used before any bag pattern with these kind of handles, but have found THIS very nice article/tutorial by Martha Stewart with patterns for many types of handles and also sources where to shop for the handles etc.

Hope that this will inspire you to make one too!!!
Happy sewing!
xx, Katarina


 GRID
GRID
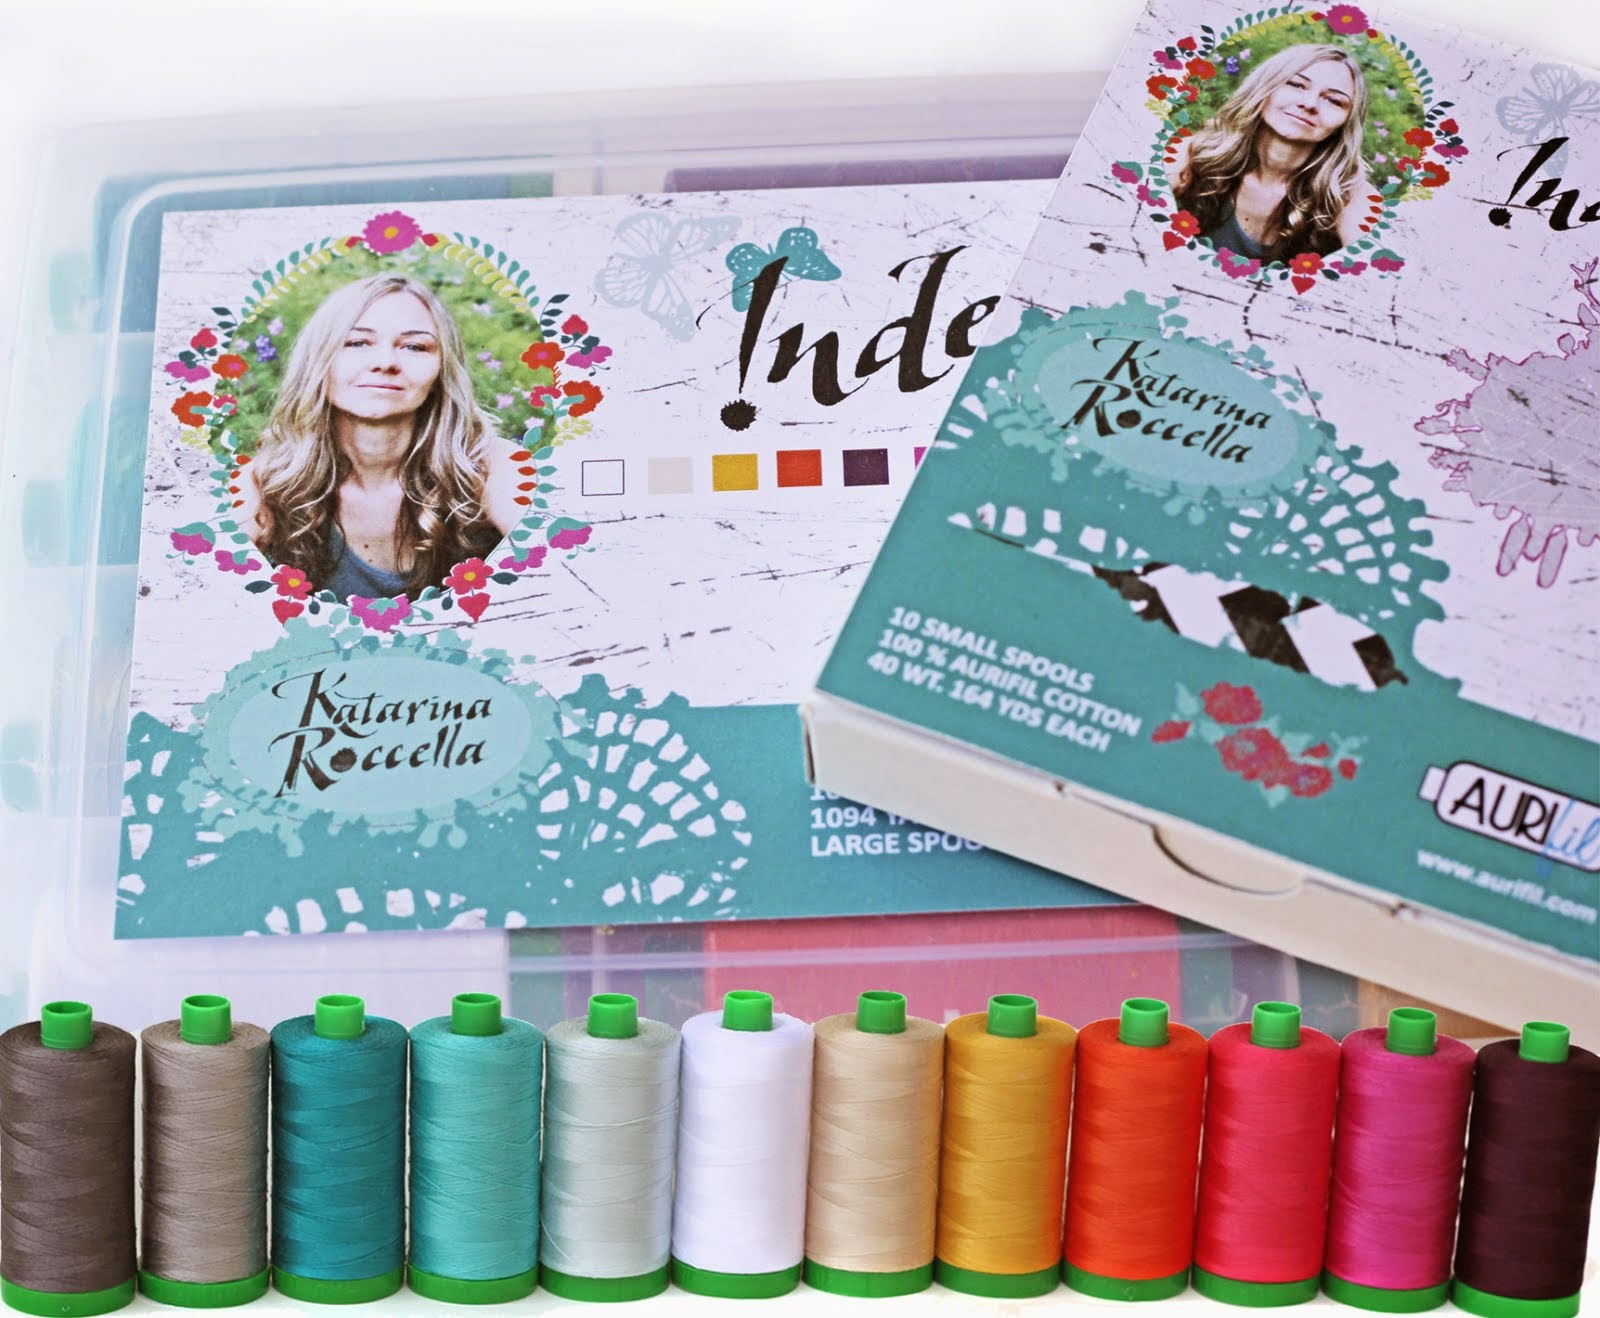
 DECADENCE


7 comments :
Great work! They look so cute i would definitely use them!!
This is a very interesting article. Please, share more like this! Keep blogging
This is also a very good post which I really enjoy reading. Do another one man
This is very interesting article, Very skilled blogger.
A must read post here. great piece of work
Thank you for sharing this fascinating information. Best of luck
A very awesome blog post. Thanks and have a nice day!
Post a Comment