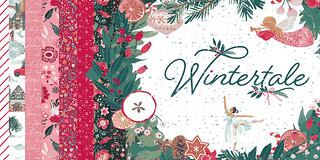
My newest fabric collection, Wintertale for Art Gallery Fabrics is here and I am busy planning, cutting and creating with these fun new prints.
This is my first ever Christmas fabric collection and it feels a little bit extra special because of that reason.
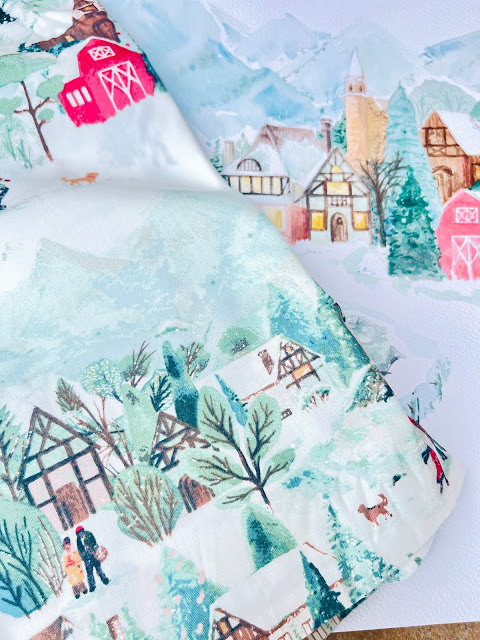
I created almost all of the artwork in watercolour technique and I couldn't be happier about all the little details, textures and colours that Mill have so successfully translated onto screens to use for printing.
I wanted this collection to have a bit of vintage-y and nostalgic vibe, but yet to feel very modern and inspirational for a wide array of crafts and Xmas projects in general. There are so many ideas and possibilities to create and celebrate the most wonderful-festive time of the year.
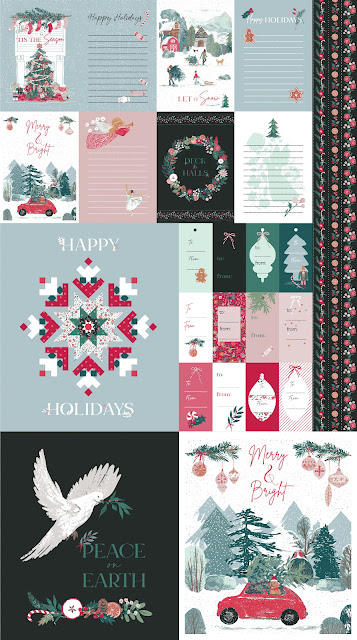
The most "obvious"idea giver is this Holiday Spirit, 24" wide panel that carries so many fun motifs, scenes and illustrations that could be cut and used for different kinds of projects-from tags, cards, pillows and many types of fabric embellishments even for some scrapbooking or maybe some decorative stitching? I can't wait to see all the ideas and uses.
I posted on my Instagram feed this very quick and easy Christmas card making, but thought to post it even here, for easier linking.
Fabric Christmas card tutorial
• So basically you just need to choose and cut 2 rectangles with your favourite illustrations from the panel (taking care about what will be the front and the back of the postcard).
• Optionally, fuse the stabiliser on one of the back sides of the rectangles for more sturdiness.
• Sew the rectangles together with right sides inside, leaving the 2-3" gap opening for turning it out.
• Clip the corners (close to, but NOT through, the stitches) to reduce bulk and obtain neat corners.
• Turn the postcard to the right side (use the point turner tool or something similar to nicely push and form the corners) and top stitch all the way around, securely sewing the opening close.
You can write, embroider or stitch a nice message prior to assembling the postcards that will give them a special and unique look.
I hope that you will have fun with these fabrics and that you will share your projects with me!
xx
Katarina

.jpg)






















 GRID
GRID
 DECADENCE
















No comments :
Post a Comment