

In the realm of fashion, accessories are the unsung heroes that elevate
an outfit from ordinary to extraordinary. Among these, headbands stand out as
versatile pieces that not only add a touch of style but also serve a practical
purpose.
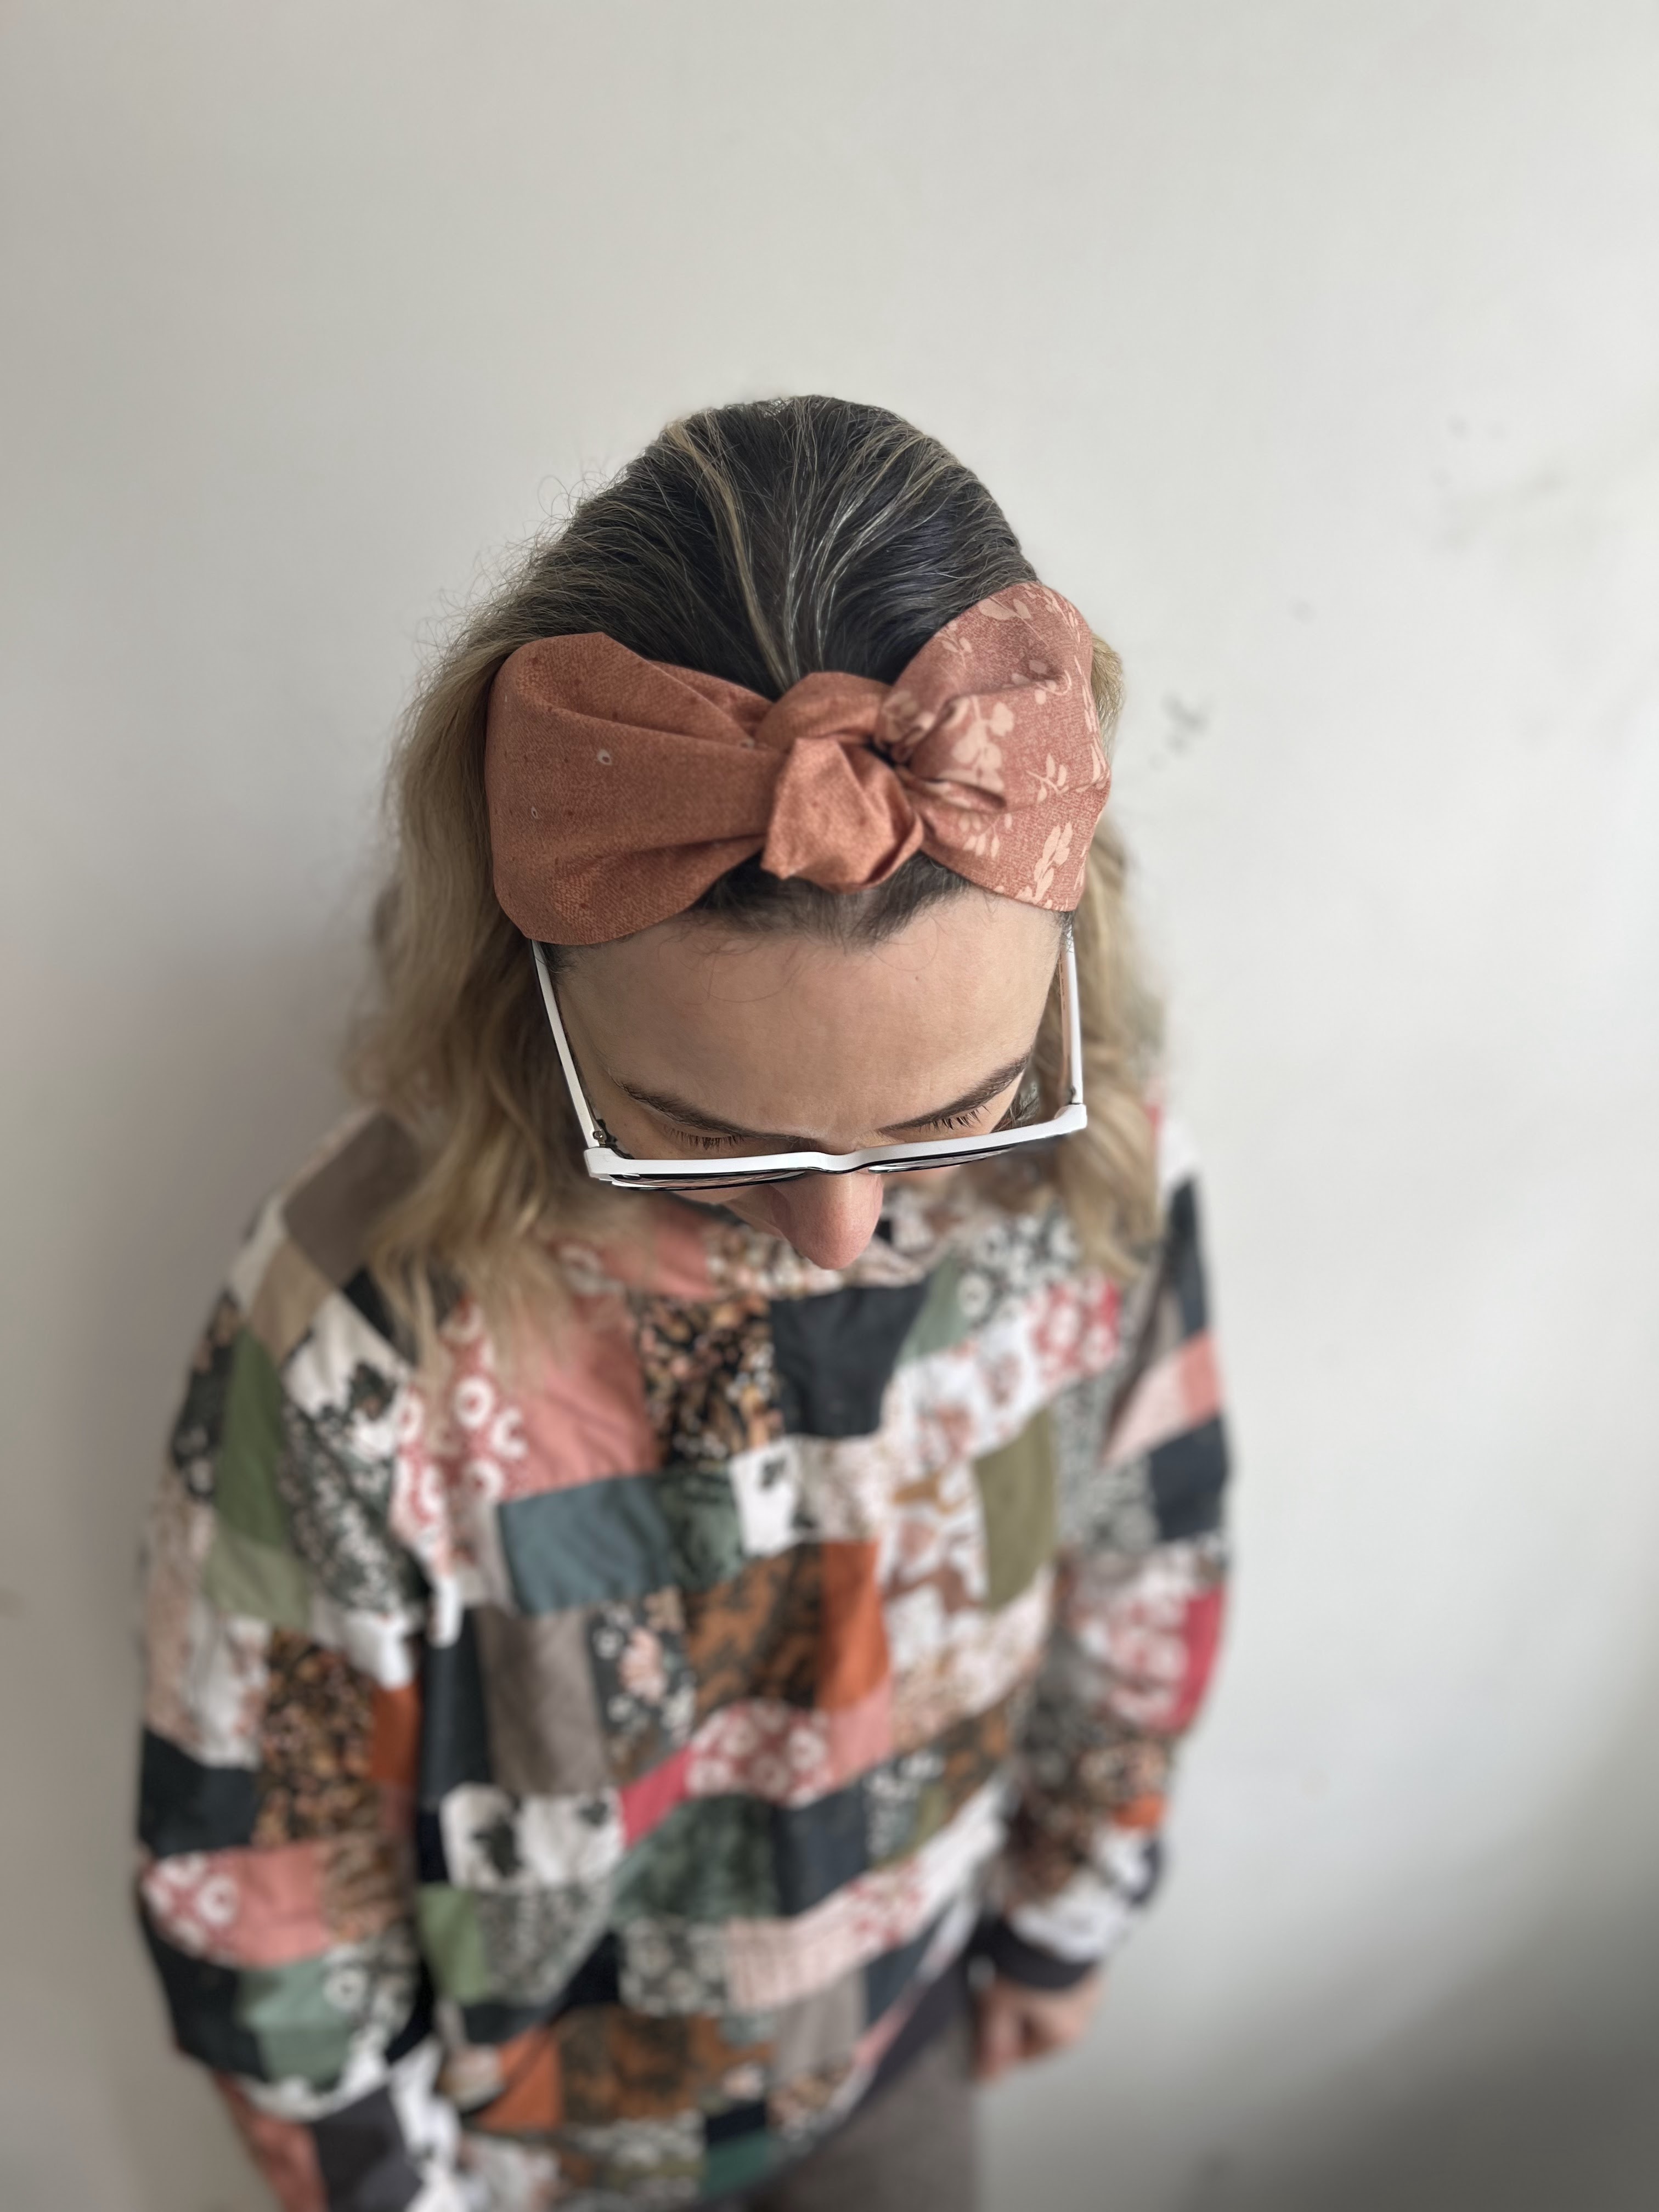
If you're eager to infuse your wardrobe with a dash of creativity and flair, crafting your own knot fabric headbands is a delightful endeavour that promises both style and comfort.
knot fabric headbands offer endless possibilities for expression.
Instructions:
Knot fabric headbands are not only chic and fashionable but also incredibly easy to make. With just a few materials and a bit of creativity, you can customize these headbands to suit your unique style and personality. Whether you're aiming for a bohemian vibe, a retro-inspired look, or a modern twist,
Materials Needed:
1. Fabric rectangle 8" x 20" (20 cm x 50 cm)
2. Fabric rectangle 8" x 26" (20 cm x 66 cm)
3. Fabric rectangle 3" x 8" (8 cm x 20 cm) - for elastic casing
- 4. Elastic band 4" long x 1" wide (10 cm x 2,5 cm)


-
Sew the Seam: fold all three rectangles lengthwise and stitch along the open longer edge of the fabric to create a seam, leaving both shorter ends open. Be sure to backstitch at the beginning and end to secure the seam.

- Turn Inside Out: Carefully turn the fabric inside out so that the right side is now facing outward. Use a blunt object, such as a chopstick or pencil, to gently push out the corners and create clean edges.Fold and Iron: placing the seam in the centre, press the rectangles-tubes. This will ensure a polished finish.

-
Insert Elastic: Using a safety pin or bodkin, thread the elastic through one end of the smallest rectangle (elastic casing), securing it with a pin or clip. Topstitch at one shorter end and then on the other end to secure it inside and prevent it from slipping through.
Stitch elastic casing to headband: Fold the first fabric tube in half, so that the shorter ends overlap and the seam stays inside. Place one shorter end of the elastic casing on the centre, overlap both short ends over the elastic, clip and sew. Turn the bigger rectangle over it, so that the raw edge stays secured underneath. Now the other longer tube needs to go in between the first loop, so just make a hoop and then make a regular knot (tying the knot and therefore "loosing some length" is the reason why this rectangle is 6" longer than the first one). Now repeat the same process for the other side: place the shorter raw ends together, then place the other raw end of the elastic casing on the top, overlap the edges, clip and topstitch. Just push the raw edges underneath the sewn tubes and you are done!
Your knot fabric headband is now ready to wear and enjoy!


Happy sewing, Katarina


 GRID
GRID
 DECADENCE


9 comments :
Your detailed instructions and accompanying photos make it easy for even a novice like myself to follow along and create a beautiful headband. I love how you combine functionality with style, making this project a fun and practical addition to anyone's accessory collection.
Krazycouponclub
I recently came across your blog post titled "Twisted Knot Fabric Headband Tutorial," and I must say, your tutorial is both clear and inspiring! While the Savingscentstogether doesn't directly relate to the content of your post.
An excellent read! The blog is well-researched, thoughtfully written, and presented in a highly engaging manner. The author's ability to explain intricate details with such clarity is truly commendable. Kudos for this fantastic piece!
midjourney discount code
We're here to assist with your commercial digitizing needs! Our service ensures high-quality results, prompt turnaround times, and dedicated customer support. Whether you require precise logo digitization or intricate embroidery designs, we specialize in delivering professional outcomes that meet your expectations. Contact us to discuss your project requirements and experience the reliability and excellence that our digitizing service offers.
go for Digitizing Services here ^&^56$&^%435356
SEO Khazana Services offers top link building services in India. Our team helps increase your website's visibility by building quality backlinks. Improve your website's ranking on search engines with our reliable and effective link building solutions.
I am Ms. Beate Heister, a German entrepreneur, investor, and shareholder in the discount supermarket chain Aldi. I donate 25% of my personal wealth to charitable causes around the world. I have also pledged the remaining 25% to private individuals this year. I have decided to donate €1,500,000.00 to you. This is part of my pledge for this year's charity project. If you are interested in my donation, please contact me for more information.
Best regards
Ms. Beate Heister
Managing Director of the Beate Group.
Please write to my official email address:
heisterbeate06@gmail.com
HP 123 Setup is a reliable resource for installing, configuring, and maintaining HP printers.
HP 123 Setup
HP 123 Setup
HP Printer WiFi Setup
HP Printer Driver Installation
HP Printer Setup
HP Setup Guide
HP Printer Install
HP Driver Download
HP Printer Software
Great explanation. The right Diamond Exchange API Provider in Jaipur plays an important role in ensuring platform reliability and performance.
Diamond Exchange API Provider in Jaipur
Diamond Exchange API Provider in Jaipur
Diamond Exchange API Provider in Jaipur
Diamond Exchange API Provider in Jaipur
Post a Comment