

When I spotted this beautiful 6" wooden kiss lock frame at a local craft shop, I couldn't resist picking it up. It came with a set of small screws—perfect for securely fastening the layers of fabric sandwiched together.
There’s something so satisfying about that click of a wooden kiss lock frame closing around your handmade creation. These retro-inspired pouches are perfect for carrying small essentials—or gifting with flair.

Feel free to download the paper template I used for this bag.

🧵 Materials You’ll Need:
Outer fabric: 2 pieces (10" x 14") – quilting cotton or linen works beautifully
Lining fabric: 2 pieces (10" x 14")
Fusible fleece, foam or batting: 2 pieces (approx. 9.5" x 13.5")
6" wooden kiss lock frame
Coordinating thread
Fabric glue (optional, but helpful for positioning)
Your usual sewing tools: scissors/rotary cutter, pins or clips, iron, sewing machine
✂️ TIP: If you're using directional fabric, make sure your pattern faces up from the bottom of the pouch!

Step 2: Fuse the Fleece
Iron the fusible fleece (or foam) to the wrong side of your outer fabric pieces or simply quilt the batting to the main fabric for more textured look, like I did.

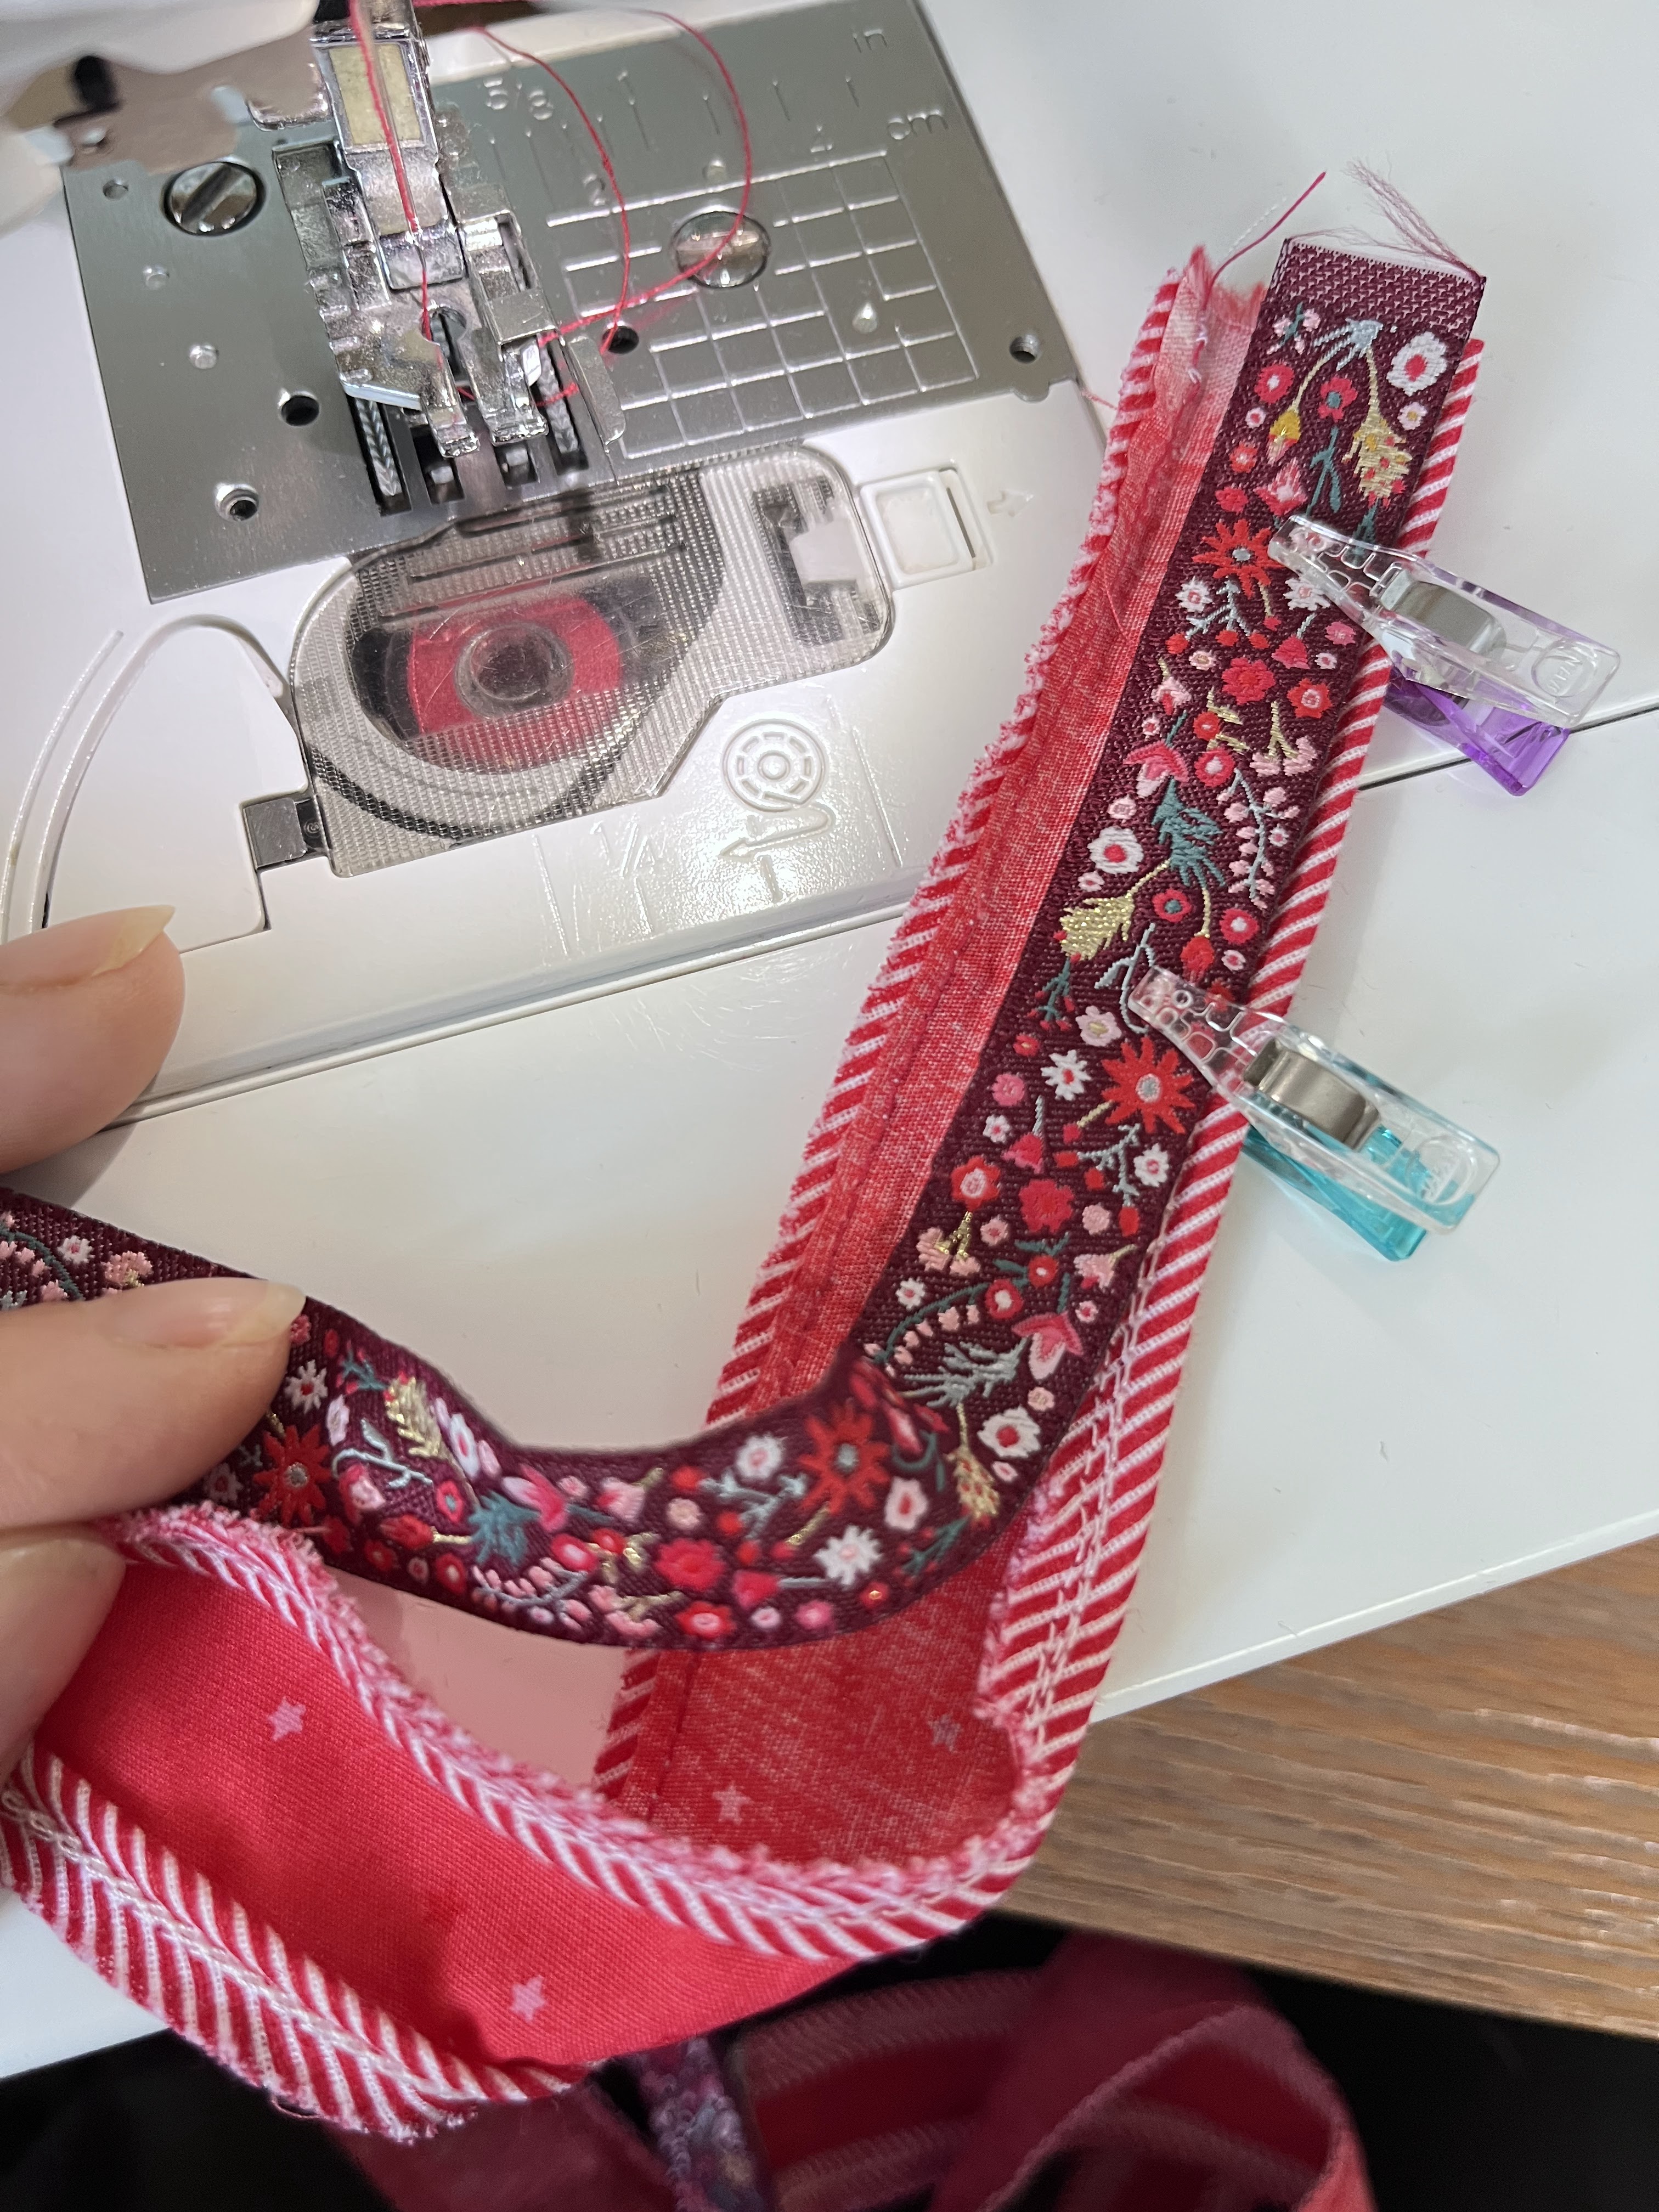
Step 3: Sew the Outer & Lining Pieces
Outer Fabric: Place right sides together and sew around the sides and bottom using a 1/2 " seam allowance.
Lining Fabric: Repeat the same process but leave a 2–3" turning gap at the bottom.

Step 4: Join Outer and Lining
Turn the outer pouch right side out. Keep the lining inside out.
Nest the outer pouch inside the lining—right sides should be facing.
Align and clip top edges and sew around the entire top curve.
Pull the outer pouch through the gap you left in the lining.
Stitch the gap closed with a small ladder stitch or machine-stitch close to the edge.
Push the lining into the pouch and give everything a good press.


Slide the top edge of your pouch into the frame evenly.
You can use a small amount of fabric glue to hold it in place.
Use the screws to fix everything together for extra security.
Repeat on the other side.


 GRID
GRID
 DECADENCE


3 comments :
Katarina, What a lovely bag, I want to try it soon. Any clues about where to find the wooden frame?
Thanks so much, I saw it on Etsy, just try searching Wood 8" bag frame ;)
I am Ms. Beate Heister, a German entrepreneur, investor, and shareholder in the discount supermarket chain Aldi. I donate 25% of my personal wealth to charitable causes around the world. I have also pledged the remaining 25% to private individuals this year. I have decided to donate €1,500,000.00 to you. This is part of my pledge for this year's charity project. If you are interested in my donation, please contact me for more information.
Best regards
Ms. Beate Heister
Managing Director of the Beate Group.
Please write to my official email address:
heisterbeate06@gmail.com
Post a Comment