
As you may noticed on some of the
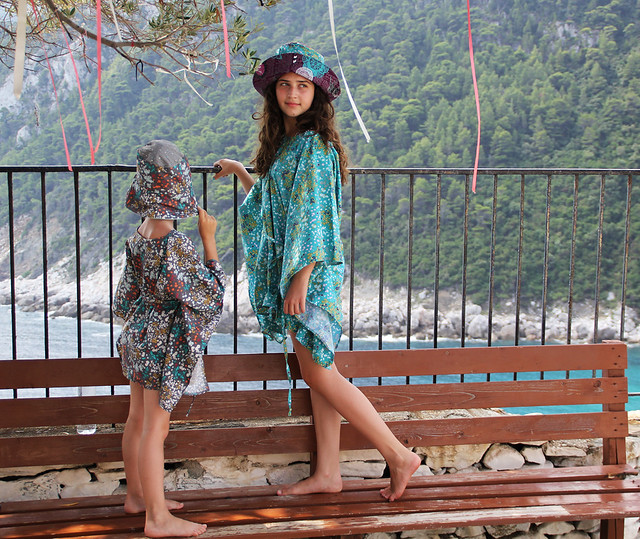
vacation pictures, there is a beautiful, tiered dress that I managed to sew for my older daughter just a few days before our departure to Skopelos.
In the
fabric goodie box that I received from the
Art gallery fabrics there were two 2yds pieces of theirs gorgeous
voile fabrics.

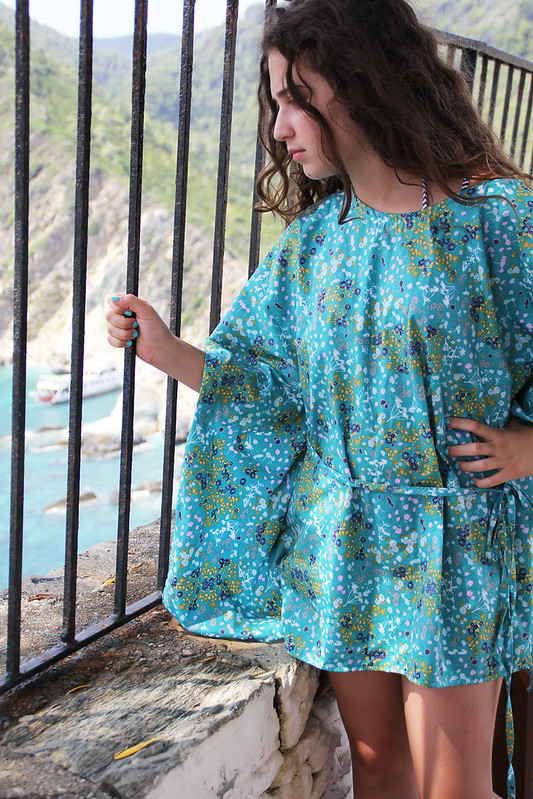
The first one is: V-114 Fashionable Azure (used for the tiered dress) and the other one is V-118 Branch Silhouette Blue (used for this kaftan).

AGF voile is 100% PIMA Cotton, 52/53" (133 cm) wide with a soft, sheer touch and an elegant, lightweight drape that will have you melting away with its exceptional hand. It's just perfect for the garment sewing, especially for the summer projects!!

For this small summer voile sewing series, I made a few projects that are kindly enough shared even on the
Art Gallery fabrics blog where you can find out some more details regarding sewing with voile.

You can now enjoy easy voile crafting/sewing in 3 projects:
1.
shabby flower pin
2.
kaftan tutorial
3.
this one

 Twirl tiered dress
Tiered skirts and dresses are a MUST for girls, smaller and/or older. I have already shared my basic version for the
twirly tiered skirt, in shorter version and this is a great opportunity to share another project, using mainly the same technique, at least when gathering layers of fabrics is involved.

 TIPS:
TIPS: You can eventually change the length of the dress by adjusting the strips width. Or, to add the whimsy, you can play with different fabrics (patterns), so that the each of the 4 layers-tiers is made with different fabric.
You can even add more twirl-ability if adding one additional strip of fabric to each following tier, so you will have:
bodice-1st tier-1 strip,
skirt part: 2nd tier-2 strips, 3rd tier-3 strips and 4th tier 4 strips. Just note that in that case you will need 3 more strips than in this tutorial and therefore more fabric yardage.
Of course, this project can totally be made using even the normal
quilting cotton, where except the different touch and drape
characteristic to voile, other differences (like width of the fabric)
will be minor.
Determine the needed fabric yardage using the following size chart picture:

This chart table will help you with cutting fabrics:
(note that all measurements are finished sizes, so they include 1/4" seam allowances).

So let's get started!
Needed supplies:
-
1 - 2 yds of cotton voile fabric or other quilting cotton
I used the gorgeous voile fabrics from Art Gallery fabrics that are great for this project (the quality and the weight are just perfect)
-
ribbon for the around the neck (optional
*)
can be totally replaced with simple tie straps
-
2 buttons (optional
*)
-
elastic for the top edge-hem (optional
*)
-
elastic thread for the back of the bodice
- sewing machine(serger is optional, but preferred)
(if you don't have the serger just use a straight stitch and than do a
zigzag stitch on the edges to keep the edges from fraying)
-
scissors and/or
rotary cutter
-
thread,
needle (size 9 sharp needle is the best choice for voile sewing)
-
iron and
pins
*Please have in mind that some details can be very easily changed in order to simplify the project, like:
ribbon strap around the neck-you can absolutely sew either only 2 front ties to be tied around the neck or 4 ties: 2 front and 2 back to be tied on the shoulders.
Also
elastic on the top edge of the dress can totally be replaced with just normal double folded edge, especially if you will go for the 4 tie straps.
So please, don't let these things discourage you to try! :)

Iron and cut all the fabric strips in your needed size. You can sew the dress using only one fabric design, like I did, or you can mix and match different patterned fabrics (preferable in same quality weight and by the same manufacturer).

As you noticed from the size chart, we have 4 even tiers that make the dress.
Bodice is one fabric strip, and other 6 strips make the skirt part of the dress.
First 2 tiers are made with one strip of fabric, the 3rd one is made with 2 strips, while the last, 4th tier is made with 3 strips.

So, we will start with
making the bodice part of the dress, so with the 1st fabric strap- 1st tier.
Shirring is a method of shaping a garment and is done so by
controlling fullness. It's very commonly used when sewing kids clothes,
as it's a great way to obtain a fitted look and avoid zips or buttons
closures.
The elastic thread is sewn into the back of the seams, and lets the fabric stretch but than pulls back in.
If the fabric you are shirring is light weight, like voile, it will shirr beautifully! If
the fabric you are using is normal weight quilting cotton, you should
better get stronger (not very thin one) elastic thread. It pretty much depends on a manufacturer. Please don't be confused with elastic cord, it's totally different thing.
Hopefully this following picture will show a few different kinds of quality(and color) of the elastic thread, and you may notice how green elastic thread shown on the bottom is stronger than the white one (thicker). If you ever had any problems with shirring- this quality issue may be the reason for that.
The 1 tier fabric strip - bodice one- has to be divided into 2 pieces, one longer piece that will be shirred back(around 3/4 of the entire length) and one smaller piece-1/4 of the length that will be the front bodice.
Of course, as with all the shirring pieces, these 2 measurements can be easily adjusted, as shirring depends a lot on a sewing machine, but mostly on the elastic thread, as said above (it's weight and /or thickness), so depending on these factors, your fabric will be stretched less or more and therefore, it's very hard to give the exact measurements.
But, here is the chart that may help with these cutting too.

If you don't have any experience with shirring, I suggest reading a very good tutorials about shirring
HERE and
HERE .

Depending on a strip size (and child size), shirr 5-10 rows. The closer the rows-lines are, the more gathered fabric will look!
First 2-3 rows usually won't look very gathered, but as you will continue shirring and adding rows, you will obtain more gathered look and more stretching.
I suggest trying this technique first on a scrap piece of fabric, if this will be your first time, just to get some experience and prepare yourself for the real project.

The thread tensions are very important here, so be sure to try if the stretching is done nicely (if seams aren't too loose or too tight).

This photo above is showing the shirred bodice back and the flat front bodice ( you may notice that it's created with 2 smaller pieces sewn in the center and that little error detail gave me the reason to sew the rosette trim ribbon over it).


So, you can even leave the front bodice flat, without that trim detail in the center, or if you like it, you can totally go for it. Let your imagination go wild and use any cute matching fabric ties, trim, ribbon ... as bodice detail, that will work as an around the neck closure too.

If you are sewing the trim ribbon, just don't sew it completely till the top edge(as we still need to finish that edge) and leave about 1 " free space.


Once you are done with bodice front and back pieces, it's time to gather them.

With right sides inside-together, pin the sides, one to another.

Make the side seams.

I suggest that, for security reasons, top stitch both sides.


Even that the bodice isn't completed- the top edge must be finished -we will leave that for the finish.

Now we will start with
creating the skirt part of the dress ( 2nd, 3rd and 4th tier) and side seams on these strips.


To create the side seams on the skirt part of the dress, for the 2nd tier-just fold the strip in half and sew the short(length) side, for the 3rd tier: place 2 strips(from selvage to selvage) right sides together and sew the shorter sides together. For the 4th tier, place 2 strips right sides together and sew shorter sides together just on one side, than add the 3rd strip sewing shorter sides together. Just like shown on the following picture.

Once you have all the side seams done, it's time to ruffle (gather) the top edge on the last two tiers (3rd and 4th) and than to attach the tiers one to another. This technique of ruffling-gathering the top edge of each following tier will allow obtaining almost the same volume of the strip length to the one to which we are attaching it.

There are many techniques for gathering-ruffling fabric. You can use whatever
method you prefer: with the ruffler foot, with the gathering foot, with
the sewing machine using 2 basting stitches and pulling the fabric or
with your serger. I usually gather cotton fabrics using my serger. When the fabrics are light weight as voile, you don't even need the ruffler foot -
just put the differential and needle feed to be as high as possible (avoiding breaking the thread-if too high) . For the voile, as it is light weight fabric, it's also very easy to use the sewing
machine. Just adjust the tension of the top thread to almost maximum,
and slightly loose the tension on the bobbin thread. Don't forget
to adjust all the tensions to normal once you are done with ruffling!:)

Once the tiers are ruffled, they are ready to be attached one to another. So pin them together, right sides inside and sew.


Using pins, attach ruffled top edge of the 3rd tier to the bottom edge of the 2nd tier right sides together(inside).

Do the same for the last 2 tiers-sew the bottom (unruffled)edge of the 3rd tier to the ruffled top edge of the 4th tier.


Now, finish the bottom hem: double fold and stitch the edge or if using serger, just serge and fold it.


Your skirt part is ready and now all you need to do is to join the bodice and the skirt part.

Right sides inside, pin the top edge of the skirt part to the bottom edge of the bodice part.


Sew them together.


Turn them to the right side and top stitch.

Now we will finish the top edge with the decorative elastic, it will be pretty and it will tighten a bit the edge, so that it will give more fitted look around the chest part.

Starting from one side with the starting point folded , pin as you go.
Be sure to stretch it a lot on the back (shirred) part, otherwise it will not give you the nice fitted and stretched look.

Sew it.


Make sure that you overlap the starting point with the finishing end.

Top stitch that edge, always stretching it with your hands, as you sew.


Now, you just need to make the button holes for the around the neck closure.

Even that I provided the ribbon length for each size, be sure to check this measurement on your girl before deciding the right place for the button hole and buttons (I suggest sewing 2 buttons or making 2 button holes, for growth)


Sew the buttons and make the holes.


You are done!!!Now, I think we all deserve some ice cream!! :) Enjoy!!















































 GRID
GRID
 DECADENCE























 Posts
Posts

