. . . . . . . . . . . . . . . . . . . . . . . . . . . . . . . . . . . . . . . . . . . . . . . . . . . . . . . . . . . . . . . . . . . . . . . . . . . . . . . . . . . . . . . . . . . . . . . . . . . . . . . . . . . . . . . . . . . . . . . . . .
Showing posts with label HST. Show all posts

Wednesday, 8 June 2022

HSTs - (half square triangles) the easiest way - Tube quilting method


Certainly a lot has changed since I made THIS HST quilt and wrote MY FIRST "quilt" TUTORIAL, but in this past decade (how that happened😱) I definitely learnt a lot and I am so proud of the whole learning curve and process that led me to being more confidential with quilts and quilting.

I can't stop laughing at fact that I did use my serger for complete piecing process of my first two quilts and that I didn't even know what dog ears were and why they should be trimmed, but these quilts are still "alive" and cherished and sincerely sometimes I am even challenged to use serger again for some piecing aspects 😆 (hopefully the quilt police isn't reading this).

One thing is sure-HSTs are still my favorite quilt unit. They are versatile, fun and easy to make and they give beautiful results. 

But, back to process and learning-I made so many quilts in these last 10 years, since I made the first one and I used so many different techniques when making HSTs. From traditional "2 at a time" to more modern "4 or 8 at a time" to triangles on a roll, I realized that tube quilting method is the best one for me:

1- because it saves time and fabric

2- it's precise

3- it's trimming free! (while in all other methods, you need to square and trim precisely the HST, which can be a long and exhausting process, here you get a perfect, ready to go unit...minus the dog ears)

The only tricky part of this technique can be edges that are cut on bias. That means that they tend to stretch a bit, if manipulated, but I tested that too (you can see it in the following video-the difference between HSTs done with fabrics cut on grain VS those cut on bias) and I came to a conclusion that I still prefer the traditional, on grain cutting, than cutting on bias, even because for me this "negative aspect" can immediately become a positive one, in case you need that bit of stretch for aligning your HSTs in rows, if you know what I mean ;)

What I also learnt is that some people cut fabrics on bias (45 degree) to avoid this "feature", but I personally prefer using a bit of starch and smaller stitch length which helps with eventual wonkiness. There are many other blocks and units that are cut on the diagonal (like diamonds used for Lone star quilts), but they get stabilized in the quilt assembly process and also in quilting.

Shown in the video are the 2 1/2" HST squares (used in my Kelim pattern) that were created with 2 1/4" strips, cut on grain and also 4" unfinished HSTs (used in my upcoming Kelimi pattern ) that were created with 3 1/2" strips  (tested when cut on grain and on bias).

Fabrics used in the video are from my Capri collection for Art Gallery fabrics.


I wouldn't recommend it when bigger HST units are in game (like over 6"), but I still didn't have a quilt asking for that large HSTs.

In my quilt patterns I like to include a diagram, measurements and directions for this method, but I realized that it would be much more convenient, to just gather all that info in one place, under this blog post and include a video too, which can be even more helpful to some quilters, especially beginners.

So, beside video, here are some pics prom the process along with the explanations.


Depending on the desired HST size, cut the fabric strips. You need 2 different fabrics and you can use the total width of the fabric (mostly 42-45" from selvedge to selvedge) or you can cut fabric on bias, if you prefer. Just place 2 strips, right sides together and sew on both sides with 1/4 seam allowance.


Large square ruler with a 45 degree line is needed to make accurate HSTs. There's also a special strip tube ruler available for this great technique and it basically gives you immediately the requirements for strips cutting.


Depending on the size of the unfinished HSTs and precision in cutting, the number of obtained HSTs will differ. I usually get 14-16 of 2 1/2" unfinished HSTs from 2 1/4" strips.


Cut along as you go, re-positioning your ruler from one side (one seam) to another (or flip the fabric set from one side to another, if easier). Trim the dog ears.
Carefully open the HSTs, finger press seams open and don't pull or push them with iron, just gently press (put the iron on the top for a few seconds) them with the iron.


In case you are interested in cutting your HSTs for the THROW size of my Kelimi quilt pattern, here are the cutting requirements:
-cut strips in fabrics A-N needed for HSTS in 3 1/4" x WOF

fabric A: (7) 3 1/4" x WOF strips
fabric B: (8) 3 1/4" x WOF strips
fabric C: (8) 3 1/4" x WOF strips
fabric D: (8) 3 1/4" x WOF strips
fabric E: (8) 3 1/4" x WOF strips
fabric F: (8) 3 1/4" x WOF strips
fabric G: (7) 3 1/4" x WOF strips
fabric H: (5) 3 1/4" x WOF strips
fabric I: (4) 3 1/4" x WOF strips
fabric J: (3) 3 1/4" x WOF strips
fabric K: (1) 3 1/4" x WOF strips
fabric L: (5) 3 1/4" x WOF strips
fabric M: (3) 3 1/4" x WOF strips
fabric N: (1) 3 1/4" x WOF strips

You can get 12-14 HSTs from one 3 1/4" x WOF tube, depending on precision.
 

In case you would need to print this, I am including an illustrated page from my patterns, showing the traditional (2 at a time) method and tube quilting method.

Using simple strip piecing (sewing available fabric strips lengthwise in rows) and using this method, you can obtain beautiful blocks and this is also my favorite way of using scraps. 


Happy sewing!
Katarina 


Monday, 23 February 2015

Birchen quilt - AGF stitched

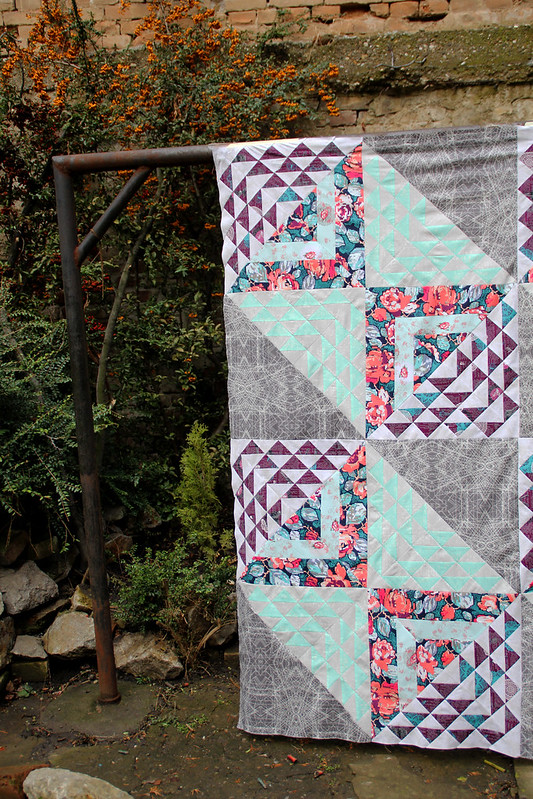
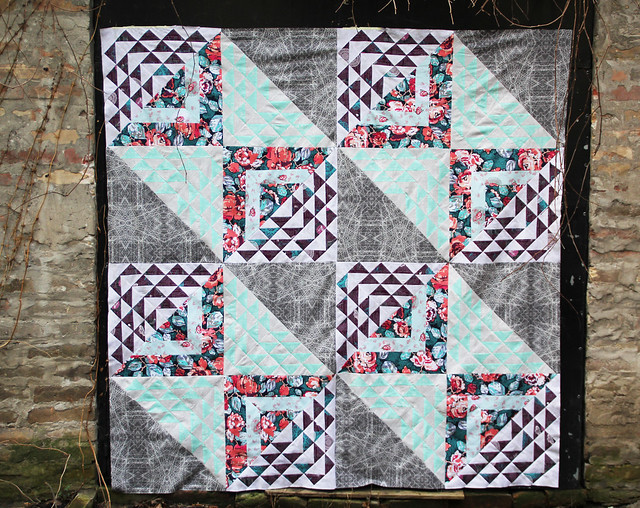
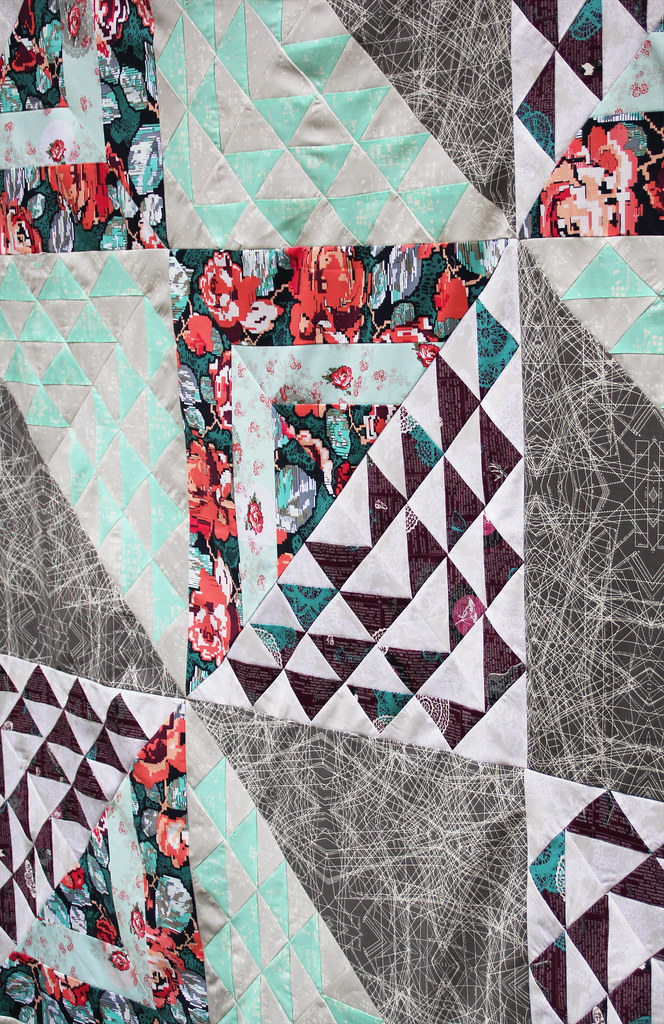
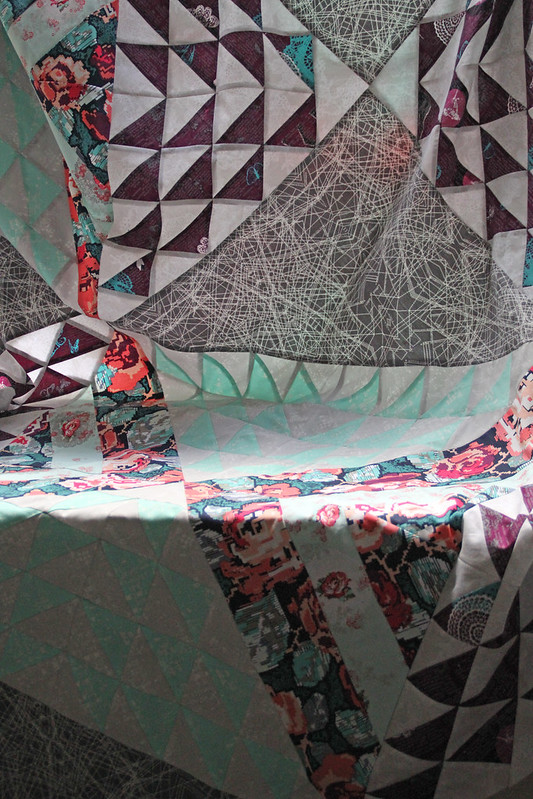
Birchen quilt top

I had a pleasure of being part of an amazing group of people creating the Birchen quilt, which is a new and exciting collaboration between Fat Quarter shop and Art Gallery Fabrics, called AGF Stitched.
You can find out a bit more about that collaboration HERE.

You can watch the entire clip here:


and get the pattern HERE
 
Of course, I wanted to do something, mixing both of my lines:
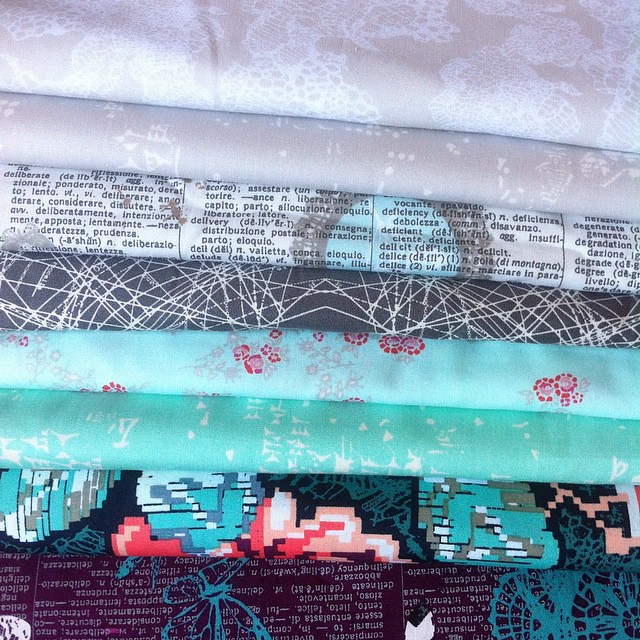
Indelible and Recollection.

Finally into something new and exciting!!! #RecollectionFabrics #indeliblefabrics #artgalleryfabrics  #quilt #fabrics


Birchen quilt top

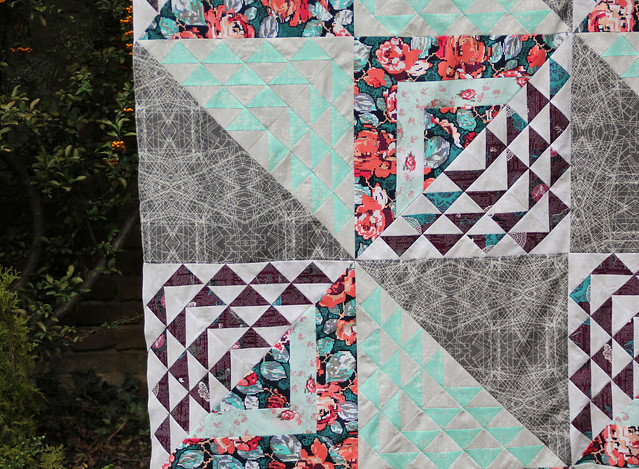
You can see my top finished.....and a few WIP pics....

Birchen quilt top

Birchen quilt top


I really loved the pattern, and appreciated very much Kimberly's suggestions and methods (like doing HSTs with triangles on a roll ) and I highly recommend it.
You can see many variations of this pattern, in combinations of beautiful AGF fabrics, just go to this post, to discover them all.
There is also an Aurifil giveaway included, so be sure to enter it!

Birchen quilt top

Can't wait to quilt and bind it! :)
xo, Katarina

Friday, 10 January 2014

Half square triangle quilt tutorial

Finished HST lap quilt

Remember this post ?
OK, so this is the tutorial for the quilt or at least my process of creating it.
Hope that you will be able to follow my directions and that they will be useful for your projects;)

Art Gallery fabrics

I started with this beautiful bundle of some of my favourite Art gallery fabrics.

Art Gallery fabrics

As the world of quilts and quilting is still very new to me, at the time, I had only one ruler available and that was the Olfa 2.5" ruler.

half square triangles

I created my first quilt without any ruler-I have just used the plastic nursery plate and a regular school ruler;)

half square triangles

So I just started with cutting the selected fabrics in 2" wide strips x WOF (in regular fabric 44/45"length-114 cm).

half square triangles

I had total of 52 strips.

half square triangles

So, I saw this technique on some blogs, called also tube quilting and I was delighted as it seemed like a quicker way to obtain more half square triangles. I realized that there was even the special ruler for this, called "strip tube ruler", but you can always use some square ruler, rotated 45  degrees
and mark your seam allowance line (with some masking tape eventually) according to the desired size of the triangle.

HERE, HERE and HERE you can watch even the great videos about that technique.
half square triangles

So the principle is this: just place 2 strips, right sides together and sew on both sides with 1/4 seam allowance.

half square triangles

Cut along as you go, re-positioning your ruler from one side(one seam) to another.

half square triangles

From each fabric strip (44-45" wide fabric), with this cutting method from selvedge to selvedge, I obtained the 20 (eventually even 21) 2 1/2 x 2 1/2" HSTs.

half square triangles

I had total of around 600 HSTs.
Open, press and trim them.

half square triangles

Now you can play and create so many different blocks, here are some of our thoughts....

WIP - HST quilt

half square triangles

half square triangles

half square triangles

But, than I decided to do the simple repetition, by doing the 9 patch block and rotating it on  45 degrees.

Here is the construction of the block- in simple, 2 color diagram:


I also decided to play a bit with the colors and shades, rather than doing just random color patching.

half square triangles

What I did with the colors is to divide the HST(before making the blocks) in 5 groups:

1. palest shades
2. pale shades with some medium accents
3. medium shades
4. medium shades with some dark accents
5. darkest shades

half square triangles

half square triangles

I also organized the blocks in the same groups once they were made.

half square triangles

As you can see, by the end of my process, I got a new ruler to help me with cutting the fabric excess from the final
almost 6 x 6" nine patch block.

WIP - HST quilt

I love this happy pile of the blocks: there were around 70 blocks at the end.

WIP - HST quilt

I just played with organization of the blocks, creating the final result-quilt.

half square triangles

Luckily, I had a great, experienced assistant along the way to help me with my process;)

half square triangles

Eventually I decided that it might be good if I use some numbers and calculations to realize the size of the final quilt.

So, I ended with this scheme that is using 60 blocks-total.
( I am using just 4 variations of the colored block as  easiest way to show the rows of blocks and cutting directions for edges):


 So, you may see that you need to cut 5 blocks horizontally an 6 blocks vertically to obtain the edge pieces.


And this is some kind of variation in shades-giving the effect that I wanted to achieve here. Obviously, with more saturated colors:)

The finished size of the quilt is approx. 37 x 43".
Great size for my little helper:)

WIP - HST quilt

WIP - HST quilt top

Here is my finished top and the finished quilt.

Finished HST lap quilt

There are lot more of pictures in my flickr set and some more info in my previous post

Finished HST lap quilt

Hope this was helpful.
If you have some project to share using this or any of my tutorials or patterns, please post them to my flickr group.
I would love to see what you'll create:)
Katarina :)