. . . . . . . . . . . . . . . . . . . . . . . . . . . . . . . . . . . . . . . . . . . . . . . . . . . . . . . . . . . . . . . . . . . . . . . . . . . . . . . . . . . . . . . . . . . . . . . . . . . . . . . . . . . . . . . . . . . . . . . . . .
Showing posts with label craft. Show all posts

Thursday, 17 December 2020

Easy fabric Xmas ornaments in Aquarelle


Xmas is just around the corner and I am so happy that I had new fabrics to play with. 
It's my Aquarelle collection for Art Gallery fabrics.:)


I will dedicate the next post to better introduction and presentation of the collection, but I had to show off these freshly made fabric ornaments, that were so easy and fun to make! 
Actually I am so happy that this year we decided to buy a small natural tree that we can't wait to plant in the garden, just after the Holidays.


Regarding the ornaments, I browsed the internet to find some ideas and here are the links to some great ideas:
👉 no sew Xmas scrap trees
instead of the cinnamon sticks, I used some vintage wooden spools that were perfect for wrapping few fabric strips (just folded in half lengthwise) and holding the ribbon tied into a knot at the bottom


Hope you are trying to bring some joy into this Xmas period, which is not very easy with current pandemic, but let's stay well (positive would sound totally inappropriate) and safe!!!
Happy Holidays and happy sewing!
xx
Katarina

Thursday, 30 June 2016

Teepee log cabin block + quilt tutorial


During my spring Quilt market preparations, and with all the last minute sewing, I decided I should have a log cabin quilt. Because I really love making log cabin blocks.
They are very easy to make, beginner friendly and they can give very beautiful blocks and amazing pillows, bags and quilts.


Unfortunately, I didn't have enough of the Pandalicious fabrics to make an entire quilt with them, so I complimented the prints I had with the prints from my other collections and of course, some AGF blenders.

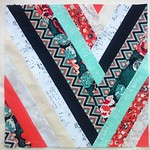
Anyway, here is the main block:


And here is the mock-up of the quilt I wanted to make, if I had enough fabrics....


My idea was to combine some of the low value fabrics for one corner (diagonal) of the block and some colorful-aqua tones for the other one.

The teepee print (Gansu Village) is ideal for fussy cutting and I started with cutting it in ideal 5" squares as centers. As this is one directional print, the only attention in piecing would be to make sure it is directed-pieced in a good way so that you can obtain the central "windmill" looking shapes. So in case if you want to obtain this look, just be sure to look carefully at the final quilt picture/diagram.

Here is the block order piecing:


Apart from the central square that measures 5x5", all the other are stripes and here are the measures for cutting fabrics:

1: 5" x 5"
2: 5" x 2.5"
3: 7" x 2.5"
4: 7" x 2.5"
5: 9" x 2.5"
6: 9" x 2.5"
7: 11" x 2.5"
8: 11" x 2.5"
9: 13" x 2.5"
10: 13" x 2.5"
11: 15" x 2.5"
12: 15" x 2.5"
13: 17" x 2.5"

As there are 16 blocks total, you will need to piece the square #1 - in 4 blocks in one direction, 4 blocks rotated 90 degrees, 4 blocks 180 degrees and 4 blocks rotated in 270 degrees from the first position.

The final block measures 17 x 17". (43 x 43 cm)
And the above proposed quilt measures: 66.5" x 66.5". (167 x 167 cm)

You can use it for these cute drawstring bags as well ;)

Here are some pics of the process of making the actual quilt


and some pics of the finished pillow and quilt.


Hope these may inspire you ;)

Happy sewing,
Katarina


Sunday, 15 February 2015

Cross stitched rose hoop

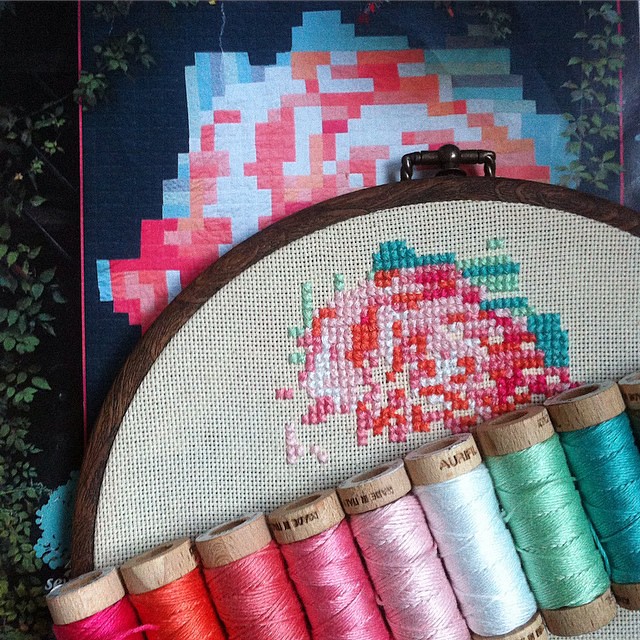
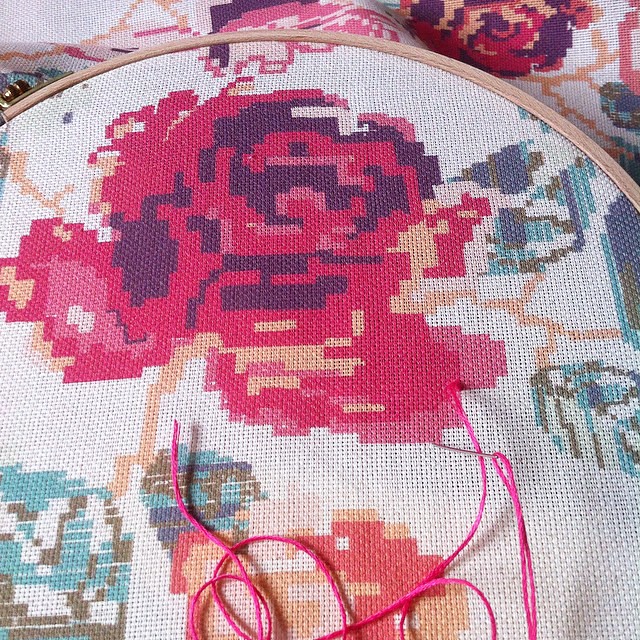
The progress made on my #pixelrose #cross-stitch #hoop. Hopefully it will be finished soon☺️ #aurifil #floss #embroidery #craft

During this Xmas period, we were visiting my husband's family in Italy.
It was the great opportunity for me to enjoy some spare time and do some stitchery.
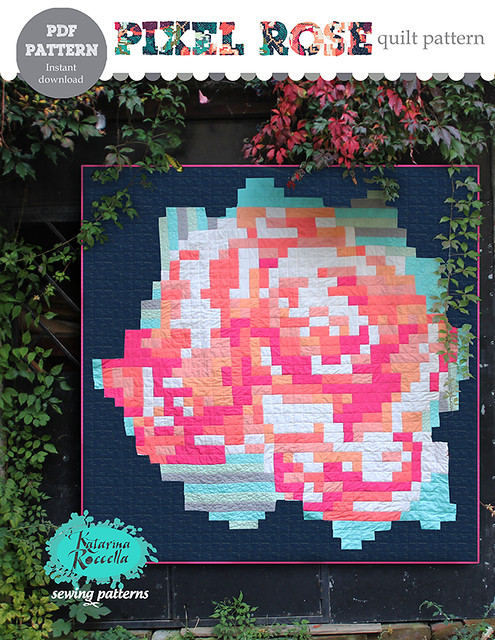
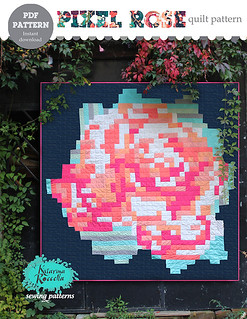
I used my Pixel rose quilt pattern as guide to create this stitched piece.

pixel rose front cover

Here is the finished piece:


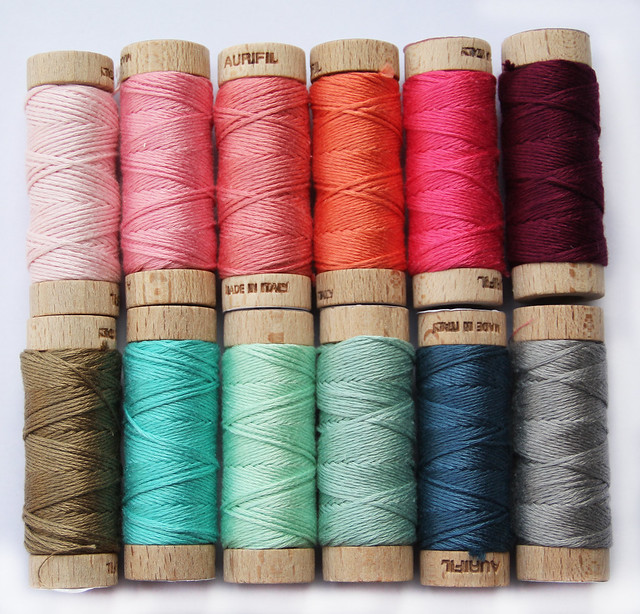
And all the gorgeous floss, the numbers:

2410
2425
2435
2225
2530
4030
2830
2370
2845
4644

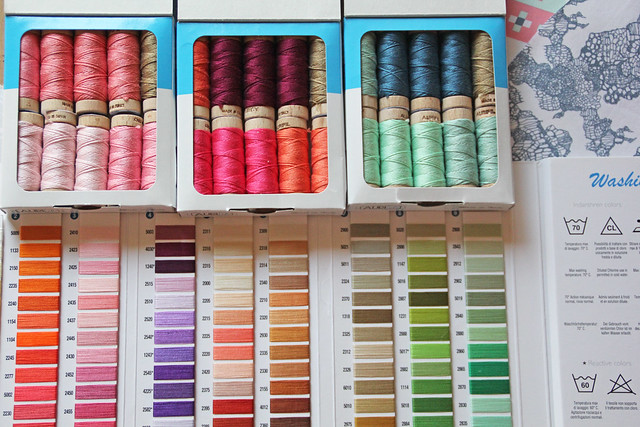
Aurifil floss matching Recollection

Aurifil floss matching Recollection

I am not sure if I ever shared the stitched banner I did for my Recollection wall (for the Quilt Market in Houston), as that was the opportunity to get all the beautiful matching Aurifil floss.

This #cross #stitching piece is one that took most of my time ( more than quilt making!) and it was left unfinished , just partly done...but I was able to use all of the gorgeous shades of #aurifil #floss and it made me so happy

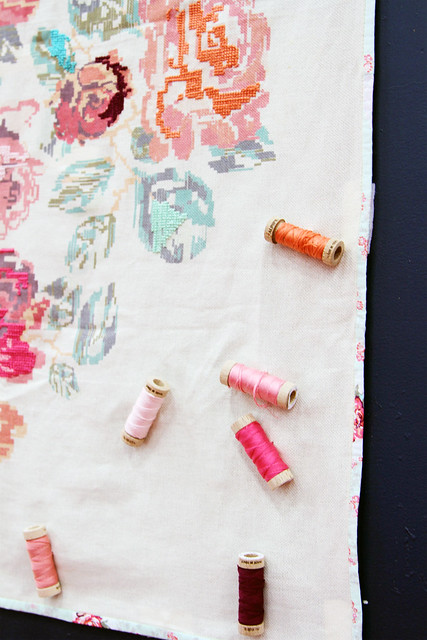
Here is the corner of the banner, unfinished (it took so much time to stitch and I had to send it over to US), that was the great excuse to attach the gorgeous wooden Aurifloss spools to it.

2014 Fall Quilt Market

The image was previously printed on the cloth, and it gave me a good base for the cross stitching.
Hope that you feel inspired:)
Katarina

Wednesday, 2 July 2014

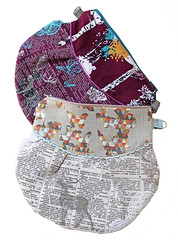
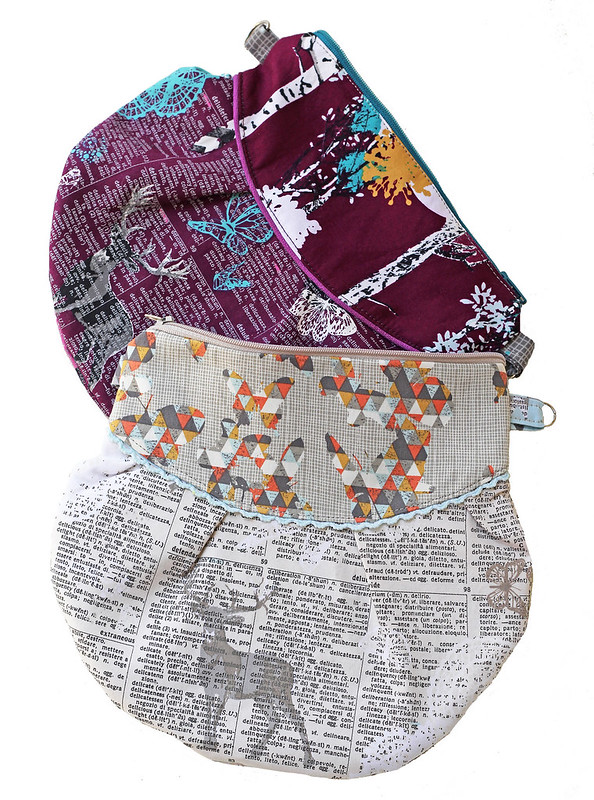
Indelible pleated zipper clutch bag tutorial - pattern


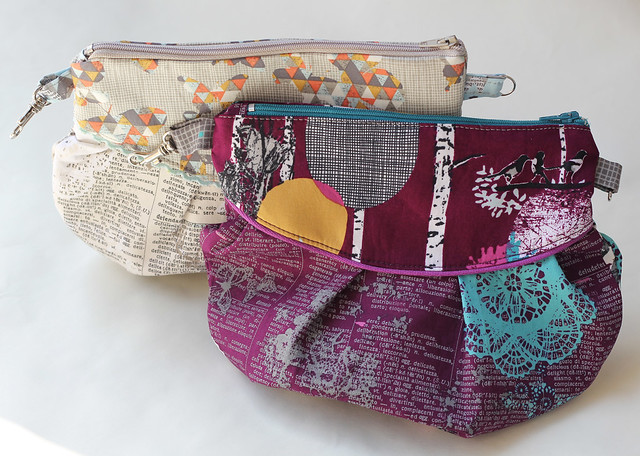
Indelible clutch zipper bag tutorial
It's time for my first free Indelible tutorial.  
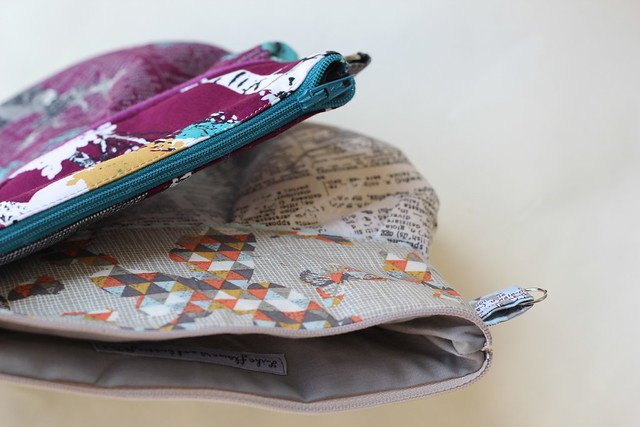
Clutch zipper bags are so easy to make and once you learn how, you will be addicted!!!  You can decide if you want to add the handles or not, but they may be useful;)
Indelible clutch zipper bag tutorial

This tutorial is scrap friendly, so you can combine 2 different fabrics for the main sides, just like I did.

Needed supplies:

1. fabric: 1 fat quarter of the fabric for the main sides ( or 2 different fabrics) + 1 fat quarter for the lining +  1/8 fabric for the handle (optional)
I used my Indelible fabrics: IDL-2223 Doiland Gloss Silver + IDL-2227 Flutter Folds Spark for the lighter one and IDL-1229 Stamped Grove Nightfall + IDL-1223 Doiland Gloss Plum
2. medium weight fusible interfacing (to obtain the more durable bag)
3. 8" long (20 cm) zipper
4. 1/2 yard of the decorative trim or ribbon
5. sewing machine, thread (for the best results - use Aurifil), scissors, pins, iron, zipper foot (optional, but preferable)
6. 2 metal rings and 2 Swivel clasp snap clips


So, let's get started!

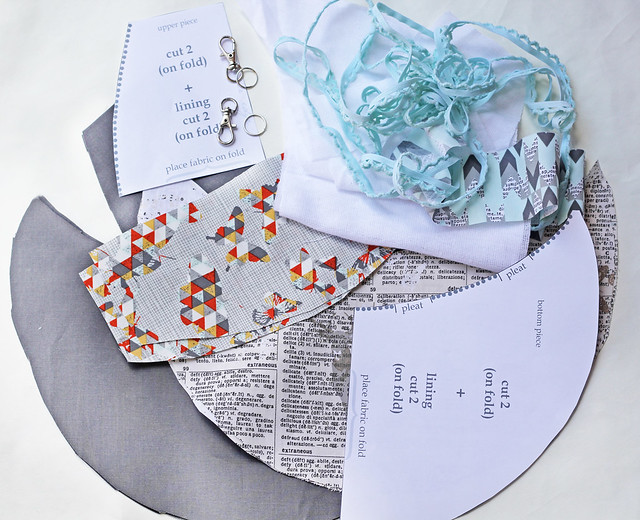
Print the template . If you want to make the bag in this dimension, like mine, be sure to print it at 100% scale, but you can also print this sheet much bigger and make a bigger bag (in that case just be sure to choose the zipper in appropriate size)
Indelible clutch zipper bag tutorial

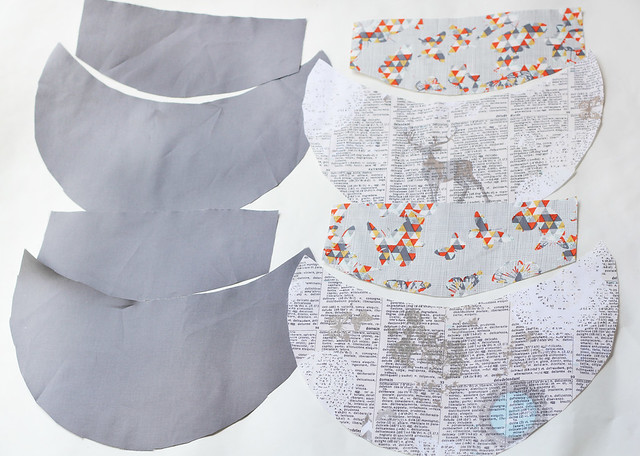
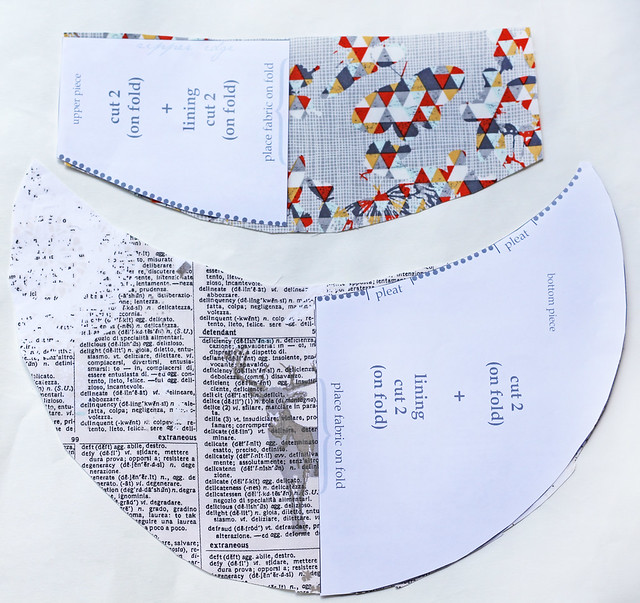
The template sheet includes the upper - smaller piece and bigger - bottom piece.
So, using this template, you need to cut on fold (to obtain the entire, doubled pieces):
2 pieces of the upper main fabric, 2 pieces of the bottom main fabric,
2 lining bottom pieces, 2 lining upper pieces,
2 interfacing bottom pieces, 2 interfacing upper pieces
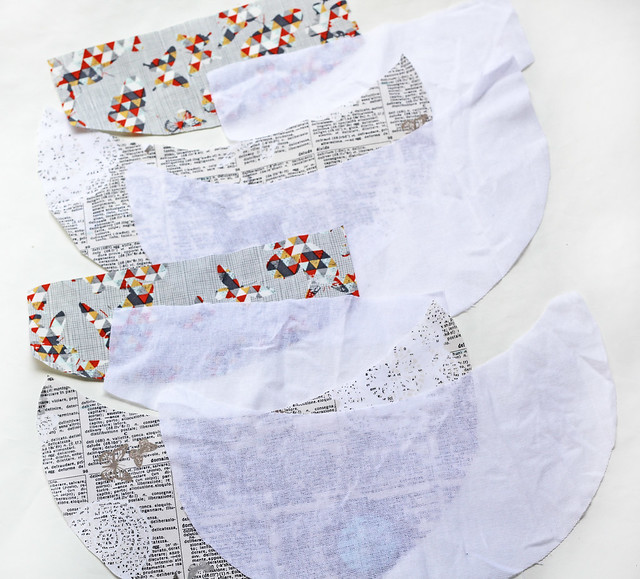
Indelible clutch zipper bag tutorial

Indelible clutch zipper bag tutorial

Iron the fusible interfacing on the back (wrong) sides of the main fabrics.
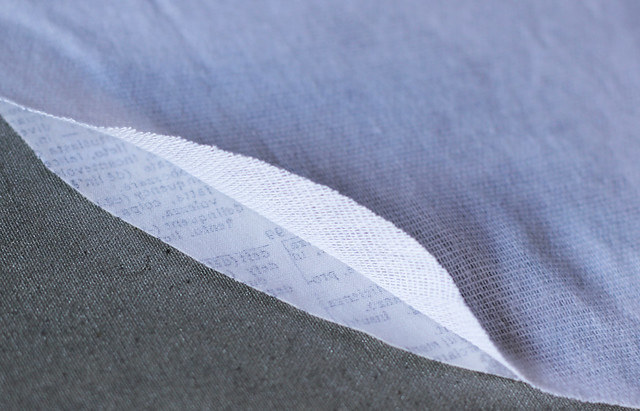
Indelible clutch zipper bag tutorial

Trim the eventual interfacing excess.
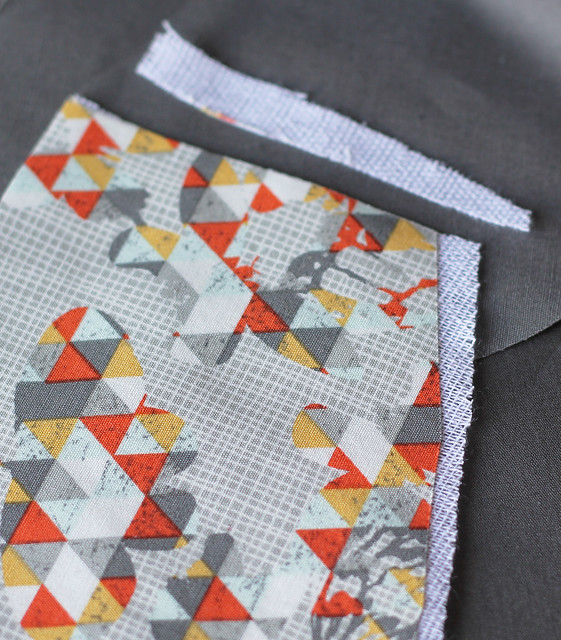
Indelible clutch zipper bag tutorial

So, this is what you will have:

Indelible clutch zipper bag tutorial

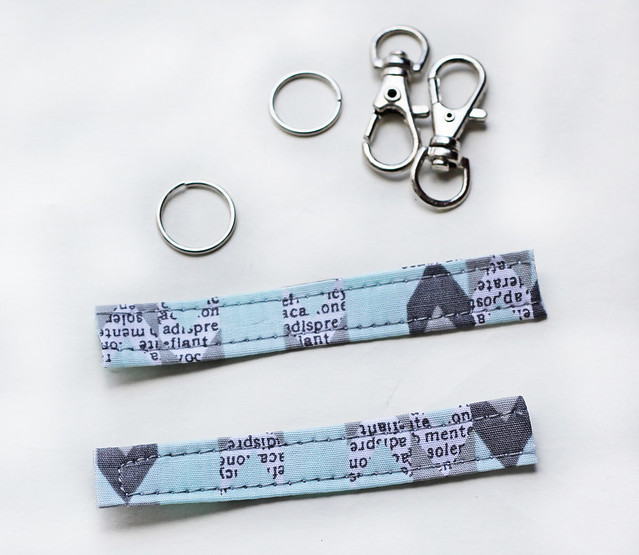
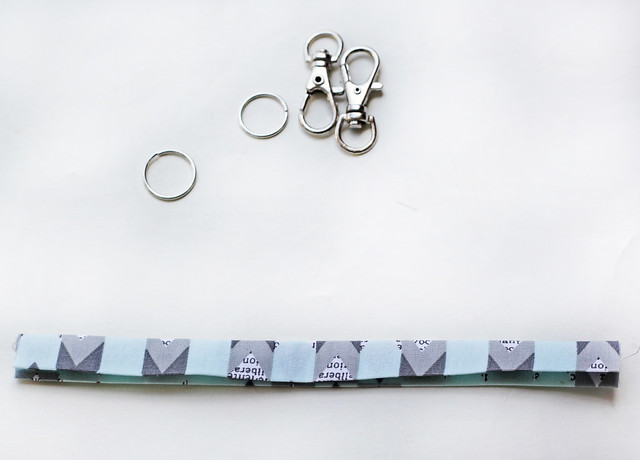
Let's prepare the loops with ring and swivel clasp first. Cut an approximate 6 x 2" strip of some fabric leftover.
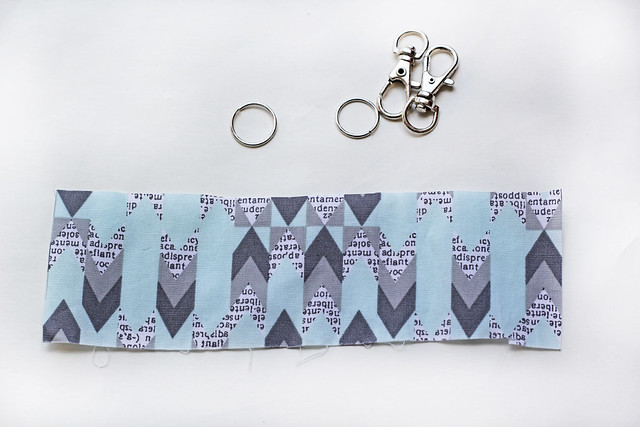
Indelible clutch zipper bag tutorial

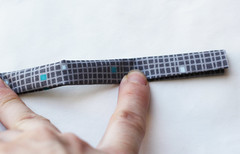
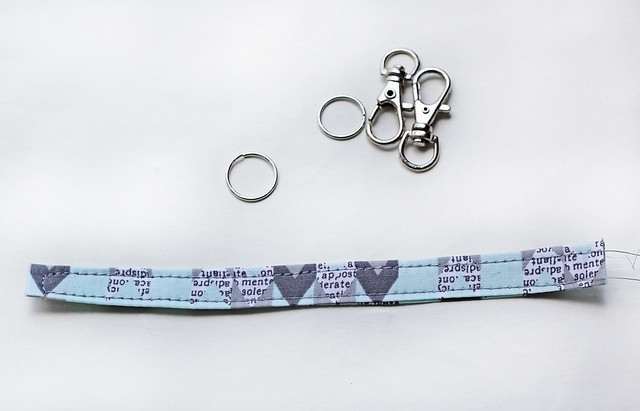
Fold it in half lengthwise and iron it, then open and press both sides toward the center crease, press center crease close again and topstitch.
Indelible clutch zipper bag tutorial

Indelible clutch zipper bag tutorial

Cut it in two.

Indelible clutch zipper bag tutorial

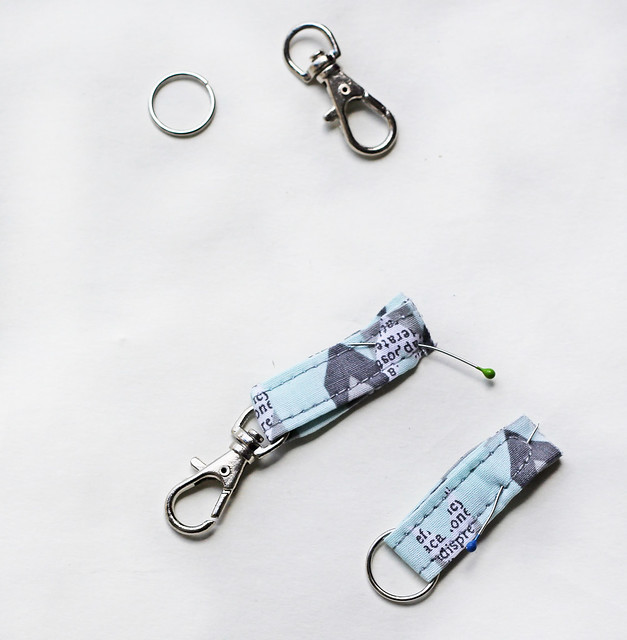
Pull the swivel through one end and the ring through the other. Loops are ready to be pinned to one of the upper fabric pieces. The second ring and swivel will have to be placed on the strap's ends.
Indelible clutch zipper bag tutorial

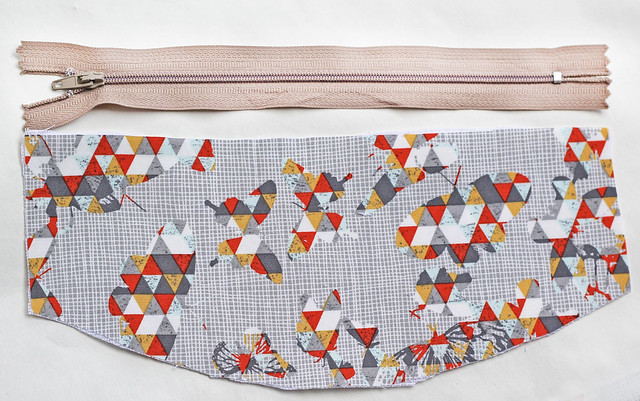
Let's prepare the zipper now by covering it's ends with some fabric leftovers.
Indelible clutch zipper bag tutorial

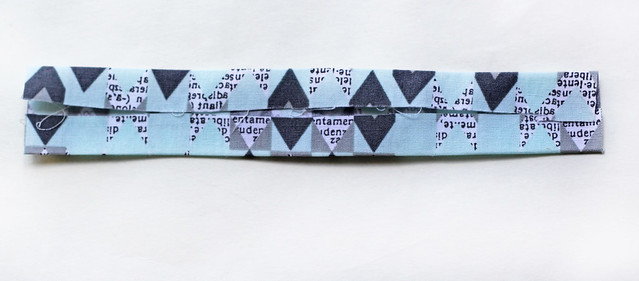
Cut an approximate 6 x 3" strip of any fabric leftover. Fold it in half lengthwise and iron it, then open and press both sides toward the center crease and press center crease.
Indelible clutch zipper bag tutorial

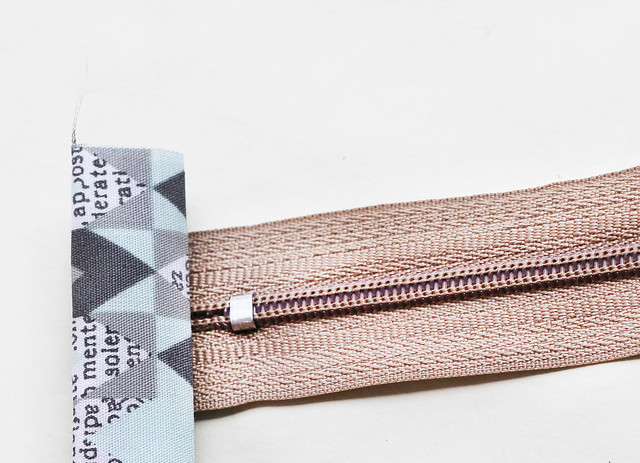
This way, you are making some kind of the tabs or covers for the zipper ends. Cut the strip in two, so that you can cover both zipper ends.
Indelible clutch zipper bag tutorial

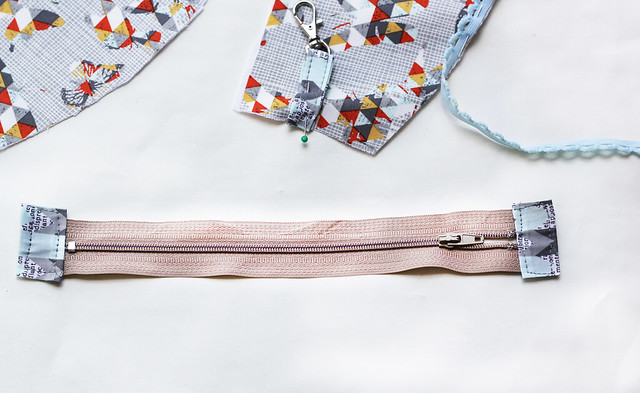
Place the zipper's ends into a sandwich of this fabric tabs. If you want, you can even cover the small metal piece at the end, than just make a bit larger the fabric tab-strip.
Indelible clutch zipper bag tutorial

Topstitch it.

Indelible clutch zipper bag tutorial

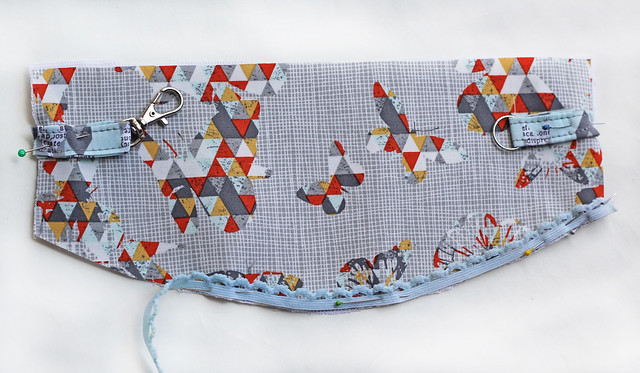
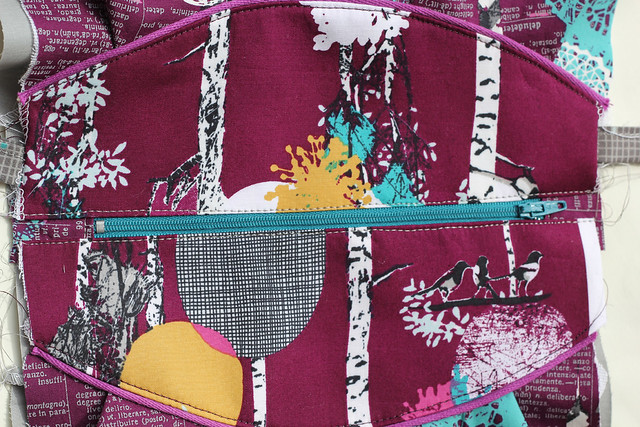
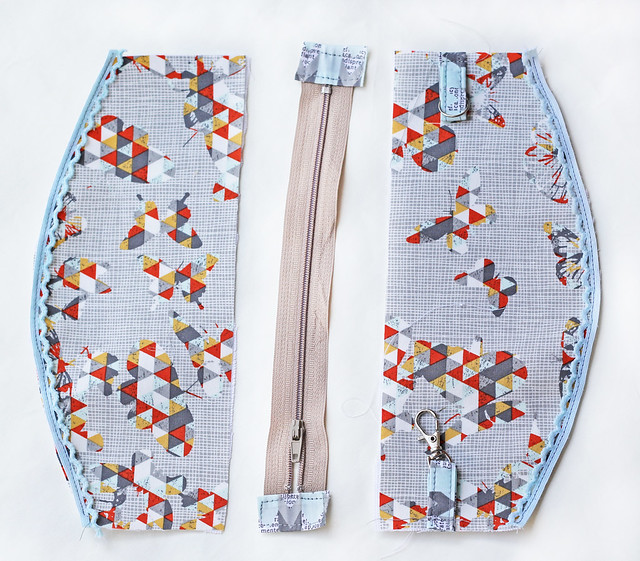
Pin the fabric loops with metal ring and swivel on both sides of one of the upper main pieces, approx. 1" from the upper, zipper edge.
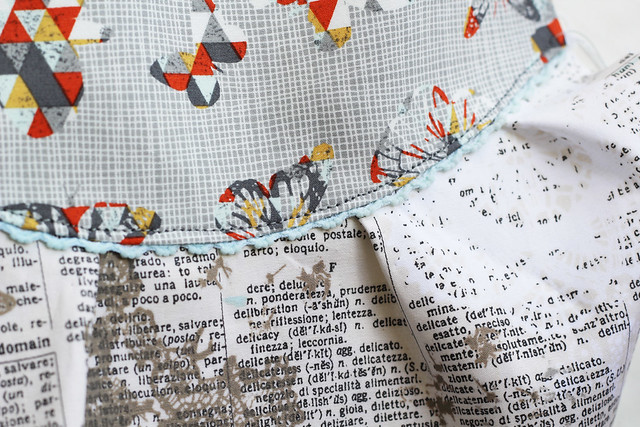
Pin nice decorative trim onto the bottom edges of both upper main pieces and sew it.
Indelible clutch zipper bag tutorial

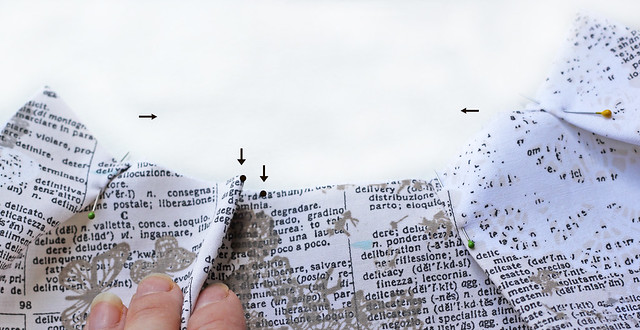
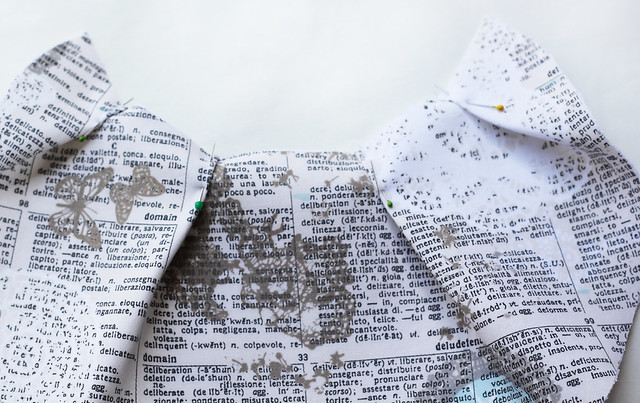
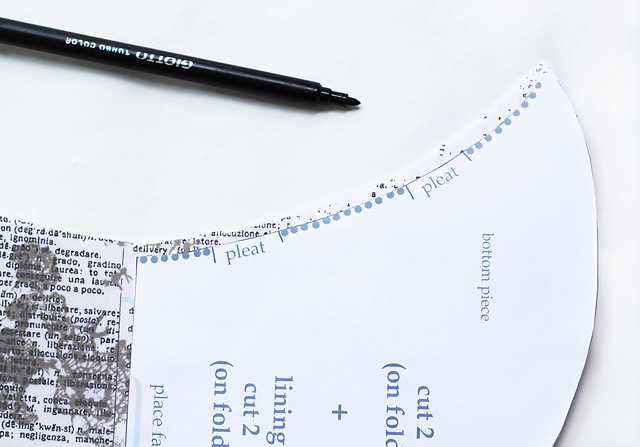
Now lets prepare the bottom pieces, creating the pleats on them.
Indelible clutch zipper bag tutorial

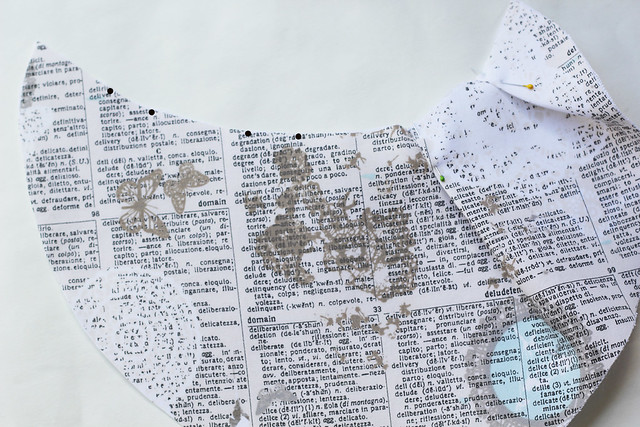
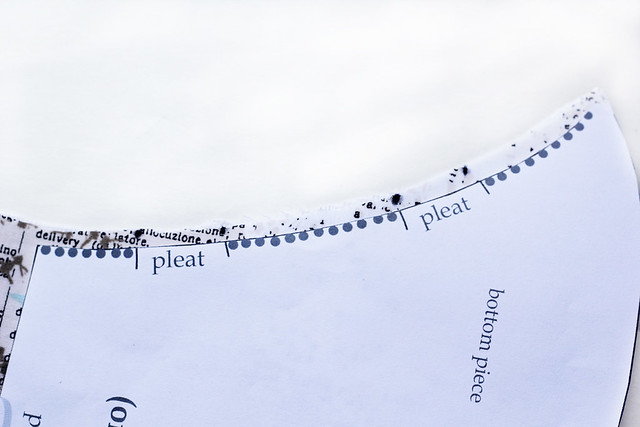
With any kind of the pencil or marker ( it will not be visible), mark the pleats on the right sides of the fabric, both main and lining pieces.
Indelible clutch zipper bag tutorial

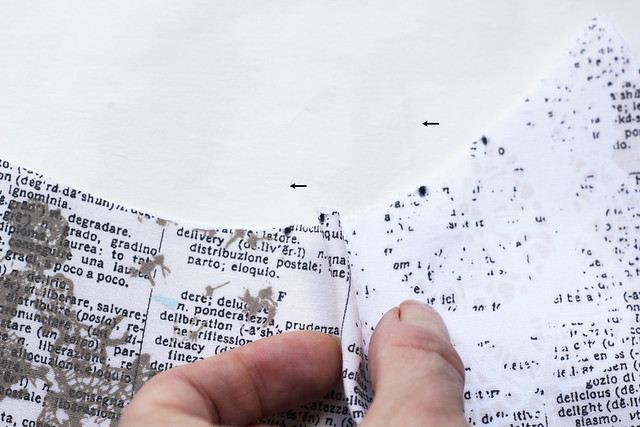
Fold the fabric into a concertina to make the pleats: fold them going toward the center.
Indelible clutch zipper bag tutorial

Indelible clutch zipper bag tutorial

Indelible clutch zipper bag tutorial

Place pins into the pleats.

Indelible clutch zipper bag tutorial

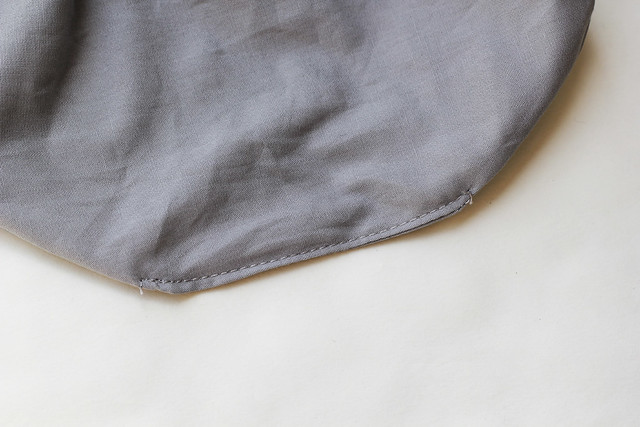
Stitch over that edge.

Indelible clutch zipper bag tutorial

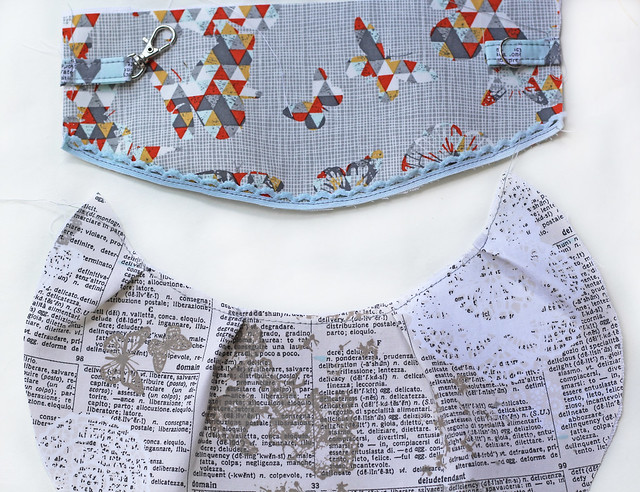
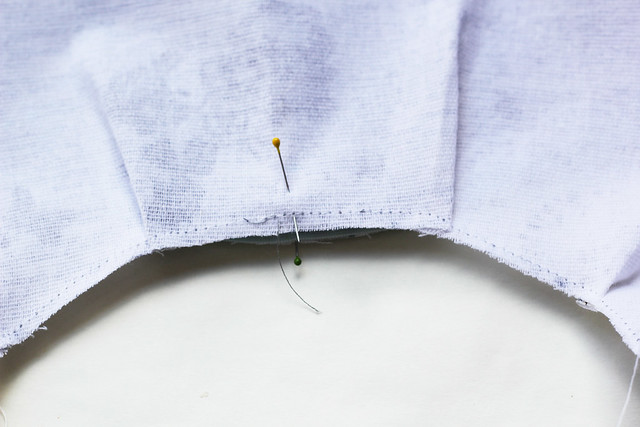
Now we need to join this two pieces together. Find the centers by folding both pieces and marking the centers with pins.

Indelible clutch zipper bag tutorial

Right sides together, match the centers and pin them together.
Indelible clutch zipper bag tutorial

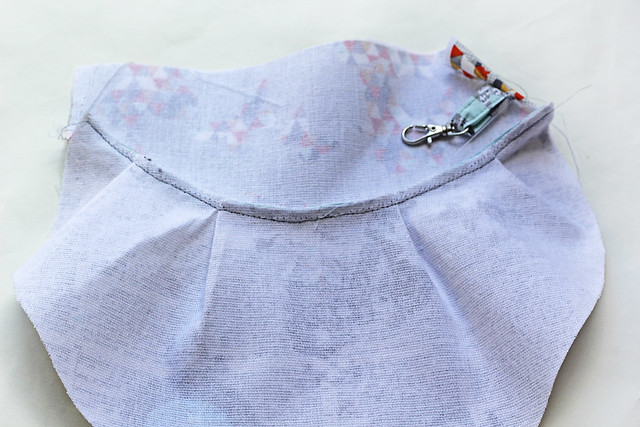
Continue pinning along the edges and sew these two parts together.
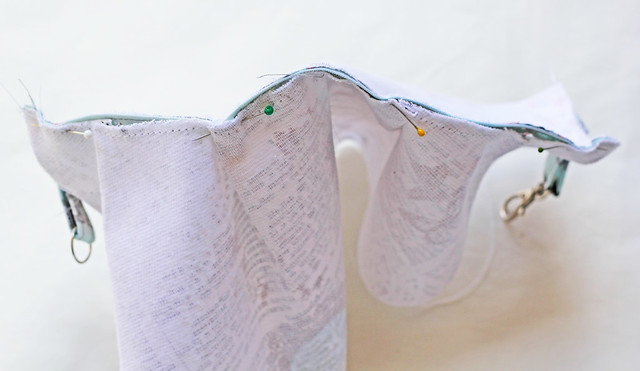
Indelible clutch zipper bag tutorial

Indelible clutch zipper bag tutorial

Turn to the right side and top stitch that edges.
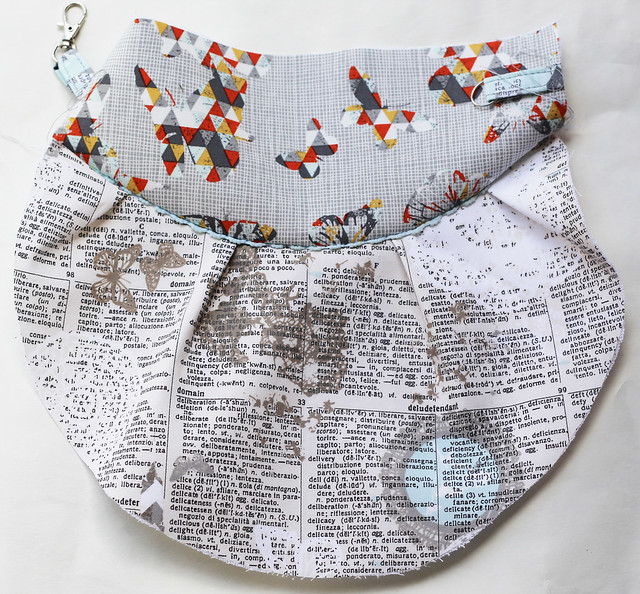
Indelible clutch zipper bag tutorial

Indelible clutch zipper bag tutorial

Repeat this on the other side and on the lining pieces.
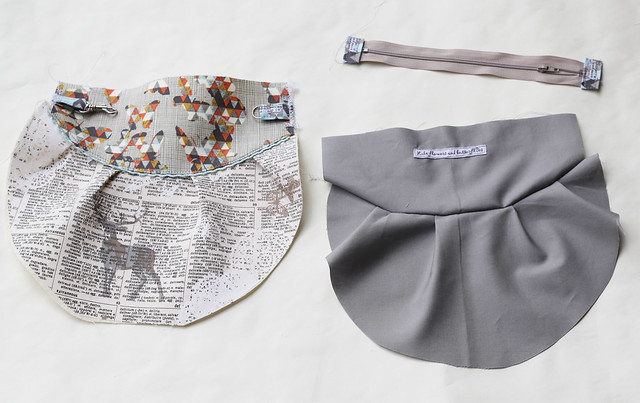
Indelible clutch zipper bag tutorial

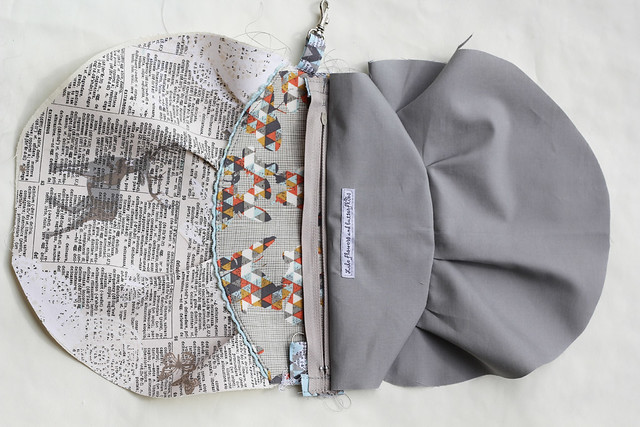
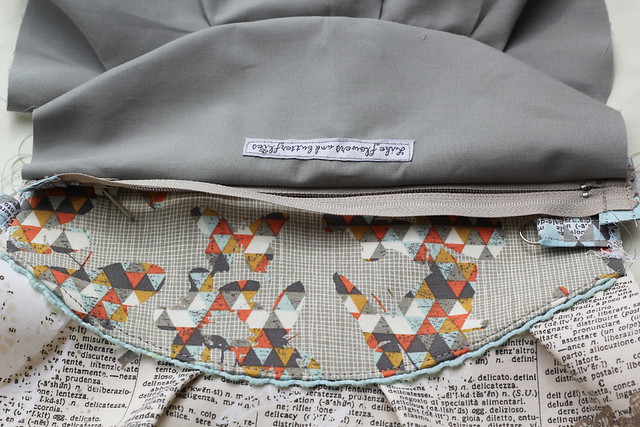
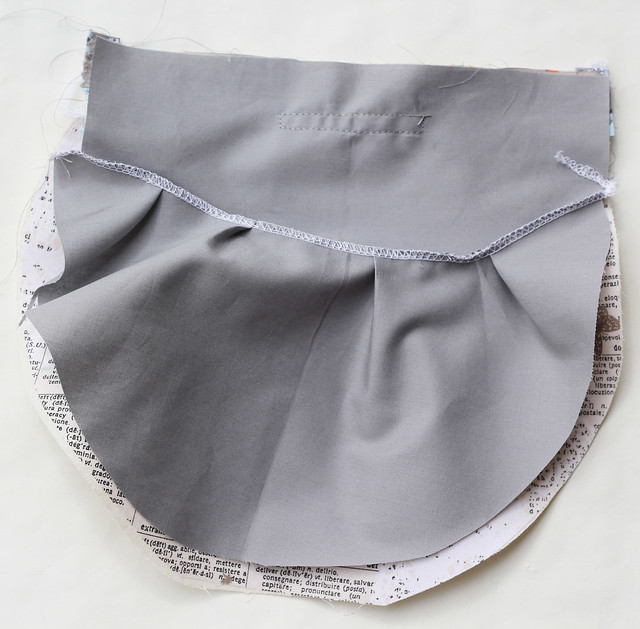
Now let's sew the zipper in a sandwich between the main piece and lining (right sides together), facing the right side of the zipper with the right side of the main fabric.
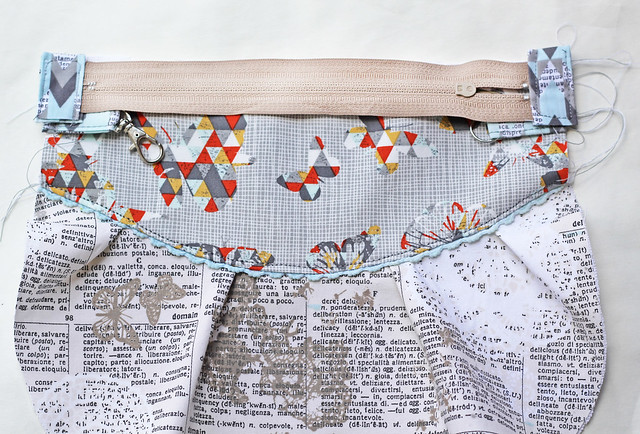
Indelible clutch zipper bag tutorial

Indelible clutch zipper bag tutorial

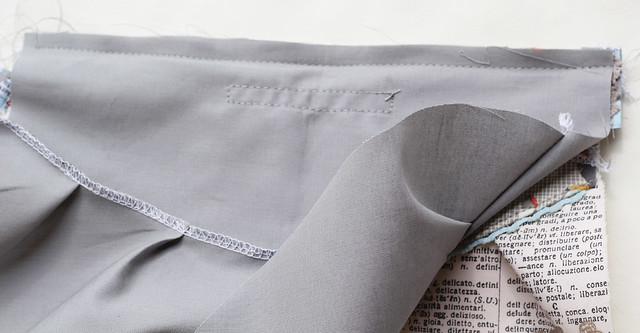
Using your zipper foot (if you don’t have a zipper foot, don’t worry as this can be done with a regular presser foot as long as you go slowly and move the slider to avoid jamming), sew them together using the 1/4" (6 mm) seam allowance. 
Indelible clutch zipper bag tutorial


Indelible clutch zipper bag tutorial

Indelible clutch zipper bag tutorial

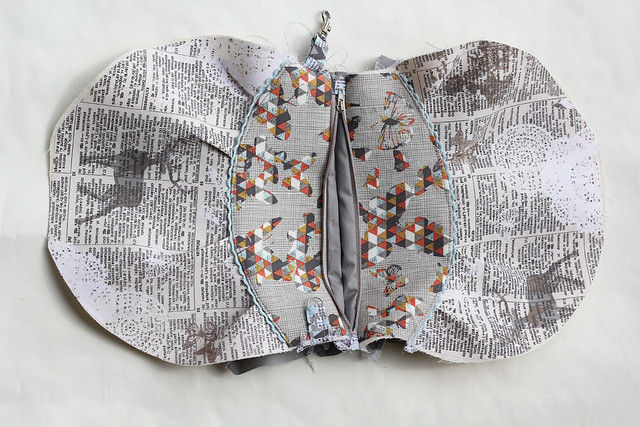
Repeat the same on the other side of the zipper.
Indelible clutch zipper bag tutorial

Indelible clutch zipper bag tutorial

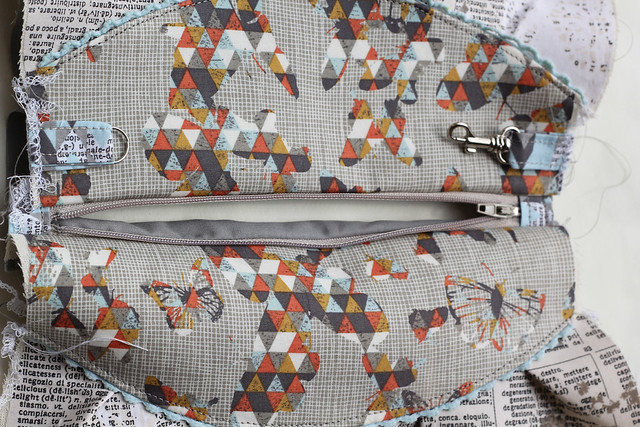
I suggest either pressing (on low heat setting) the both sides at this point or top-stitching.
Indelible clutch zipper bag tutorial

Indelible clutch zipper bag tutorial

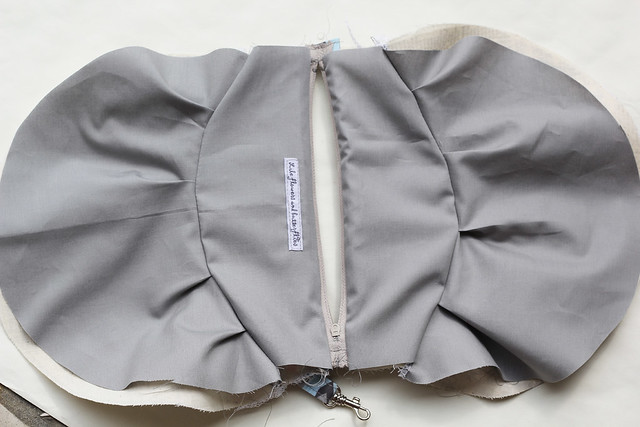
Place right sides of the main fabric together and lining right sides together. Make sure to unzip the zipper so that is in the middle of the pouch (as you will need to turn the pouch through that gap).
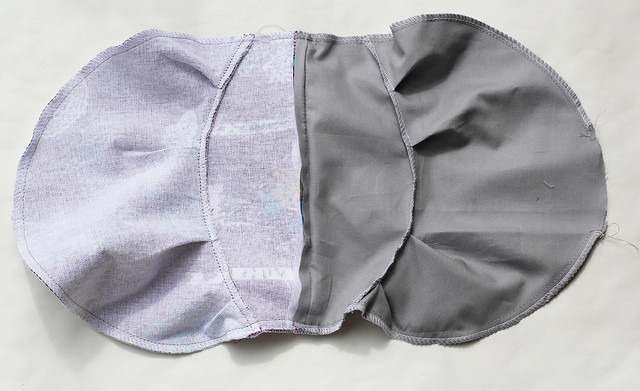
Indelible clutch zipper bag tutorial

Starting from the lining part, sew all around (be careful when sewing over the zipper) using the 1/4 seam allowance (6 cm). Stop sewing approx. 3-4" (7-10 cm) from the starting point, as you need this gap for turning the bag inside out.
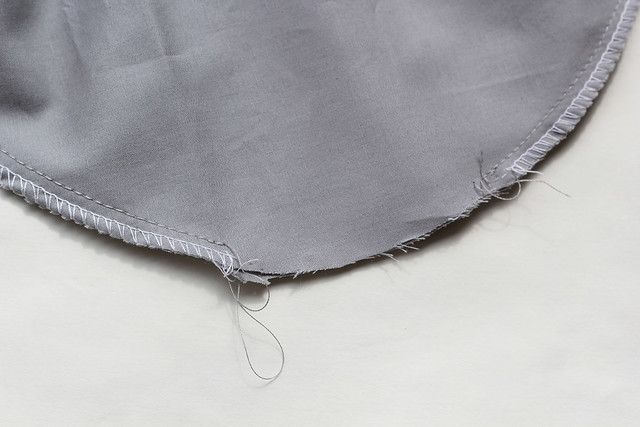
Indelible clutch zipper bag tutorial

Through that gap, turn the bag inside out.
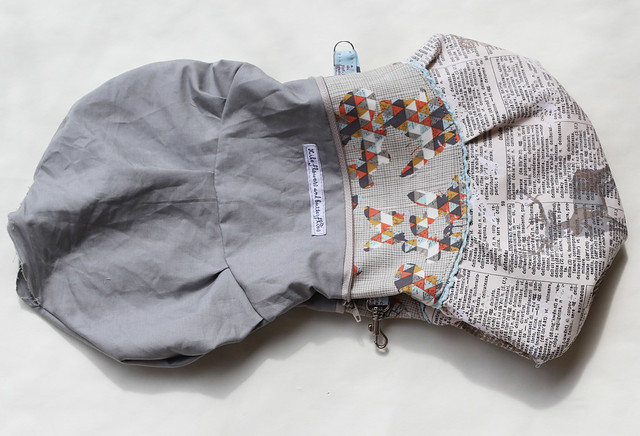
Indelible clutch zipper bag tutorial

Check if you have sewn all nicely, especially the zipper area.
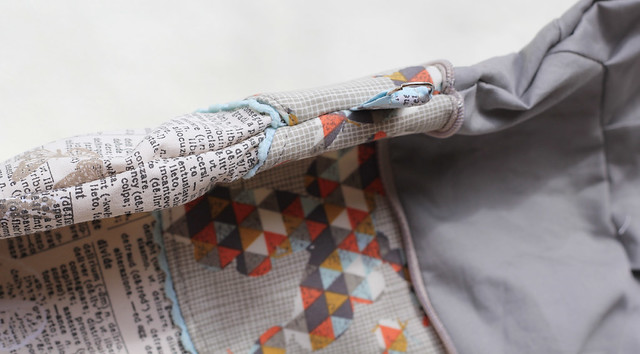
Indelible clutch zipper bag tutorial

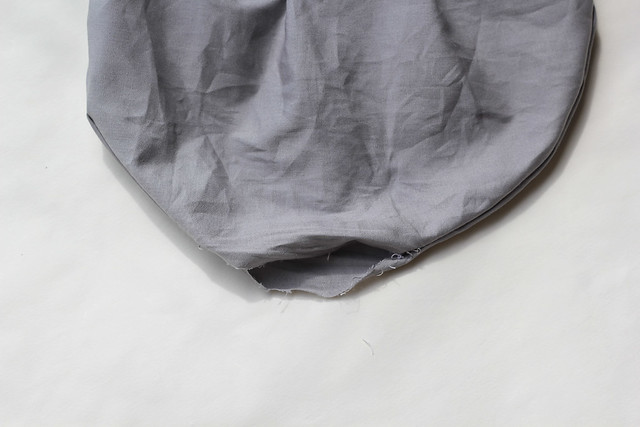
Press the bag and close(sew) the gap.
Indelible clutch zipper bag tutorial

Indelible clutch zipper bag tutorial

Push the corners out (the zipper's ends) and put the lining inside.
Now you are all done with the bag and just need to sew the handles. Cut an approximate 30"(make it shorter or longer, upon your needs) x 3" strip of fabric. Fold it in half lengthwise and iron it, then open and press both sides toward the center crease and press center crease.
bag straps bag straps

bag straps bag straps

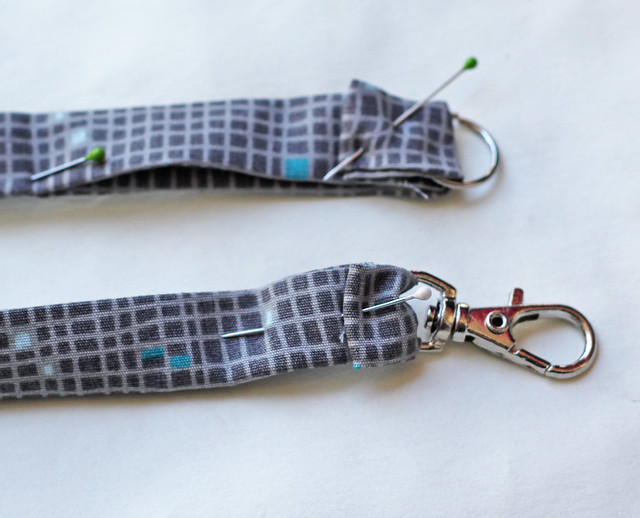
Insert the metal ring on one side and Swivel on the other side. Pin and sew all way around.
Indelible clutch zipper bag tutorial

Indelible clutch zipper bag tutorial

Hope that this was useful and that you will make tons of these (and add them to my flickr groups):

x projects using this or any of my tutorials or patterns, please add them to my flickr pattern group and
x projects using Indelible fabrics, please add them to my flickr Indelible group

xo, Katarina