My newest fabric collection for Art Gallery Fabrics, Enshadow arrived this May. And I can not believe it took me so long to make a blog post about it.
Enshadow is a collection filled with vintage charm, painterly florals, graceful Halloween creatures, pumpkins, and subtle celestial details—all brought together in a rich palette of black, charcoal, pink, purple and orange.
a mix of Boneyard ditsy prints from Eerie + Enshadow
Every print was created to mix effortlessly with the others, making it easy to create quilts that feel layered, timeless, and full of personality. Whether sewing for Halloween or simply loving the moody florals and dramatic color palettes, Enshadow is designed to be enjoyed well beyond the season. It also matches great with my first Halloween collection from 2 yrs ago-Eerie.
The coordinating ribbon collection features ten beautiful ribbon designs in a variety of widths, along with a carefully curated ribbon bundle that makes it easy to add decorative details to every project. From quilt bindings and bag straps to garment accents, zipper pulls, bookmarks, gift wrapping, and home décor, these ribbons bring another layer of texture and charm any handmade creations.
I always think of ribbon as the finishing touch—the little detail that turns a beautiful project into something truly unforgettable.
Meet the Trick or Sweet Quilt
To celebrate the collection, I designed a brand-new quilt pattern: Trick or Sweet.
This playful quilt captures everything I love about Halloween with three charming quilt blocks—a smiling pumpkin, a friendly ghost, and sweet wrapped candies—all arranged into a cheerful sampler that is as fun to sew as it is to display.
The pattern is fat quarter friendly, making it an excellent choice for showcasing the full Enshadow collection, and includes both Lap and Throw size options. Whether you're making it for cozy autumn decorating, gifting to a Halloween-loving friend, or starting a new family tradition, Trick or Sweet is designed to bring smiles year after year.
Even if Halloween isn't your favorite holiday, the blocks are wonderfully versatile and can be mixed into pillows, table runners, wall hangings, or smaller seasonal projects.
I cannot wait to see what you create with Enshadow. Whether you choose to make the Trick or Sweet quilt, sew a bag adorned with coordinating ribbons, or simply add these fabrics to your growing fabric collection, I hope they inspire you to embrace the beauty found in the shadows.
What I am truly excited about is that I will be recreating my Cabin Spark quilt pattern with my second Xmas fabric collection - Adventale.
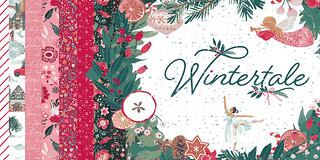
Adventale is a cozy, Christmas-inspired collection that includes a few unique panels—perfect for creating handmade gifts. For this sew along, I’ll be working with the Welcome Home panel, which I designed especially with this quilt in mind.
Cabin Spark quilt-along schedule:
Week 1, October 24 -Kickoff + Fabric Pull
Week 2, October 31 -Cutting Party
Week 3, November 7 -Block Construction
Week 4, November 14 -Layout + Assembly
Week 5, November 21 -Quilting + Finish
As everything is going to be posted through my Instagram and this blog space, you don't need any other sign-ups. You can eventually subscribe to my newsletter but only if you wish to obtain some freebies, coupon codes and news (which can be pretty amazing too☺️).
So what will you need, alongside excitement of making something new in a good company?
You will need some fabrics and tools.
And you will need the quilt pattern, that can be purchased in my Etsy shop.
Here is the back cover of my Cabin Spark quilt pattern that has some great suggestions and basic information about tools, materials, techniques involved and quilt sizes.
I always suggest to read the pattern before starting to pick and cut the necessary fabrics.
While I have only PDF patterns available, there are some quilt shops that like to buy the printing license from me (available in my Etsy shop as well) and they print the patterns on paper to provide them for their customers that prefer to buy the paper pattern and the fabrics together.
Here are some quilt shops that have the fabric kits available:
Before finally posting the video for you to watch, I just want to THANK you so much for joining me in this quilt sew-along event and I hope that you will enjoy sewing with me and other makers!
Although most of you will watch the video only, I thought I should also include some captions from the video, maybe they can be helpful too, as I am sure that there are parts in the video where my English could sound confusing.
While choosing fabrics for a quilt can be the most exciting part of the process for some makers, for others it can feel a little intimidating—or even overwhelming. That’s why fabric kits and curated bundles are often such a helpful option. Another way to “test drive” your fabric ideas is by using the coloring page included in most patterns.
Before we dive deep into color theory, let’s touch on a few simple, practical principles for fabric selection.
The safest place to start is by looking at contrast. In quilts with lots of negative space, contrast helps define the line between the background and the foreground (the block or main design). Put simply, contrast means “difference,” and it ensures that your blocks stand out against the background. The most common types are light vs. dark and warm vs. cool contrasts.
In this particular pattern, though, the task is slightly different. Here, the blocks are unified, and the secondary design appears as classic sawtooth star shapes. To highlight those stars, I used a solid white fabric, which creates a crisp contrast with the surrounding prints. So my suggestion is: for the star corners, choose fabrics that are either very light, very dark, or clearly contrasting with the rest of your palette. This way, the star design will shine through the patchwork.
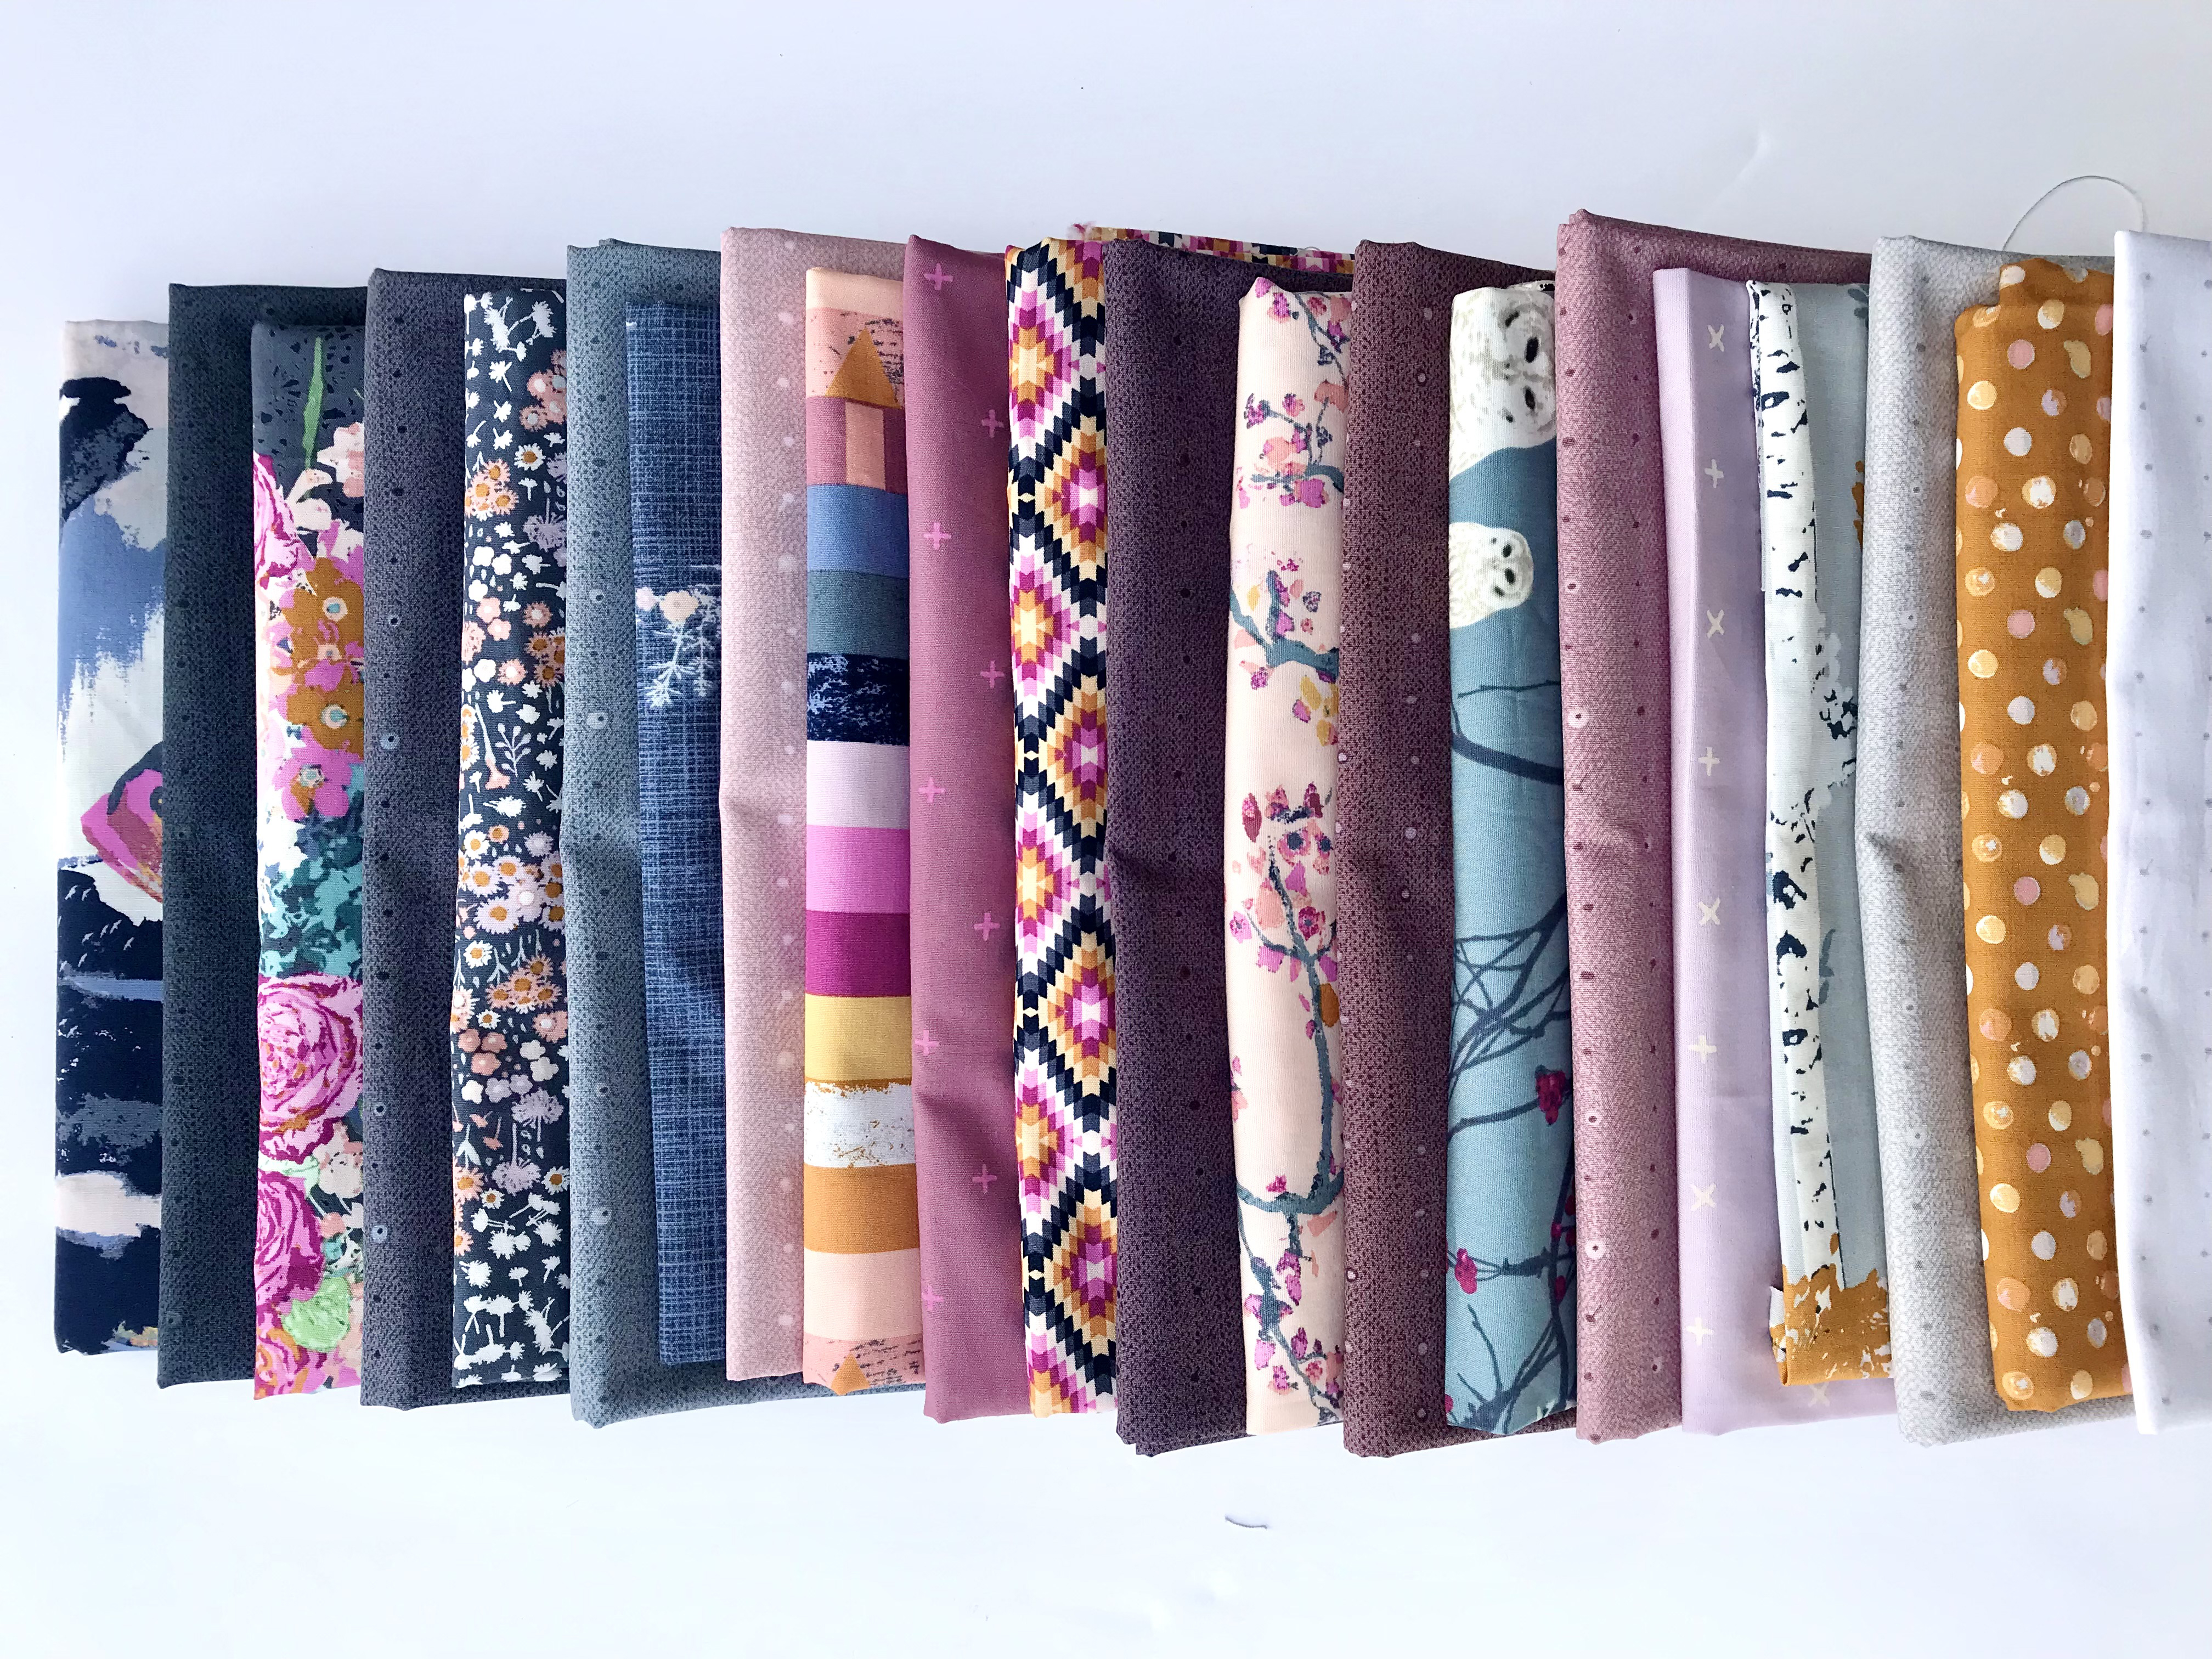
As AGF offers Fat Quarter Fabric Wonders bundles—usually consisting of 16 assorted prints from each collection—like in the case of the Adventale collection, you can easily use just one bundle! Simply add one coordinating solid fabric for the star corners and another option for block centers, and you’ll have everything you need to make a beautiful baby-{squared throw} size quilt with 16 blocks.
For my throw-size version, as stated in the requirements table, I used a mix of 20 different fabrics for the logs, 1 fabric for the stars, and 1 fabric-panel for the block centers.
For this quilt, my fabric selection is based on my Adventale collection. If the collection had a wider range of prints, I would likely avoid the lightest fabrics, as they don’t provide enough contrast with the white sawtooth stars. That’s why I plan to use the lighter fabrics mainly for the smaller logs closer to the center of the block, where they won’t “touch” the stars. And I will do something that would be described as "scrappy" style, almost random piecing (…except for making sure the darker fabrics touch the corner stars, while the lighter ones flow toward the center).
When choosing fabrics, the safest and most effective approach—like I mentioned before—is to select logs that will clearly stand out against the fabric used for the star corners. Within the group of logs themselves, the fabrics should feel harmonious, meaning there shouldn’t be too much contrast and difference in value. You can choose any colors you like—even a rainbow palette—as long as they contrast well with the star corners.
One of the most common and effective ways to use contrast within a log cabin block is to select one distinct group or palette of colors or prints for one diagonal half of the block, and then use a contrasting set for the other half. This creates a striking effect, especially when you start playing with quilt layouts. However, if you’re working with directional prints for the centers, you’ll want to plan carefully so the final image comes together the way you intend.
The centers, on the other hand, offer a great opportunity to get creative. You can play with value, color, or even small block design. For example, in this last example, I’ve used small heart-shaped blocks for the centers, which also makes it perfect for a Valentine’s-themed version.
For my version of the quilt, I’ll be using the squares with scenes from my Welcome Home panel. They measure about 6.5”, so I can either trim them down with a 6” square ruler or, if I want them to stand out a bit more, cut them to 5” and add a 1” strip frame—just as shown above. I think I’ll go with that option.
On the other hand, if I were using the alphabet letters from the Jingle All the Letters panel, I’d cut them true to size at 6” right away. Since the background fabric there is dark, the letters already stand out beautifully against any of the log prints I’d be pairing them with.
The possibilities are truly endless! I can not wait to see the fabrics you'll choose!
Please feel free to contact me with any questions, suggestions or comments either here or on Instagram.
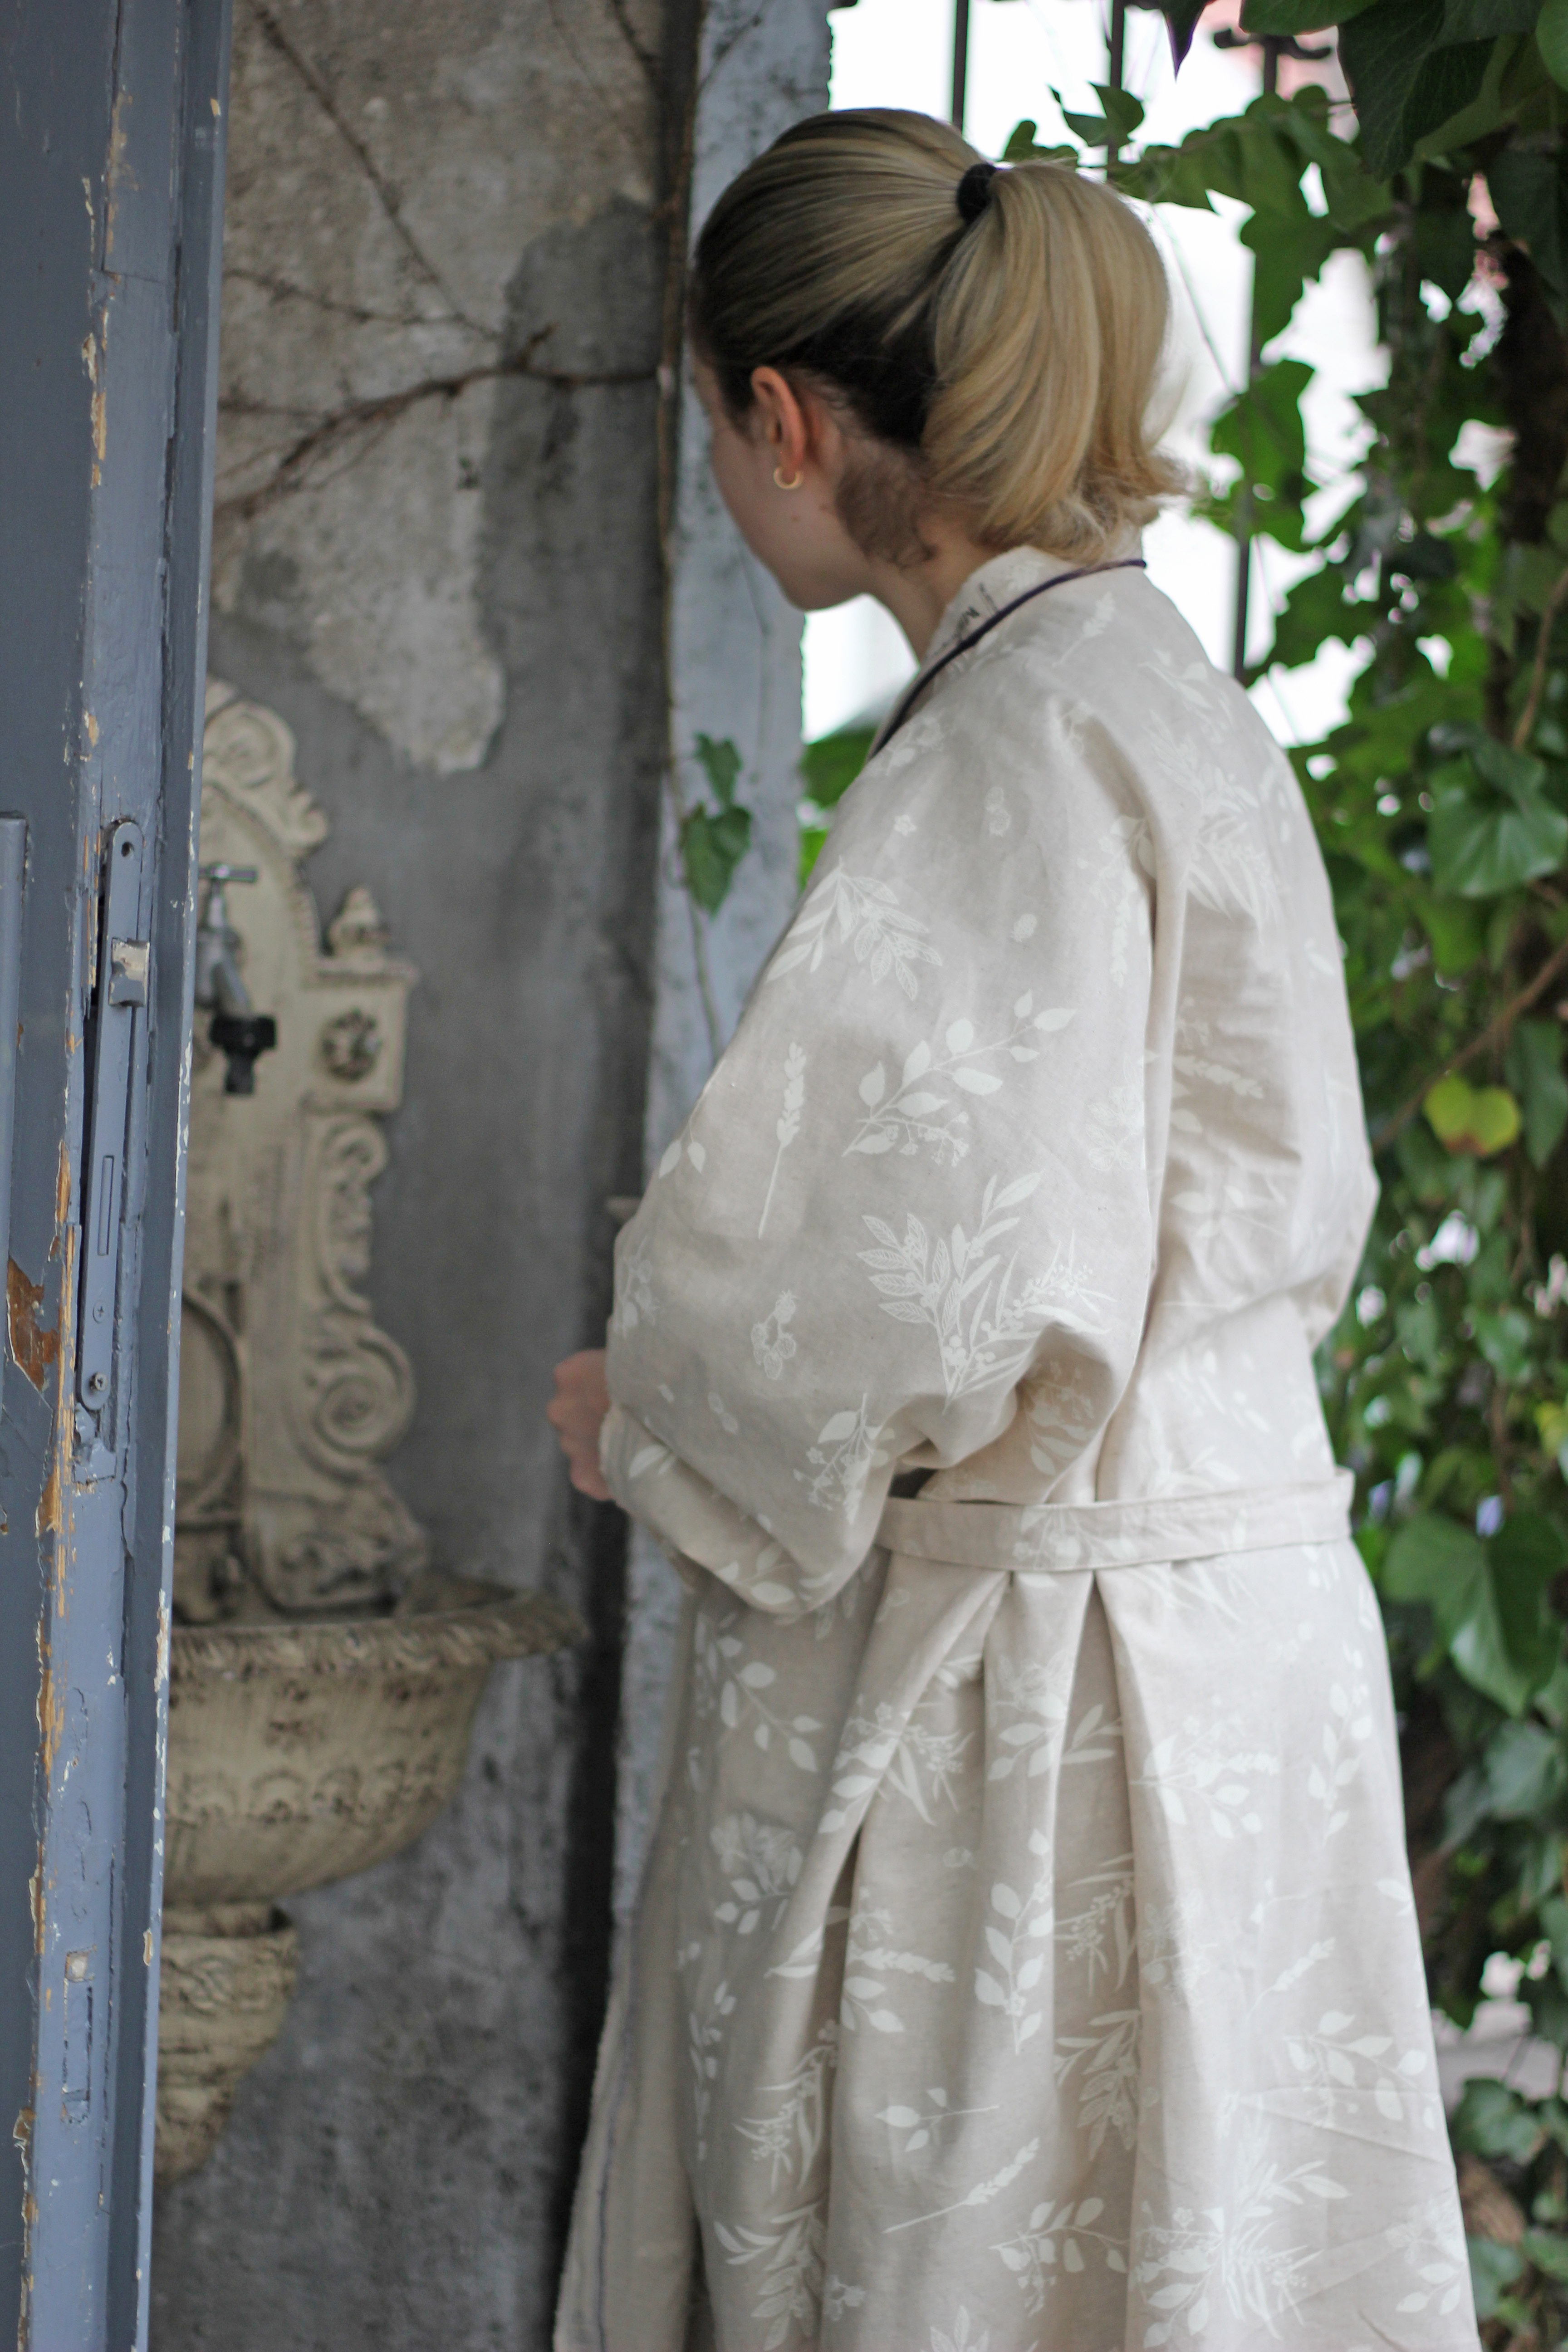
Linen substrate is one of my favorite textile substrates and ever since designing fabrics, I wanted to make a simple print with simple design on raw linen. And after 20+ collections, I finally did it.
Making a bag or a pillow seemed just a bit "straight forward" as a project, so I was looking to find a wearable project that would use more of the fabric. I searched for different kimono types and this one really draw my attention. So I started looking for the available patterns and found this Dolman coat that is not like a real pattern, but the instructions are clear and it's really such an easy project, so it doesn't require a really cut and collate pattern.
Another very useful video tutorial is this one and after absorbing all the provided info, I finally made mine.
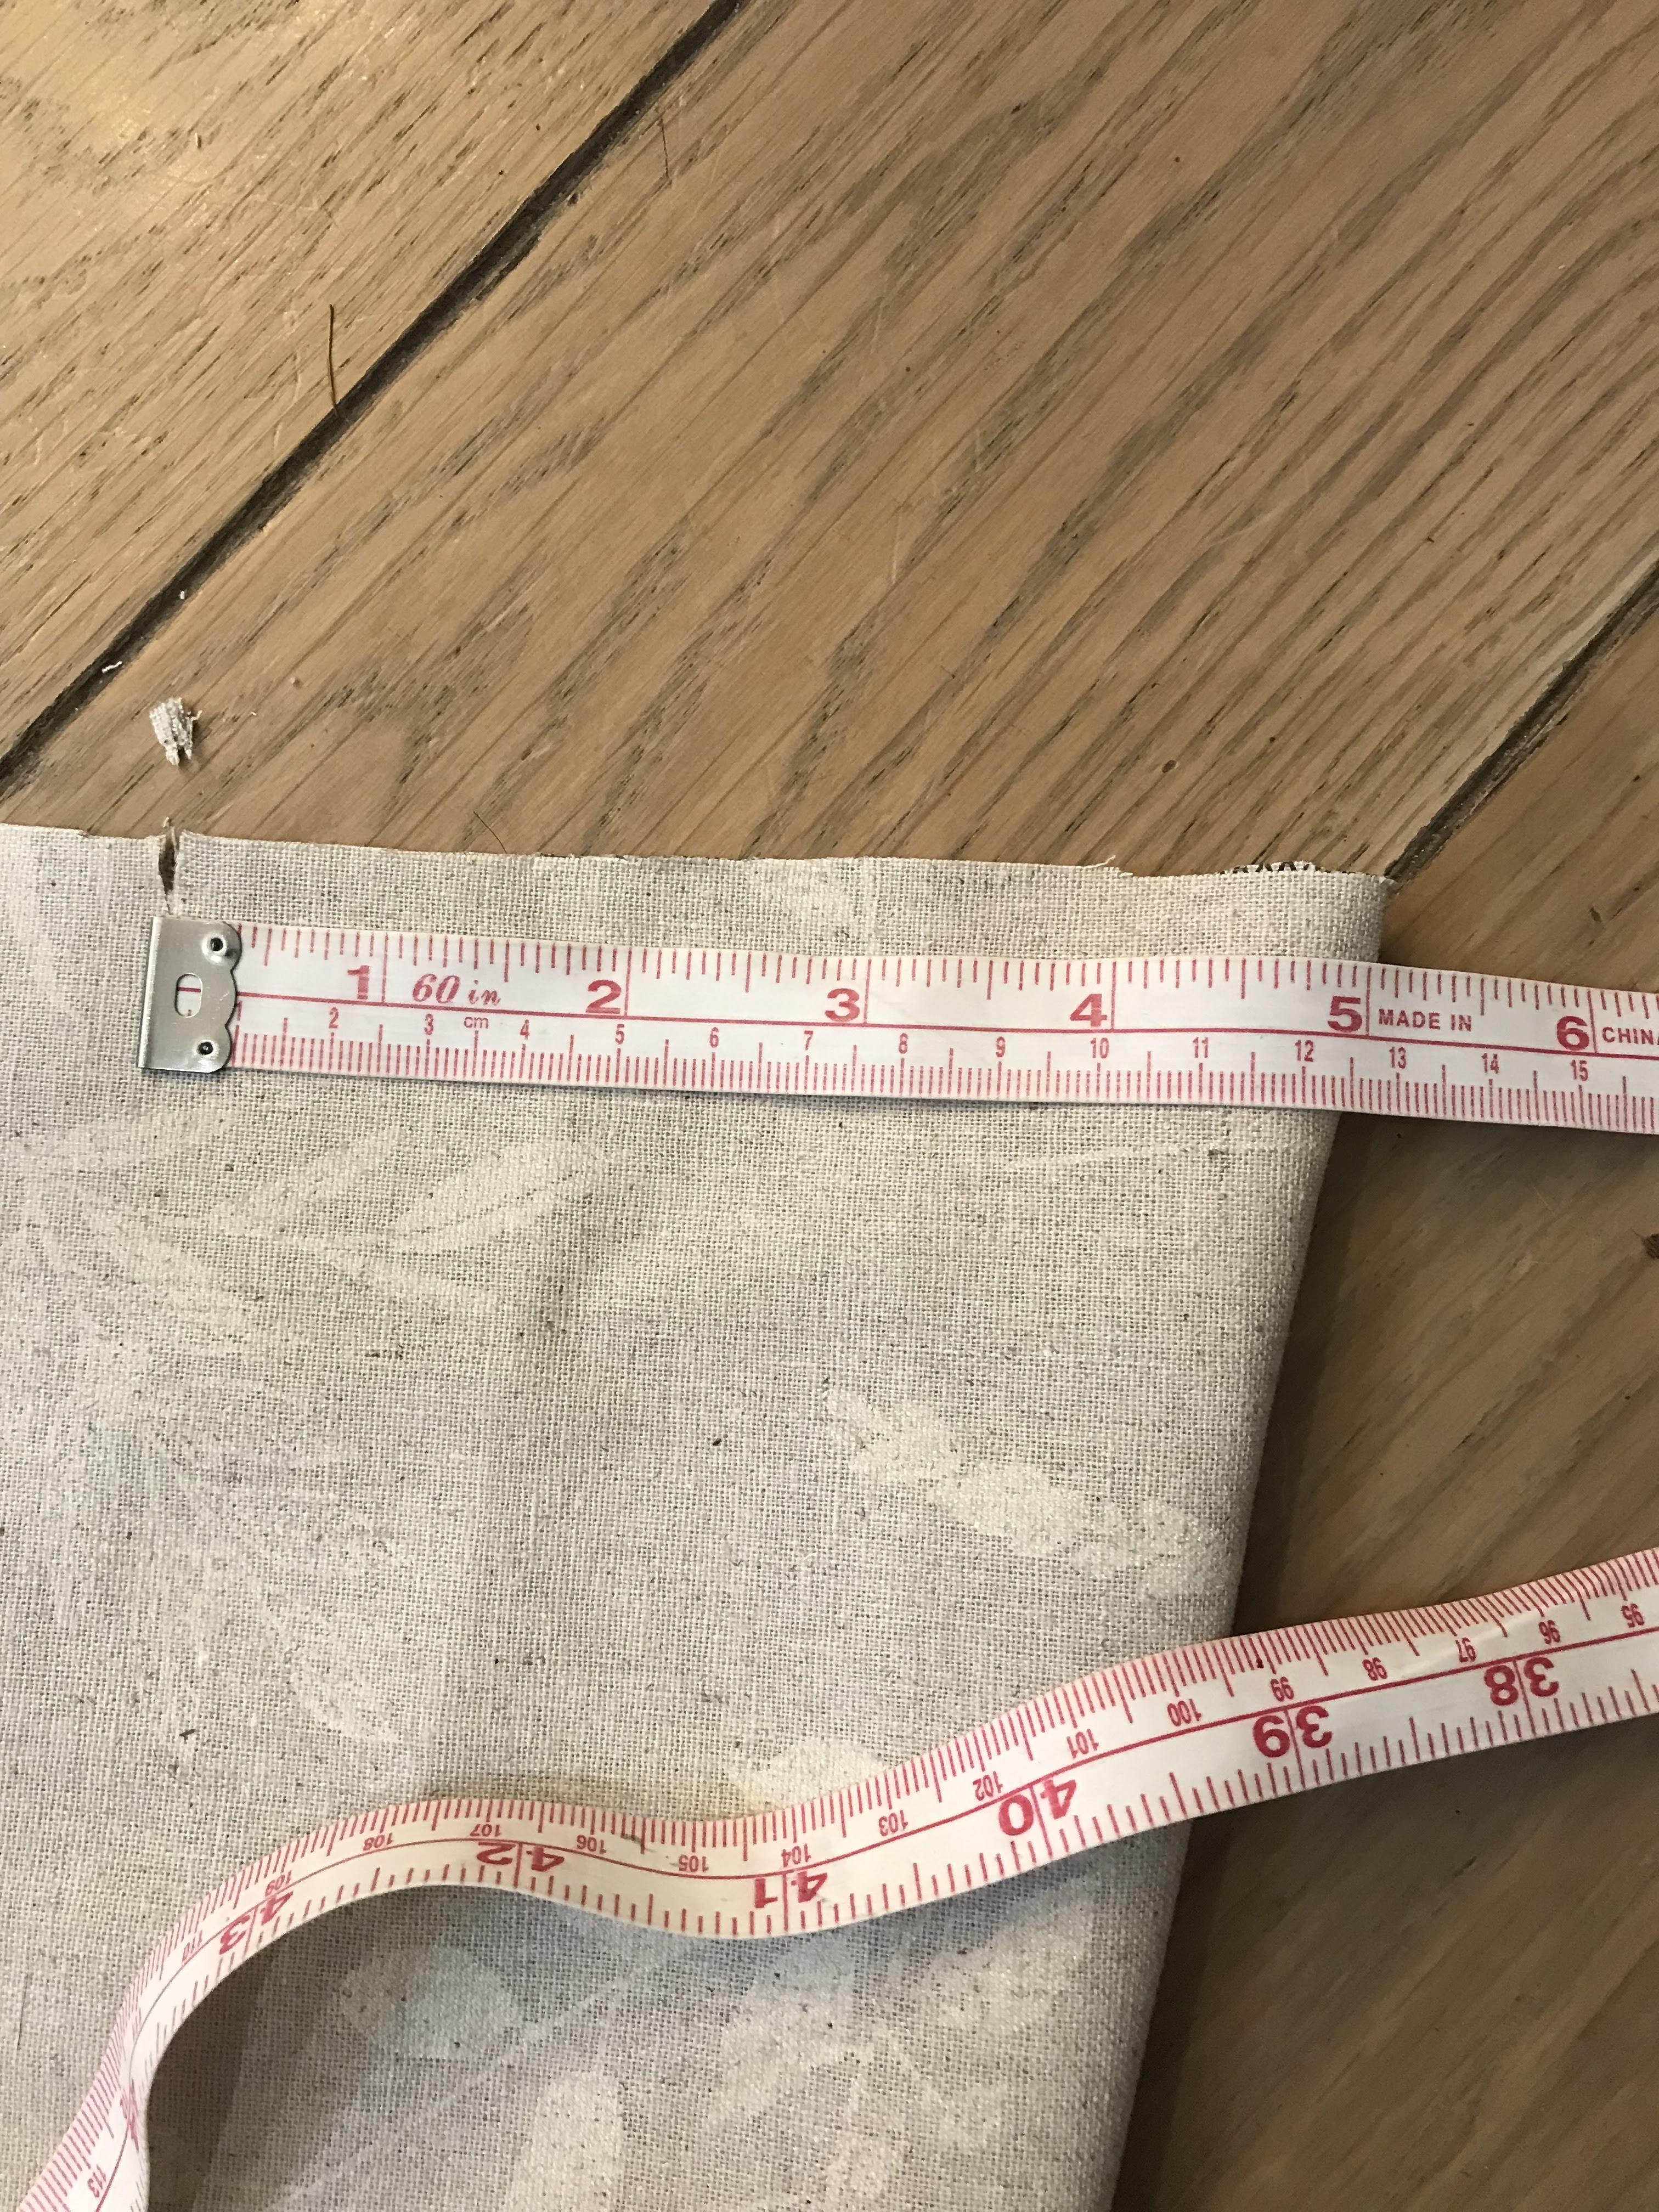
I used 3 1/2 yds of the my Sensescape Linen fabric that is 56/57" wide, and that width is the most important thing that defines the kimono's length. If using fabrics that are 42-44" wide you will obtain the kimono that will be barely knee length (for adults).
Cutting was extremely easy to do and sewing was consisting of only shoulder-upper arm seam.
The other 2 things to do are: wrist finishing (arm opening holes) and neckline/front opening.
I finished both of them with the selvage that I cut from the fabric itself, because I loved it so much, especially the fringe edge. I used it as a trim with adding the piping cord in dark purple as contrasting accent.
Another thing that I did was sewing a simple belt, so that it could be gathered more easily.
I hope that feel inspired and will make it for yourself or someone special in your ife. I think that using some sort of silky material, like rayon or similar would look even more luscious and could be great for hot summer days.
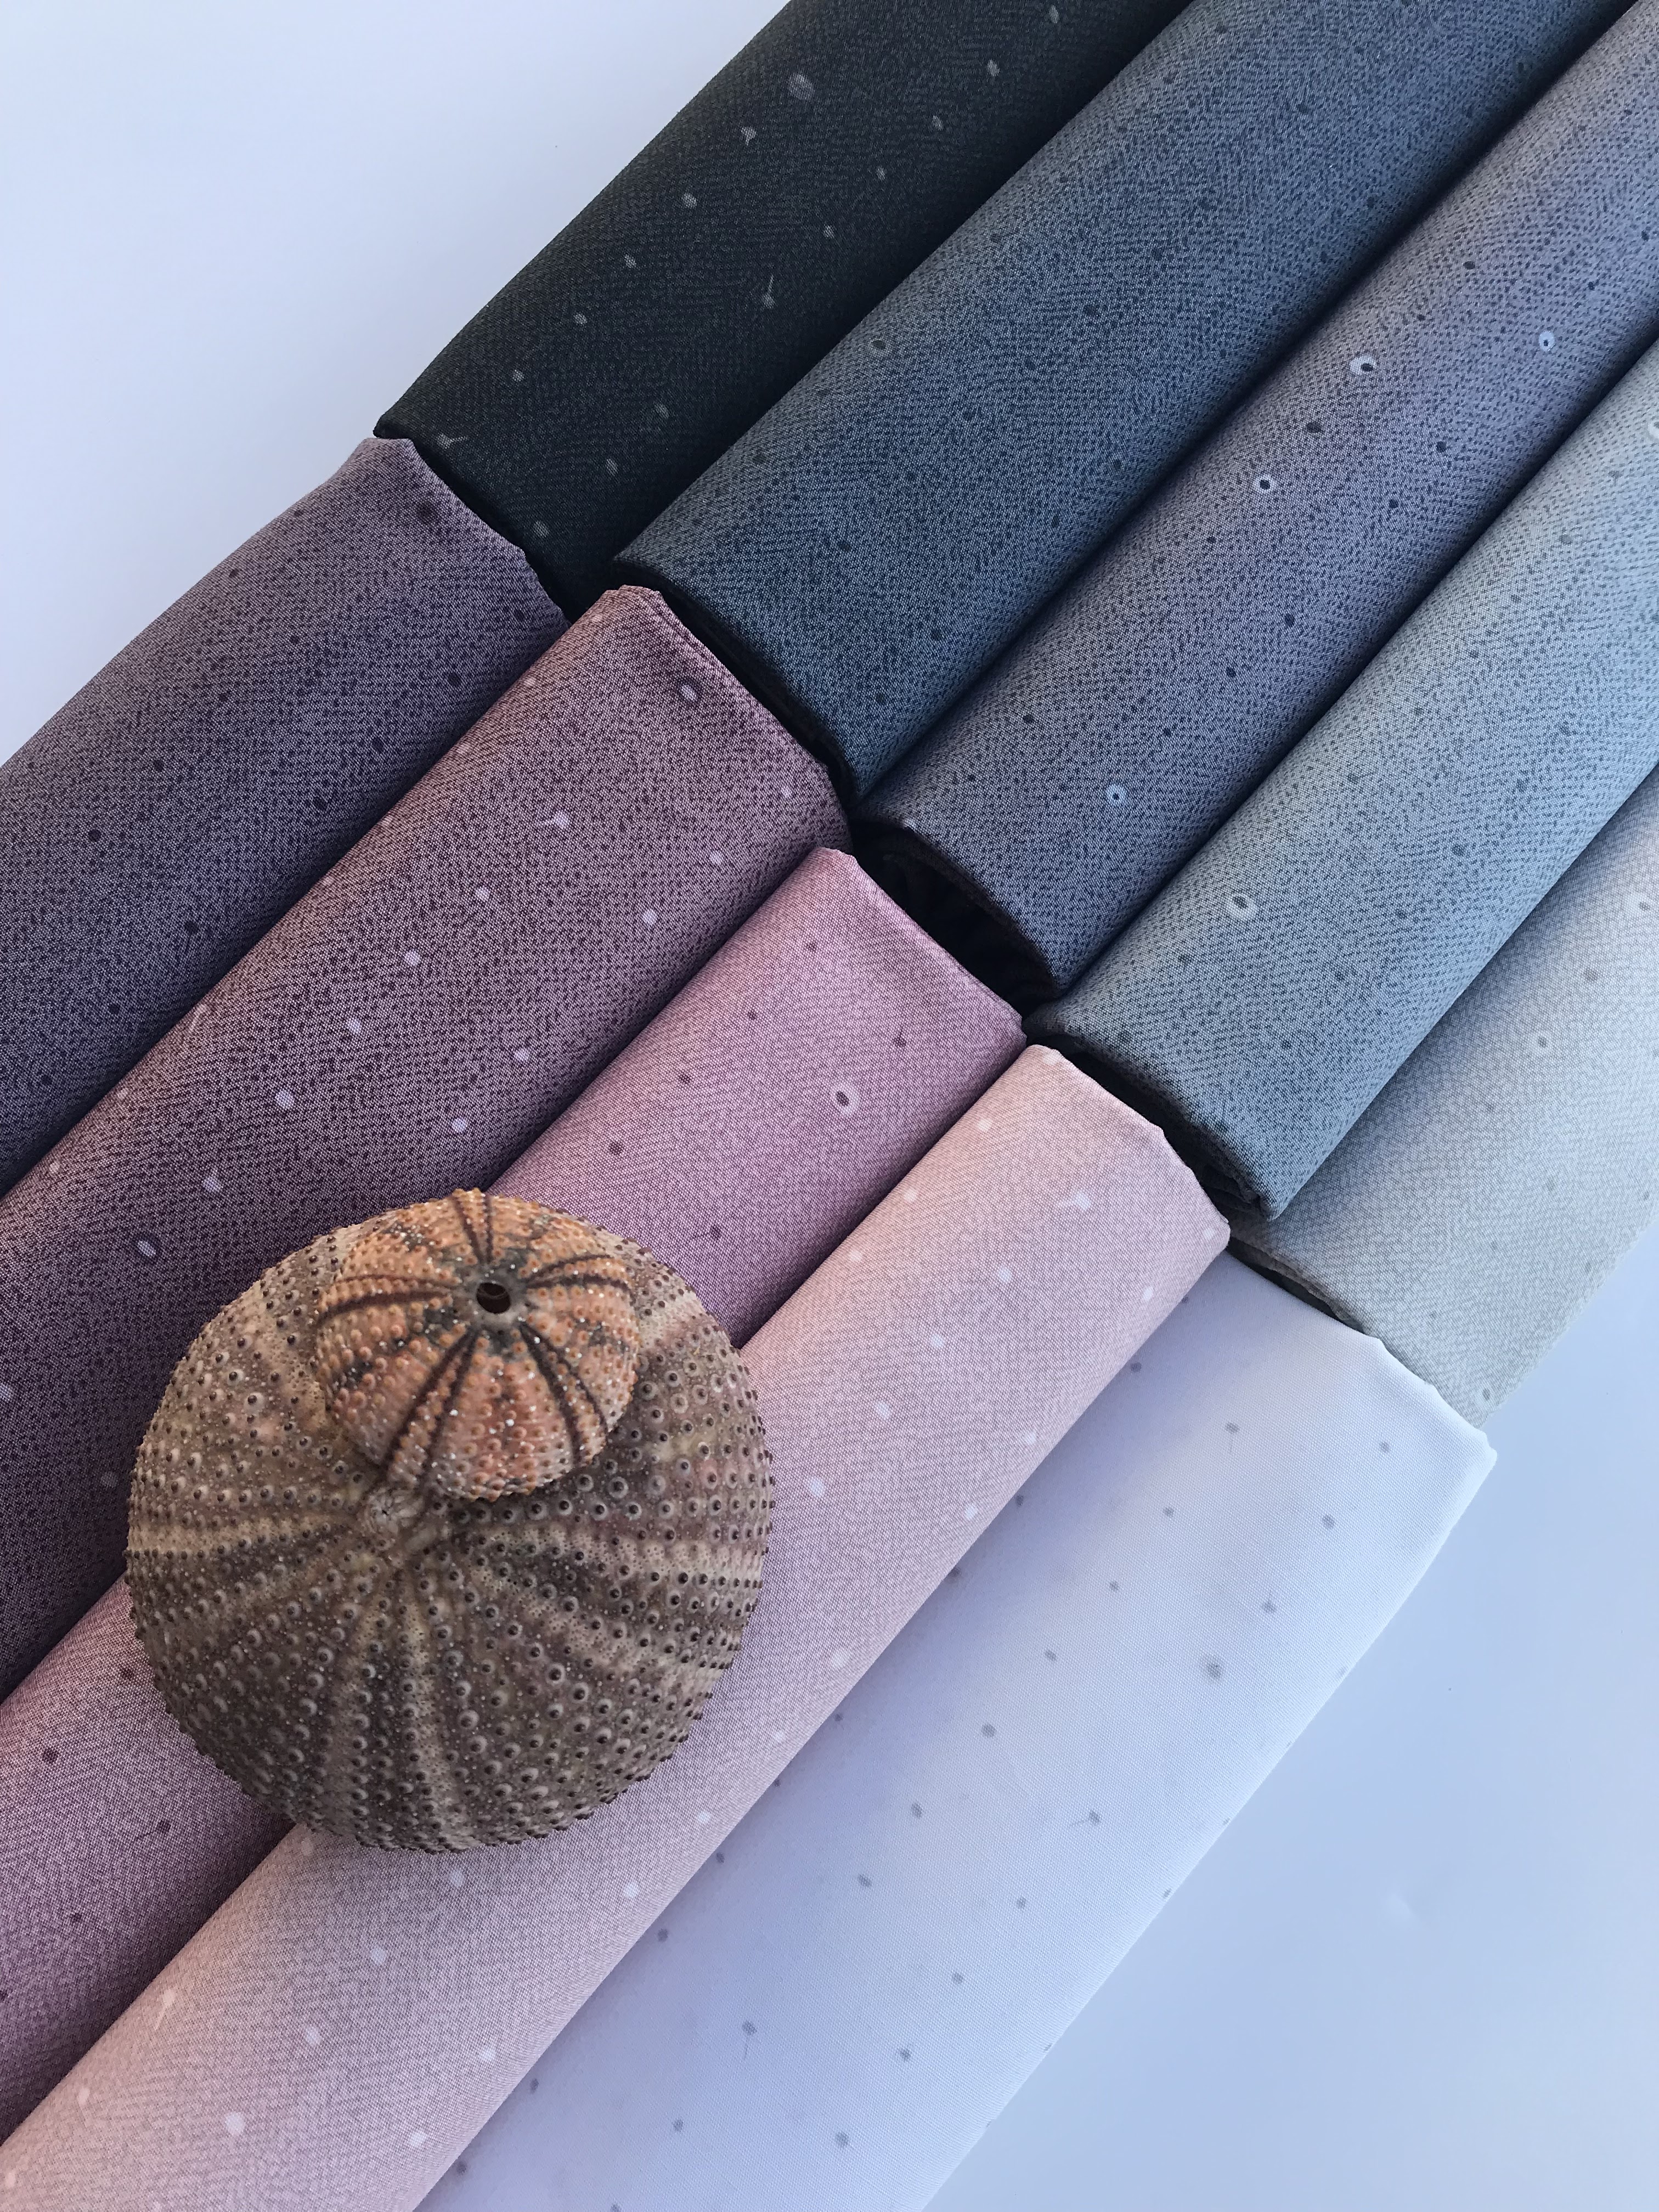
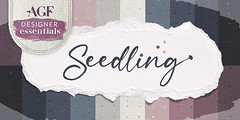
Seedling is my first designer essentials-blender collection with Art Gallery Fabricsand I just can't be happier of how it looks.
It features 10 prints in mineralshades from white, sandy beige neutrals and mauve to deepest gray and steely blue. It's printed on regular poplin cotton, just like any other AGF collection, but has a subtle designed texture that gives a feeling like it's a woven substrate (when it's not). It provides limitless possibilities of mixing and matching, whether used as a collection on it's own or as a blender/companion print to other textiles.
The design element-little seeds are spread on the textile surface, like little dots, but if you look closer, you may notice that these are all like little seeds and sprouts.
Some are closed in little pods, which are giving an optional and additional pop of design and color.
These little seeds, almost like planted on the surface are like little dashes of hope, and hence the name of the collection-Seedling.
This simple print was originally printed as part of my Twenty fabric collection last year in two colors: white -Gridded seeds in Pure and and green/blue: Gridded seeds in Mineral. These two prints don't have the textured design-background, so that's the main difference with their sibling prints from Seedling.
Not only that it goes beautifully with Mindscape, but it works perfectly well with so many prints from my previous fabric collections, as well with many other prints and collections by other designers.
Here is pictured together with Eclectic Intuition, my Tribute fabric collection.
Here are some more pictures....
I am so excited about the possibilities and looking forward to the look book, coming out soon!
Hi! I'm proud mama of 3 gorgeous kids that are true inspiration for my work. I love to create and express myself through many forms of art: collages, drawings, illustrations, calligraphy, graphic design, textile and surface design, printing, photography, sewing.....


























 GRID
GRID
 DECADENCE













 Posts
Posts


