. . . . . . . . . . . . . . . . . . . . . . . . . . . . . . . . . . . . . . . . . . . . . . . . . . . . . . . . . . . . . . . . . . . . . . . . . . . . . . . . . . . . . . . . . . . . . . . . . . . . . . . . . . . . . . . . . . . . . . . . . .

Monday, 7 July 2025

Quilted boxed pouches tutorial - adjusted for sewing with directional prints


If you’ve ever made a zippered boxed pouch and ended up with your cute directional fabric turned sideways (or upside down… oops), this one’s for you!

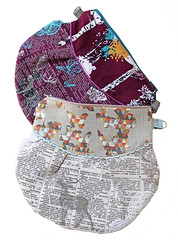
And here's my newest pouch created with the prints from my Soar collection. 

Actually, I used the left over fabrics and patchwork pieces from the Patchwork hoodie so this is a great way to use those leftover blocks and similar patchwork from previous projects.

So, basically this patchwork panel was created using a quilt-as-you-go method — one of my favorite ways to build texture and use even the tiniest leftover pieces.

I started with a base measuring 20" x 16", using a piece of fleece (you could also use batting or flannel or even recycle an old thin blanket for this — it adds beautiful loft and sustainability to the project). This base acts as both your stabilizer and your quilting layer, so there’s no separate quilting step at the end.

Then the building begins.

Instead of sewing patchwork blocks first and quilting later, each fabric piece is added directly onto the batting base. I usually begin in one corner or roughly in the center — placing the first scrap right side up and stitching it down with a simple straight stitch or gentle quilting lines.

From there, I add the next piece right sides together, just like traditional patchwork. After stitching the seam, I flip the new piece open and press it flat. Because it’s attached to the batting underneath, it’s already quilted in place.

Piece by piece, scrap by scrap, the panel grows.

There’s no strict rule about shapes — you can work with strips, squares, improvised angles, or even sections of old patchwork that you’re repurposing. It’s a beautiful way to give new life to unfinished blocks or worn quilts. Each seam secures the layers together, so the texture builds naturally as you go.

As the composition expands, I continue adding pieces outward until the entire 20" x 16" base is covered. 

What you’re left with is a fully quilted patchwork panel — textured, layered, and completely unique. No separate backing step. No large quilt sandwich to wrestle with. Just a steady, satisfying rhythm of stitch, flip, press, repeat.

It’s sustainable, forgiving, and perfect for transforming scraps — or even forgotten blankets — into something beautifully usable.

Here's a picture of a finished panel using the scraps from my Eerie fabric collection.

Sky is a limit....


Here's my go-to pouch tutorial with a smart little fix: free downloadable template that helps you easily work with directional prints—no more guessing or flipping pieces around. Whether you're making one for yourself, as a gift, or to use up those irresistible fabric scraps, this version keeps things tidy, professional-looking, and beginner-friendly.

You can watch my video on You tube with a process—from cutting the fabric to sewing the boxed corners—so you can make these pouches with confidence (and style). 


The only difference is in size (the non directional one-like this above ditsy floral burgundy one is a bit larger and the main fabric was all one piece and that I didn't cut the corners immediately.


Also, in THIS post you can find more info about embellishing the fabrics and pouch with ribbon details.


๐Ÿงต Materials You’ll Need - for the finished size 9" x 5" x 5"

  • Outer fabric: 2 pieces (10" x 14") – quilting cotton or linen works beautifully

  • Lining fabric: 2 pieces (10" x 14")

  • Fabric for the tabs and handle:  (3.5" x 12.5") to be cut after sewing in 3 pieces

  • Fusible fleece, foam or batting: 2 pieces (approx. 9.5" x 13.5")

  • 15" Zipper and pulls (1 or 2 -it's up to you) 

  • Coordinating thread

  • Your usual sewing tools: scissors/rotary cutter, pins or clips, iron, sewing machine

✂️ TIP: If you're using directional fabric, make sure your pattern faces up from the bottom of the pouch!

As Adventale fabric collection has a lot of cute panels that can be very inspiring and unique for gift-giving projects and has that Alphabet panel  that can be such a beautiful way to turn initials into stitched art. 

*discard the numbers on this first paper template-that was a first test, so it's not perfect and was improved

I started with cutting the letters M and R in 7.5" squares. I added 7.5" x 3.5" rectangles in Twinkle Little Stars Sky fabric on both sides and sew them together. 


Then I added 1.5" x 14" rectangles in Jolly Ribbons Festive fabric at the top, where the zipper will be sewn to both rectangles and there should be added another 2" x 14" rectangles of another fabric for the bottom ( I added that small ditsy floral from my Plentiful collection).


Here are quilted and sewn together both sides. My lining is Twinkle Little Stars in Ruby.


I also did the other pouch but all in one fabric, using another fun letter print from the collection called Letters to Santa.

Instructions:

I like to use plastic zippers sold by the meter. They are affordable, available in many colors and they are easy to sew over, without the fear that the sewing needle might broke. While the easiest way to use them is to simply detach the sides and install the zipper pulls (sliders) only after sewing the zipper to both main fabric panel and lining, I filmed also the version with the zipper pulls on from the beginning, so I hope that this overlapping of two zipper methods will not be confusing. Prepare the Fabric:
Cut the outer layer fabric, batting and lining fabric according to the specified dimensions. Cut the rectangle that will be used for the handle and tabs. Ensure that all pieces are neatly cut to size. Quilt the main fabric to the batting as desired-this is to stabilize the fabric and give more structure to the bag. You can avoid this step by using some thicker fabric, like canvas or similar. Clip the fabrics and zipper tape to mark the centers for easier matching. Make the Handle and Tabs: Take the 12.5” x 3.5” (32 cm x 9 cm) rectangle. Fold the rectangle in half lengthwise and press along the fold to create a center crease. Open up the fold and press both longer sides towards the center crease. Fold the rectangle closed again along the original center crease. Topstitch along both longer edges of the rectangle to secure the folds in place. From this rectangle, cut the handle at 6.5” and the remaining 6” divide in half to obtain two 3” pieces that will be folded in half to become tabs. Attach the Zipper:
-I have filmed 2 videos: one is showing the zipper with the pulls already on (in case that you are applying the regular, ready to sew zipper) while the other clip in the video is showing the easiest way to attach the plastic zipper and add the zipper pulls (sliders) by yourself. If you wish to add pulls on both ends of the zipper, take care to insert them in opposite directions—from the ends toward the center. Be mindful to avoid any weird bubbles forming, which can depend on how the zipper teeth are picked up in installation. Place one outer layer piece face up. Position the zipper face down along the top edge of the fabric. Align one lining piece face down on top of the zipper. Stitch along the edge to attach the zipper. Repeat the process with the remaining outer layer and lining pieces on the other side of the zipper. Ensure that the sides are neatly overlapping and flat, then press them down. Proceed to top stitch along both sides of the zipper edge to secure them in place. Create the Pouch Body: Open the zipper halfway to facilitate turning the pouch right side out later. I suggest to add the zipper tabs right now in the beginning, as it will also secure the sliders and prevent unzipping. Trim off the excess of the zipper tape at this point. Turn the pouch right sides inside and stitch the bottom edge of the lining layer, leaving a larger opening for turning. Finger or iron press this seam open, for easier stitching. Fold the fabric pieces so that the outer layer pieces are right sides together, and the lining pieces are right sides together. Finding your centers (clipped or marked at the beginning), align your bottom edges right sides inside so that they are overlapping the zipper that will be in the middle, make sure that the tabs are in, the zipper is in the center and that everything is even. Clip or pin together both sides. Box the Corners: Press your bag nicely, making sure that everything is aligned. Stitch both sandwich edges (with zipper in the middle) closed. You can add the handle on one side of the bag by finding the center of your seams, securing the handle with the clip and sewing over. You can either sew it to just one side by securing it or you can clip it together with all two layers that will make the boxed corner and sew over. Making sure that the handle is going straight, you need to bring it to the other side and repeat the same process of aligning it to the center of your seam, securing and stitching it in place.

Finish the Pouch: Turn the pouch right side out through the opening in the lining. Push out the corners to ensure they are fully formed. Check that everything is nice and even and that there aren’t some holes or missed seams. Stitch the opening in lining closed using a slip stitch or topstitch. Press the pouch to remove any wrinkles and ensure a smooth finish. Your boxed cosmetic fabric pouch is now ready to use or gift!


I hope that this was helpful, but I am sure that watching the video will make the process even easier.
I can't wait to find time to make another video in horizontal format!  Hopefully soon.

Happy sewing,
Katarina


Monday, 23 June 2025

Canvas Rebel feature

A big thanks to the Canvas Rebel team for giving creatives a platform to share their stories!

I had the wonderful opportunity to reflect on how it all began — from those early days in textile design to building a creative business and designing collections for Art Gallery Fabrics.


It’s honestly wild to think it’s been over a decade since I took that first leap — time really does fly when you’re chasing passion, patterns, and color palettes!

And a special shout-out to my lovely fabric friend Amy Sinibaldi for passing this opportunity my way — your support truly means the world. ๐Ÿ’›

If you’re curious to peek behind the scenes of my creative journey, the link is HERE๐Ÿ’ซ  

Katarina

Tuesday, 3 June 2025

Adventale ribbons collection with Renaissance ribbons


I am thrilled to introduce a brand-new extension of the Adventale world: the Adventale Ribbon Collection licensed with the Renaissance ribbons.


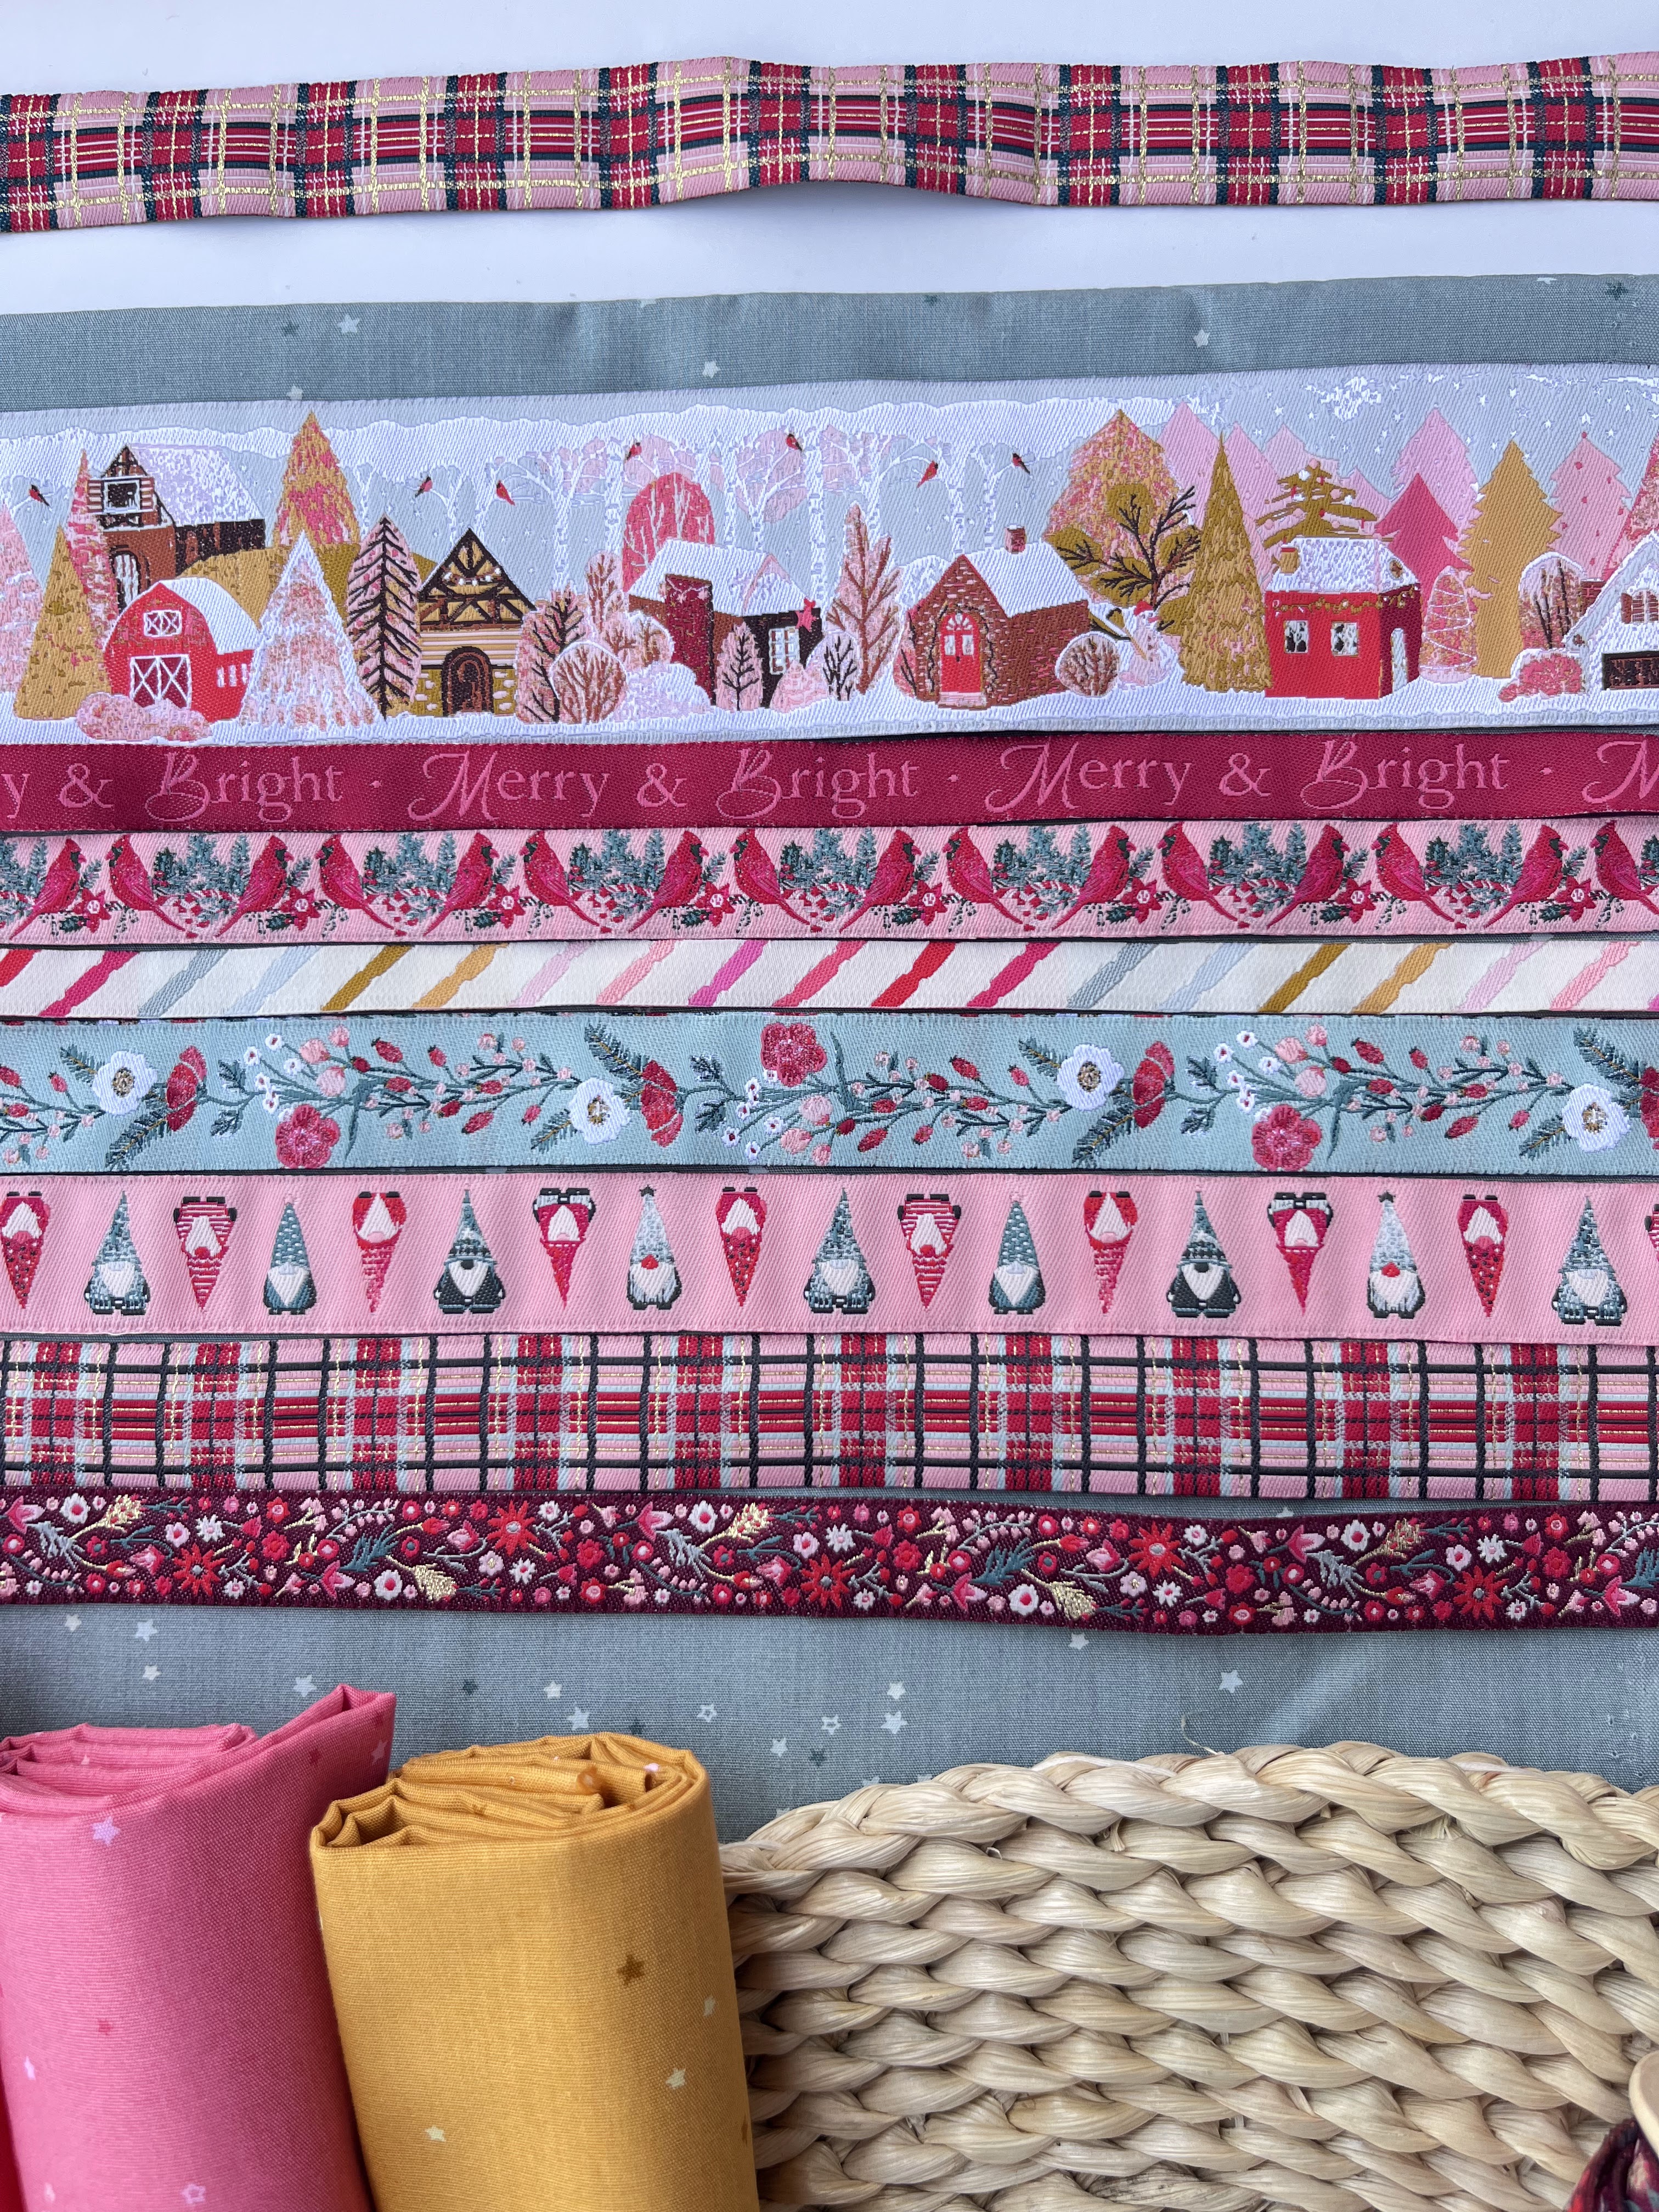
This beautifully curated line of ribbons brings the soft, wintry essence of Adventale to a new medium—perfect for adding a heartfelt, handcrafted touch to gift wrapping, sewing projects, journaling, and more.


Designed with the same attention to detail and aesthetic as the Adventale fabric collection, each ribbon carries the warmth, nostalgia, and storybook charm you've come to love.

๐ŸŒฟ Available June 2025
๐ŸŽ Ideal for makers, crafters, and gift-givers
๐Ÿ’Œ Limited release—once it’s gone, it’s gone


Designing it was such a joy, and using it on my first project (a little pouch!) truly felt like a dream come true.
I loved the idea of using these ribbons as the central accent of the pouch (it's a free video tutorial)
But they came handy to be used for/as handle, tabs and ribbon-sliders.


I can’t wait to see how you use these delicate designs to embellish your projects and wrap your world in the magic of Adventale.

Thursday, 22 May 2025

Bazaar Diamonds quilt pattern


Finally introducing my newest quilt pattern- Bazaar Diamonds๐Ÿ’ซ

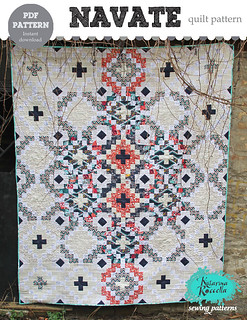
It's been in my mind forever to make an easier version of one of my very first quilt patterns-Navate, created in 2014, featuring my Recollection collection.


I had so much fun making this simple but bold 2 colors version of this pattern in Seedling, but also a 6-colors version in my Plentiful fabrics.


The fabrics used are seeds Licorice (almost black), seeds Dove (beige) and I added the accent squares in Seeds Olive.


Here are some of the options in full size, as seen on page 14.


I also created the version in 6 fabrics, using my Plentiful prints.


And here are some amazing pattern testers versions:


Mary @Ember Craft Company:


Debbie:


Sewing Arts (Julie + Rachel):


It's always so inspiring to see how each quilter used a pattern for their own vision.

I hope you'll try and make your own version too, even because it is a simple, beginner-friendly design offered in two options: a two-color version and a six-color version, offering versatility for quilters of all skill levels.

Quilt sizes:

- LAP : 16 blocks  
53” x 53”
- TWIN : 24 blocks 
53” x 80”
- FULL: 48 blocks 
80” x  107” 
- KING: 64 blocks 
107” x  107” 

And for the quilt shops, here is a handy pattern supplements available in Plentiful. 
You can shop this kit @greyfinchcompany


Happy quilting!
xx
Katarina

Tuesday, 21 January 2025

Introducing Plentiful fabric collection and Sawtooth Sky quilt pattern!!!

Hi! Happy 2025!


As we step into this fresh chapter, I want to take a moment to THANK you for being part of this creative journey with me. 

Your support and passion inspire me every day.

This year, I’m excited to bring you even more ideas, patterns, and inspiration to fuel your creativity. 


And I am starting this year introducing my newest quilt pattern Sawtooth Sky!


I had so much fun making this version of this pattern in Seedling, although that was totally not my intention.

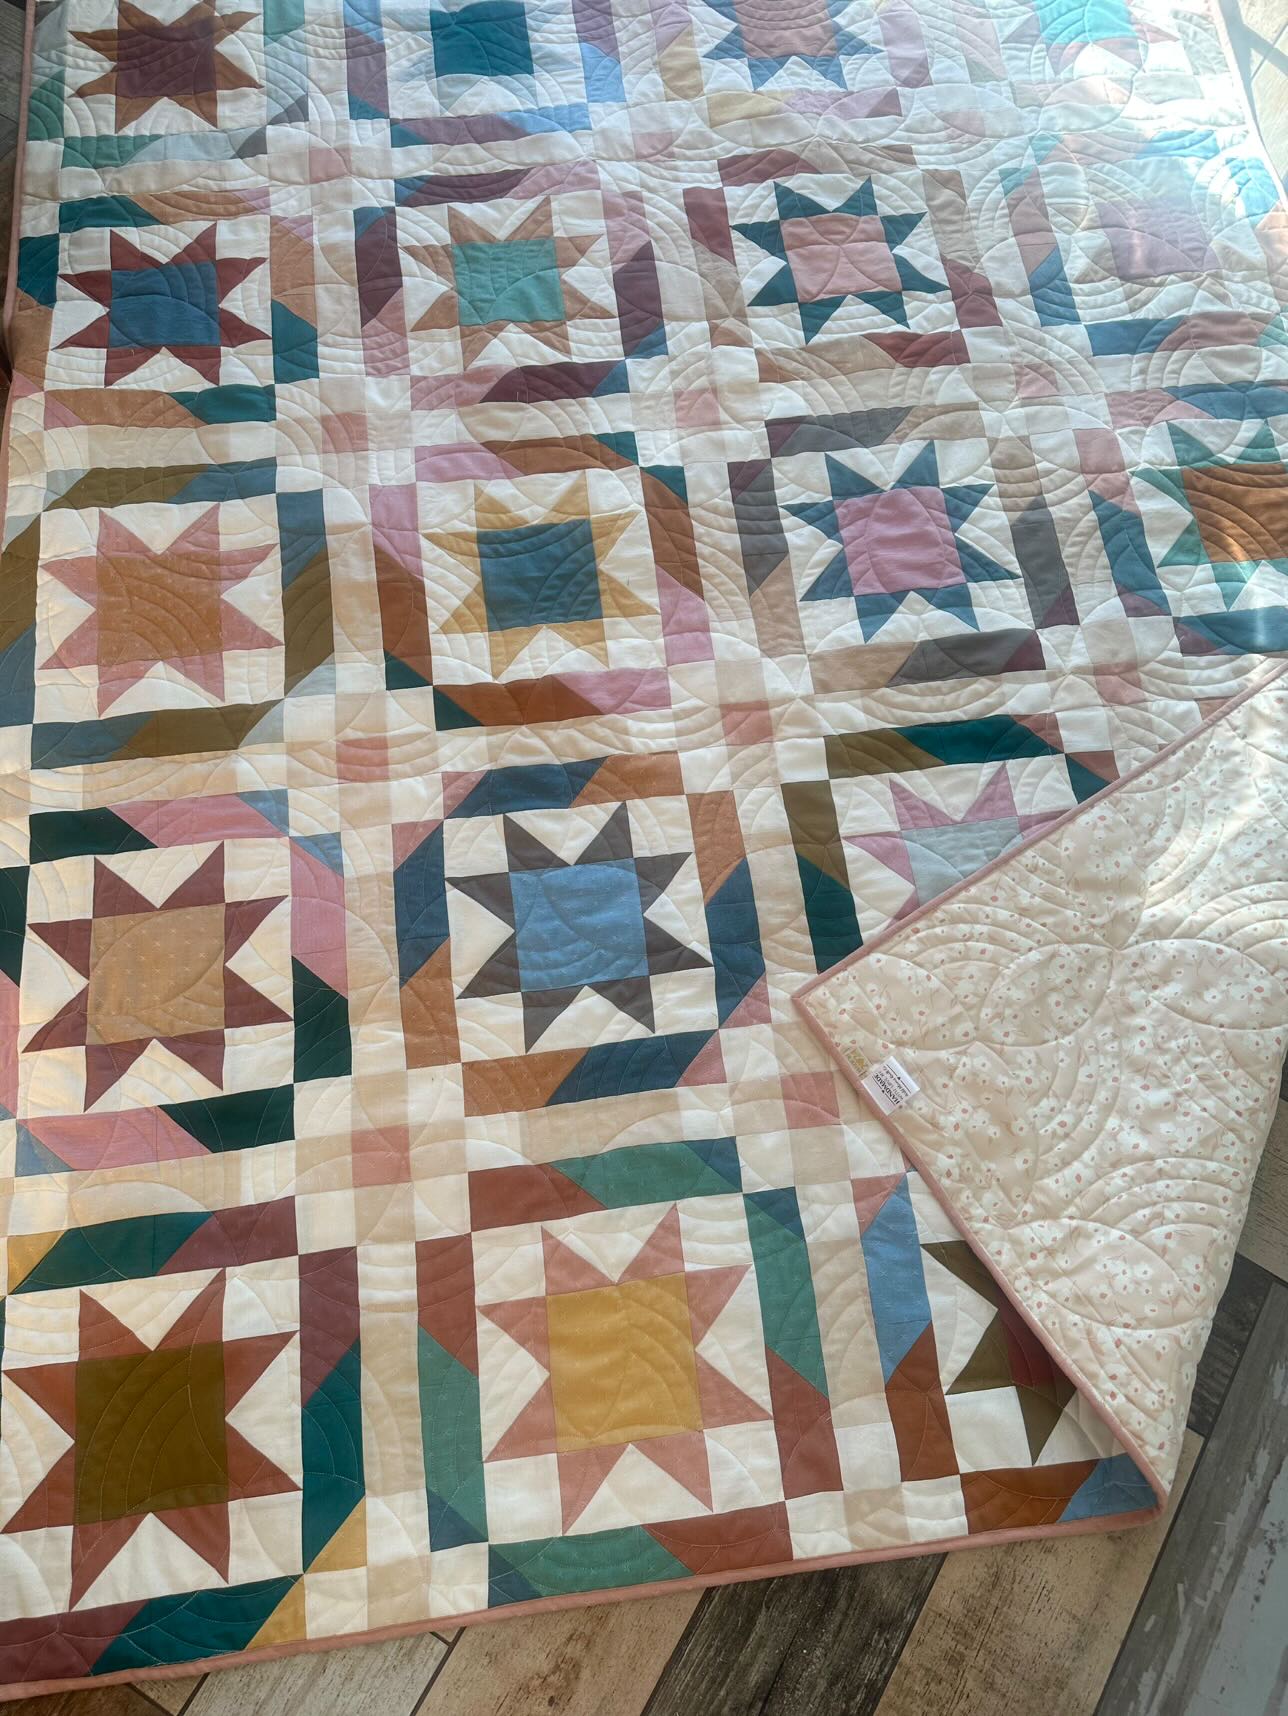
As usual, each of my quilt patterns is inspired by my fabric collections, and Sawtooth Sky was created with Plentiful in mind. However, the holiday rush had its own plans, causing a few shipping hiccups along the way. A package that usually takes less than a week to arrive turned into a month-long adventure! So, I had to quickly regroup and choose a different fabric group. And what better way to make a quilt than with my trusted Seedling fabrics? They're my go-to choice when I need a fabric that reads as a solid but is actually a faux textured print, right?


The fabrics used are: 

Fabric A          SDL20115 Seeds Sage 

Fabric B          SDL20111 Seeds Copper      

Fabric C          SDL20117 Seeds Pewter       

Fabric D          SDL20114 Seeds Fog 

Fabric E          SDL20112 Seeds Flax
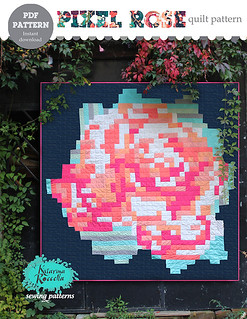


 Here are some of the options in throw size, as seen on page 13.

And my dear friend Sue Vinyard made and quilted this version of the throw quilt in Plentiful prints. 


Here are the requirements in Plentiful:


Fabric A                 PLE86109 Floristry Eucalyptus                  2  1/4 yds     

Fabric B                 PLE96105 Blooming Prairie Marigol          5/8 yd              

Fabric B accent     PLE96101 Dancing Florets Solar               1/8 yd  

Fabric C                PLE96100 Melodic Plumage Night             1 3/4 yds                  

Fabric D                PLE96104 Efflorescent Blanket Lava          1 3/4 yds  

Fabric E                PLE96106  Seed Tray Deep                        1 1/4 yds 


You can find this fabric combo available as a fabric kit at Mallory's Fieldstone Fabric shop.


Here's a beautiful version of the FQ friendly option that my friend Alicia Jones of Wild Blooms QuiltCo made.


Here's the requirements page that can help with choosing prints from my Seedling fabric collections.

Click on the picture so that you can see better all the names of the 1-21 AGF prints.


Another amazing throw quilt pattern version was created by my friend Debbie Grosskopf of Mumziepooh. Her stars are truly shining, don't you agree?


And last, but certainly not the least is this glorious version created by Julie and Rachel team of The Sewing Arts, also available as fabric kit, called the Barrier Reef.


And finally, the Plentiful Look Book by Art Gallery Fabrics was just released, and there's a lot more inspiration to get you ready for the season of blooms!


xx, Katarina


Friday, 7 June 2024

Pumpkin quilt block - pillow front tutorial


My Eerie fabric collection is already shipping and available in shops, and before doing the regular post introduction about the collection, I have prepared this fun pumpkin block tutorial.


Decorative pillow covers are the easiest and fastest way to change your home dรฉcor without a major investment. Bold and funky patterns can sometimes feel overwhelming if used in larger home dรฉcor projects but can be fantastic for smaller-scale projects like pillows. They add a touch of color and pattern to your home space. Additionally, quilting adds texture and stability to the sewing/piecing, while trimming around the edges provides a modern look.


To get the printable template, download it HERE.


The featured fabrics: “Creepy Crawlers Tang”, “In The Dark”, “Creepy Crawlers Cement” and  “Seeds Olive” by Katarina Roccella for Art Gallery Fabrics.


Materials

For 1 pillow, finished size 14" x 13.5”

(I suggest adding sashing/borders around if bigger size is needed)


-Fabrics:


Fabric A:  Creepy Crawlers Tang, Fat quarter

Fabric B:  In The Dark, Fat eight

Fabric C:  Creepy Crawlers Cement,  Fat eight

Fabric D:  Seeds Olive, 2.5" square


Decorative trim (pipping or similar): 2 yds

-Medium weight, one-sided fusible interfacing or batting - 16 x 16” piece 

-14"x14” pillow insert

-Cutting mat and rotary cuter 

-Ruler  

-Scissors

-Iron

-Needle and thread

-Sewing machine

-Pins, clips

-Fabric pencil or marker


CUTTING:

¼ seam allowances are included


Two (2) 2.5“ x 14.5” rectangles from Fabric A

Three (3) 2.5” squares from Fabric A

Eight (8) 2.75” squares from Fabric A

One (1) 2.5“ x 4.5” rectangle from Fabric A

Two (2) 2“ x 7.5” rectangles from Fabric A

Two (2) 3.5“ x 4.5” rectangles from Fabric A

Four (4) 2.75” x 4.75” rectangles from Fabric B

One (1) 2.5“ x 4.5” rectangle from Fabric B

Two (2) 2” squares from Fabric B

Four (4) 2.5” squares from Fabric C

Two (2) 2.5“ x 6.5” rectangles from Fabric C

One (1) 2.5“square from Fabric D


Pillow front: pumpkin block


Guided by the cutting and fabric requirements, make 4 Flying geese units.


 • Prepare the 2 ¾” (2.75") squares in fabric A for the wings and 2 ¾” x 4 ¾” (2.75” x 4.75”) in fabric B for the geese body to make the FG units. Mark a diagonal line across the wrong side of all 2 ¾” squares. Place one square on the right corner of a corresponding rectangle, right sides together. Stitch across the corner on the line. Trim off corner, leaving a 1/4" seam. Press corner up.

Place another square on the left corner of the same rectangle, right sides together. Note that the second square will overlap the first one (that’s because you need to obtain the ¼” seam allowance at the top of 

the triangle’s point). Stitch across the corner on the marked line. Trim off corner, leaving a 1/4" seam. 

Press corner up. After all the FG units are sewn together,  trim them to obtain  2 ½ ”x 4 ½ “ units.


Flippy corners on rectangles (row 2, 4 and 6):


• With wrong side up, mark all 2”corner squares in fabric B and 2.5”corner squares in fabric C in half 

diagonally to determine the central - sew line. 

• Paying close attention to the orientation of each corner square: place and align them on the 

corresponding 2” x 7.5“ (row 4) and 2.5” x 14.5“ rectangles (for row 2 and 6) in fabric A and sew along the central diagonal line. 

• Trim off corners, leaving a 1/4” seam allowance, press seams as desired, flipping the corner. 


More about flying geese construction and floppy corners, you can learn HERE.


Adding the trim


With right side of the pillow front up, start pinning the trim all way around, starting from one corner and rounding it slightly on all corners. Sew the trimming in place, with the smallest seam allowance possible, finishing where you started, overlapping the trim’s edges.


Note: there are different weights, qualities and sizes of the trims, and depending on that, you may be able or not to slightly round the corners for the nice and professional finish. Thinner and softer trimmings are more suitable for shaping, while with thicker trimmings, you may be forced to cut the trimming separately for each of the pillow’s edges and overlap the edges on all corners. 


Pillow back


The easiest way to make the pillow back is with simple envelope back. 

Take the rectangles cut for the pillow back (2 Fat quarters), fold and press them on the longer side (22”) in half, wrong sides inside, so that you obtain two 18 x 11” pieces. 


Pillow assemble


Overlap the back pieces, squaring them and place the pillow front with right side inside-facing the overlapped backs. Pin all layers together and cut the backs leftover edges to the size of the pillow front- 14.5" x 14”. Sew around all edges with ¼ seam allowance, rounding the corners slightly, to prevent protruding. Turn the pillow case right side out and place the pillow insert inside.


Wednesday, 20 March 2024

Abstrart fabric collection and addition of Seedling new colors


Hi friends! Happy spring!
I received my advanced yardage of the Abstrart and Seedling fabric collections in February, as a perfect Valentine's gift, which kept me quite busy. 

Unlike previous collections, "Abstrart" brings a fresh perspective to fabric design with its dynamic and expressive prints that are celebrating the beauty of imperfection and the fluidity of modern design. Its clean lines, minimalistic geometric shapes, striking contrasts and abstract prints offer unparalleled flexibility in cutting and usage, allowing for boundless creativity without the fear of making a wrong cut. This collection incorporates small ditsy scratches, lines, fragments, stylized motifs that are reflecting a modern aesthetic that is both timeless and on-trend. The intertwining of organic fragments suggests a connection to nature, while the intuitive motifs hint at the creative spontaneity behind the collection. 

The color palette is highly restricted and quite neutral, very graphic, while minimalist designs emphasize simplicity and clarity. One colorway is monochromatic, featuring whitish to blackish greys and the other showcases muted, toned-down, mostly warm earthy tones, creating a subtle and understated harmony.


Furthermore, Seedling collection embodies the spirit of mixing and matching. It opens the door to a world of endless possibilities, especially when you are looking for a print that reads as a solid, but features a very subtle seed or dot-like design with a texture that mimics woven fabrics.


With my Seedling prints in mind, I created a quilt pattern series called The Chromaflick quilt patterns. They are designed as simple and beginner-friendly, utilizing only basic squares along with a straightforward 3-patch blocks. There are three different quilt  layouts: Chromaflick Dot, Chromaflick Cathedral and Chromaflick Chevron, allowing experimenting with color and color placement, using contrast and harmony as two powerful principles of visual communication. 

I can't wait to share more about these new quilt patterns in my next post;)
Katarina
xx